Your clients can upload files such as documents or designs and more. Just add the File Uploader object to pages in the web client. Your clients will be able to add all necessary files and you will be able to process information further easily.
How To Add a File Uploader: #
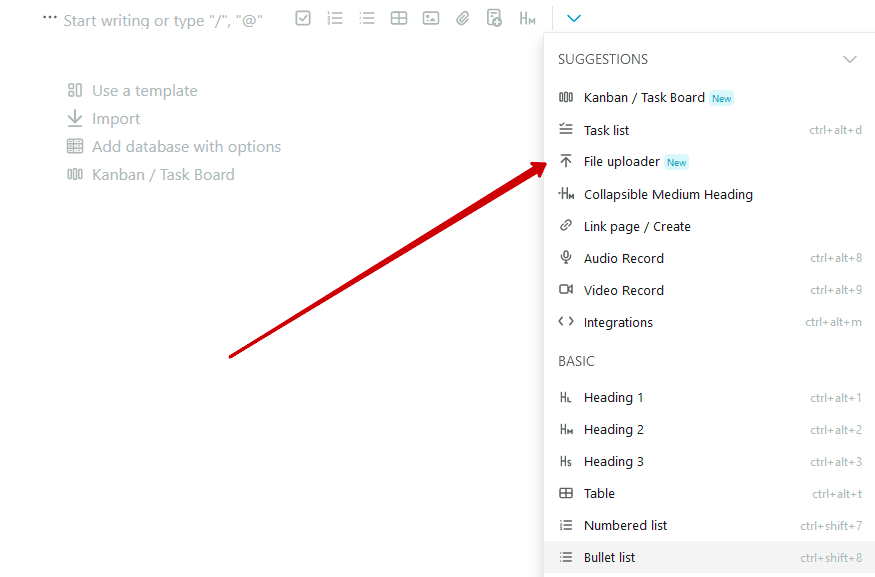
- Open the desired page and select File Uploader from the object list.
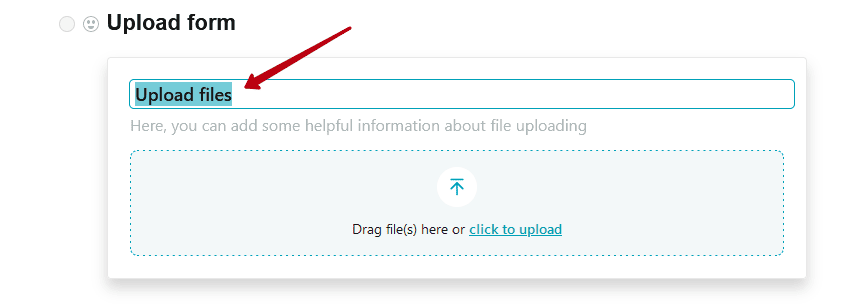
- If you want to provide a custom name or description for the uploader, click on Name or Description and enter the desired text.
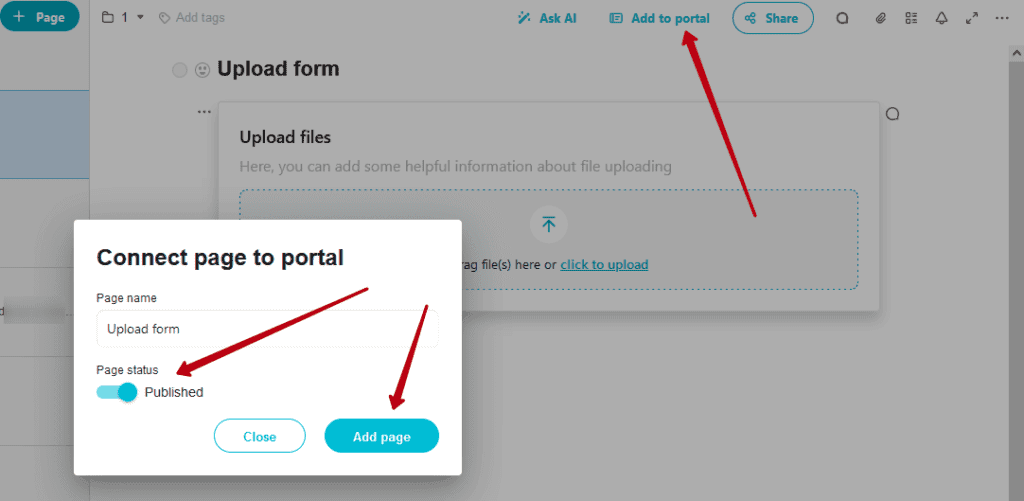
- If you still need to add the page to the portal, you can do so through the Add to portal option or the Customizer.
How to Upload Files #
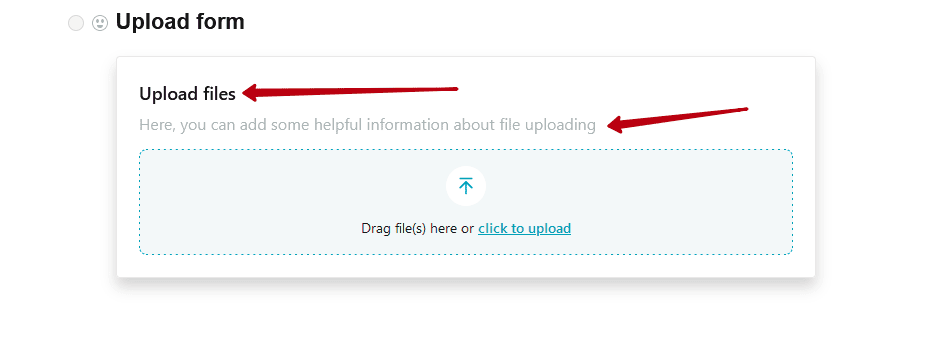
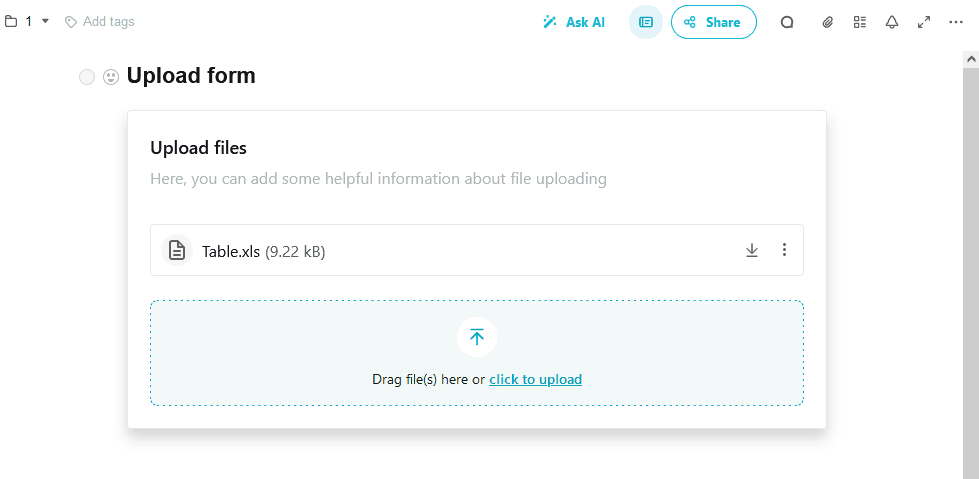
Once you have added the file uploader, your portal visitors (those with access) can add files. To do this, they need to click on Upload or drag and drop the file into the upload area.

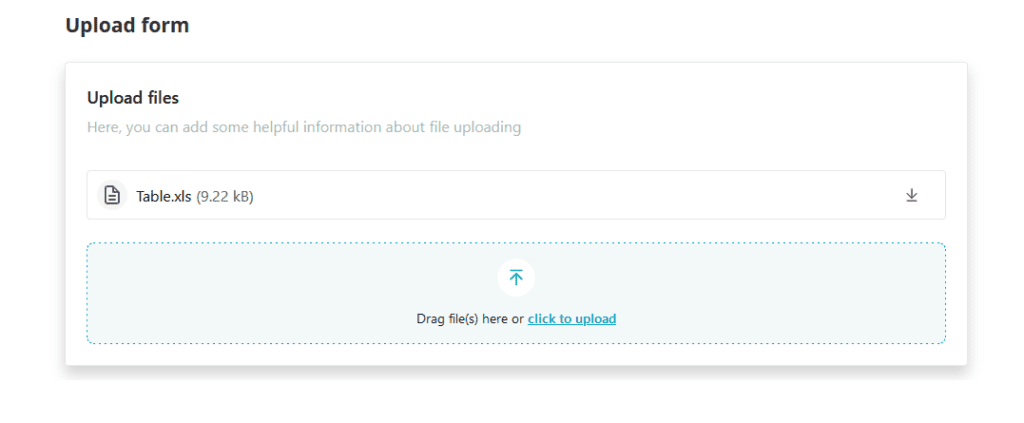
You will see the added file in the web client as well.
How to Restrict Download #
Note, all portal visitors can view the uploaded files. However, you can restrict them from downloading the files, leaving only an upload option.
You can do this through the uploader menu. Select the Downloading section and put the tick off the Public page box.
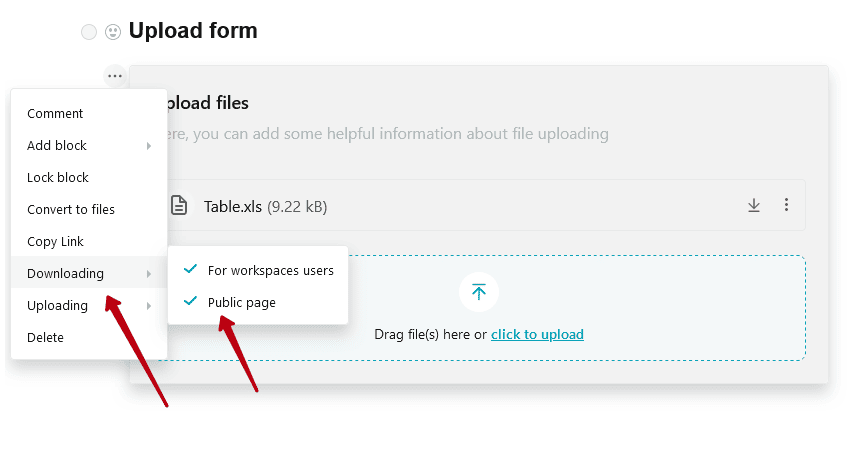
You can also restrict the download of specific files only.
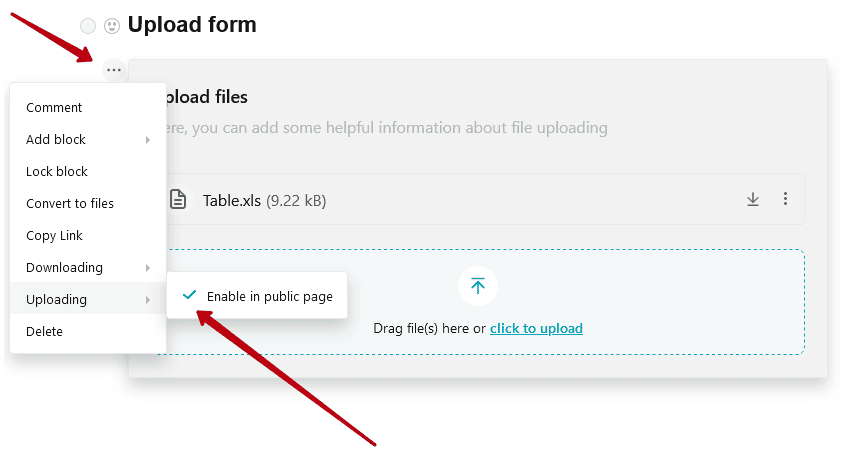
How to Restrict File Uploading #
If you want to disable file uploads temporarily, do it through the uploader menu. Select the Uploading section and put the tick off the Enable in public page box.