Pin Nimbus Capture for quick access
There are 3 ways to capture your screen:
b) With the help of the context menu;
c) With the help of a hot key that you yourself assign in the program settings.
At the moment the addon allows capturing the whole Web page, the whole browser window, the part of the browser that you see on your screen or a selected section of the screen as well as creating your own model from scratch.
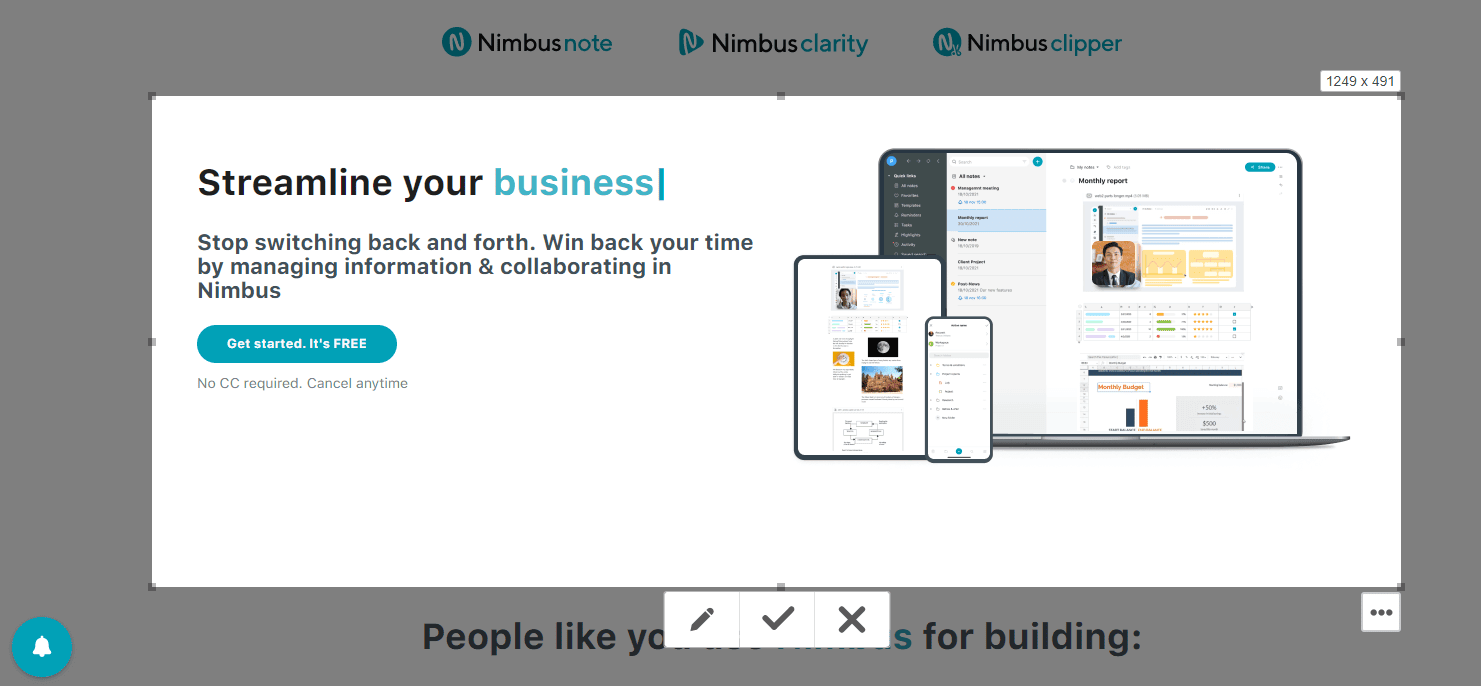
As soon as you have captured the image on your screen, you get redirected into the editor window. If you don’t want to edit anything, simply click “Done ”.
Please read our help – How to record video from screen (screencasts) – Quick Guide
Visible part of page – Makes a screenshot of just what you see on the screen.
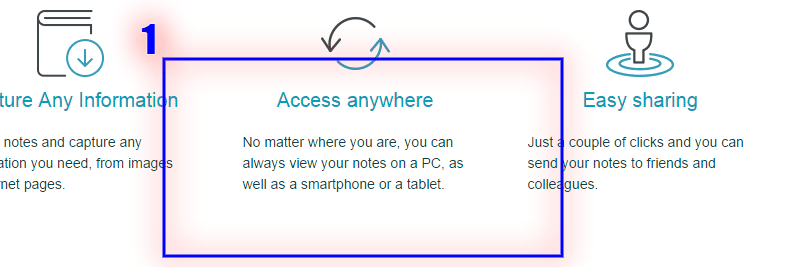
Capture fragment – You can select a whole fragment on a site (for instance, an article) and make a screenshot of it.
Selected area & Selected and Scroll – lets you select the needed fragment on a site.
Entire page – makes a screenshot of the whole page.
Browser window (only for Google Chrome and Chromium) – allows making a screenshot of the window of any other active program like Photoshop or Skype.
Blank screen – allows creating a screen of arbitrary size or edit a picture from your PC.
Select Selected Area, then holding the left mouse button down select the area you need and press on the checkmark.
Click on Capture Fragment. Use the mouse to select the required fragment on the site. You can make a screenshot of just one fragment at a time. Then click on the save button to save the screenshot or send it to editor for making some changes.
You can find more info here – https://nimbusweb.me/s/share/3636835/pbe6pfmzb3rxw0qlkesr
Nimbus ScreenShot offers you the following tools:
Magnifying glass for zooming the screenshot in and out ![]()
Resize tool for setting the size of the screenshot 
Crop tool for cutting the required fragment out of the screenshot 
Circle tool for drawing circles 
Rectangle tool for drawing squares and rectangles 
Pencil tool for drawing custom shapes 
Straight and curved line tools for drawing lines of different shapes 
Straight and curved arrow tools for drawing arrows of different shapes ![]()
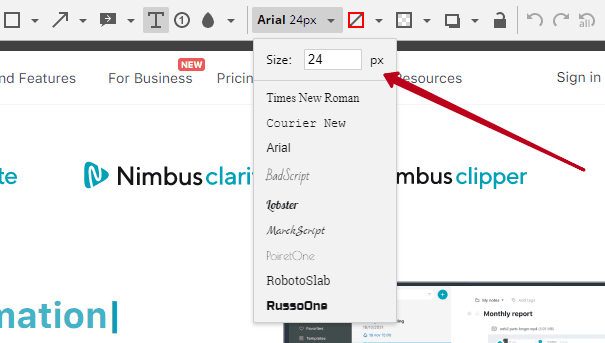
Text tool for adding custom text to the screenshot 
Sticker tool for adding stickers with custom text to the screenshot 
Color and size tools for resizing the objects on the screenshot and changing their color 
Blur and Blur All tools for concealing required sections on the screenshot 
Undo/Undo All and Redo tools for canceling or repeating previous operations or undoing all changes to the original screenshot (Undo All) 
When you are done editing the screenshot, click “Done”.
Use the window that opens next to save the screenshot on your hard drive, send it to Google Drive or print it.
1) Create and edit your screenshot
2) On the page the screenshot was saved, add your comment in the Comment and Upload form or just press Send to Nimbus.
3) Enter your Nimbus account information or create a new account.
4) Select a folder to save the screenshot to. If you do not need a link to your screenshot, check ‘Private’.
5) Press the Save button, after which the screenshot will be sent to Nimbus Note.
Of course! In settings, there is item Filename Template:
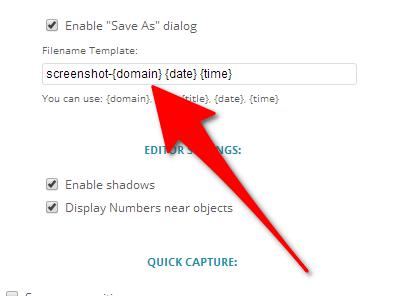
The following values can be included in the file name:
{domain} – file name will contain the domain name.
{url} – file name will contain page’s full URL.
{title} – page title will be used in the file name.
{date} – file name will contain date on which the screenshot was made.
{time} – file name will contain time when the screenshot was made.
You can also combine values, for example:
{domain} {time} – the screenshot name will contain the domain name and the time it was made.
You surely can. In editor, click and select required parameters (size and color of shadow).
It sure is! Open settings and check “Enable quick capture (do not show popup)”. Then select required action from the list.
To change text size, the same button is used as to change line size. Just press size changing button and select the required size.
Select menu item Blank Screen, then press Open icon and select the required image. You will be able to edit that image as a regular screenshot.
