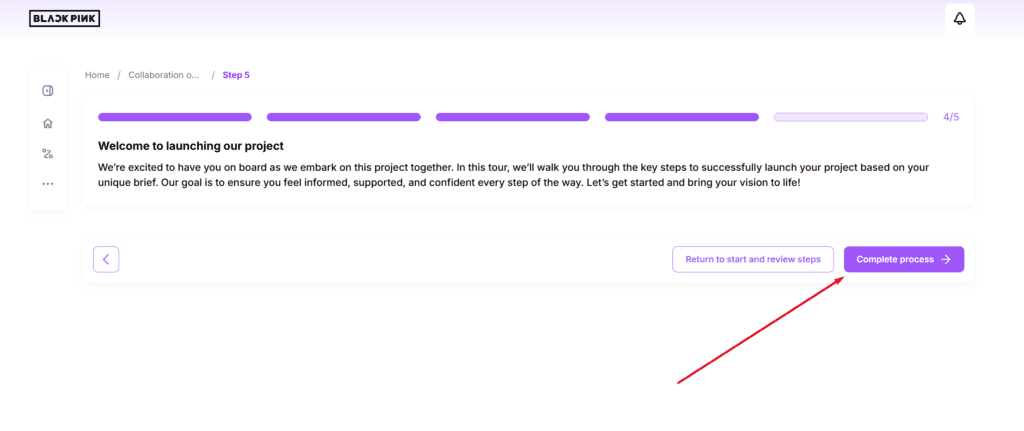
This module allows you to create a step-by-step process for your portal clients. The process steps can include forms, documents, file upload modules, training information, and more. There are many use cases for processes: from gathering information from clients to step-by-step knowledge transfer (similar to an LMS).
Creating a Process #
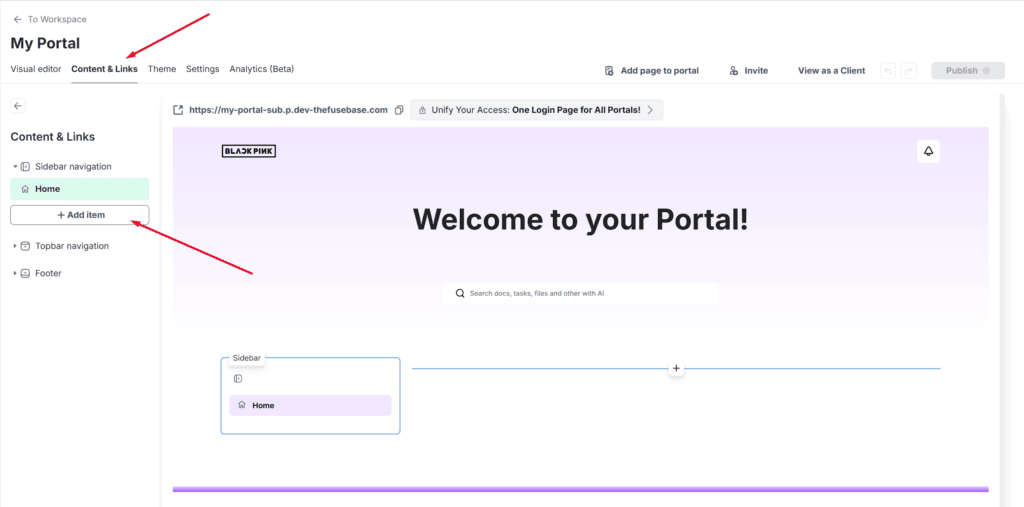
1) Go to Content and Links and click on Add Item.
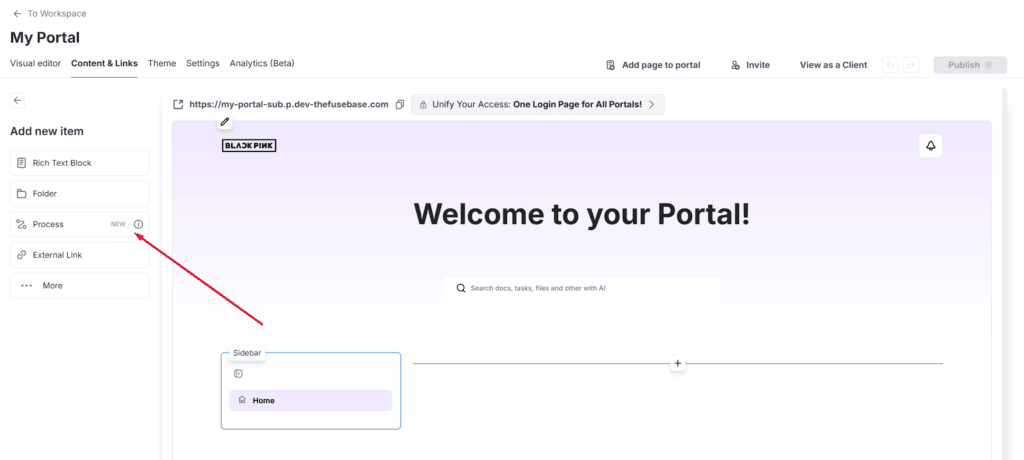
2) Select Process.
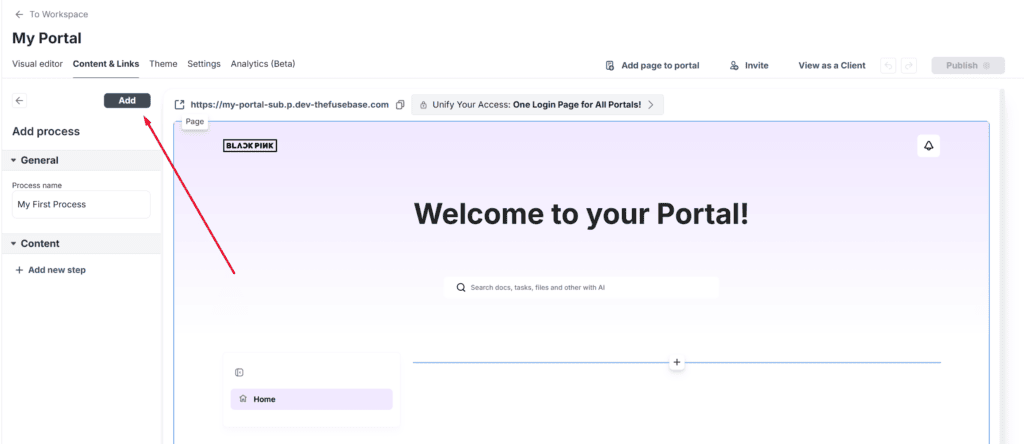
3) Choose From Scratch if you want to create an empty process, or select one of the available templates.
4) Enter the name of the process.
5) Save your changes.
Adding Steps to a Process #
Let’s try adding steps to a process. Suppose our process consists of three steps: a form, a file uploader, and text information.
Click on Add New Step to create a step.
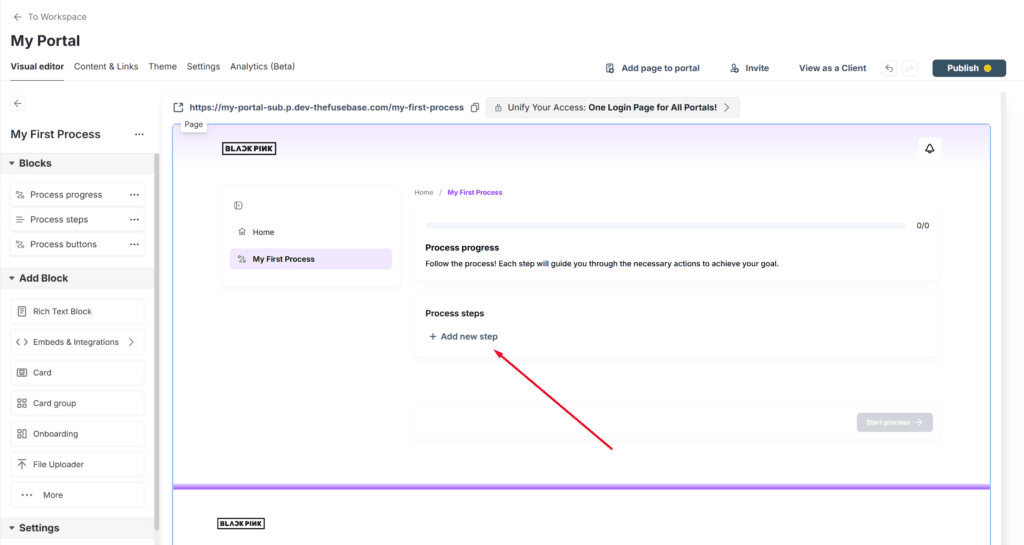
Each step is a standard portal page where you can add the blocks you need. Customize each step with the relevant content:
- Add a form block for data collection.
- Include a file uploader block for clients to upload files.
- Use a text block for providing information or instructions.
Repeat these steps to build out the process structure as needed.
Customizing the Appearance of a Process #
You can customize the appearance of the process to match your preferences and style.
Customizing the Progress Bar
In this section, you can edit the appearance of the progress steps, as well as the title and description of the progress.
Customizing the Steps Section
In this section, you can:
- Set the Section Title: Specify a title for the steps section to provide context or instructions.
- Text Color for Step Titles: Customize the text color of step titles to match your portal’s theme.
These adjustments help make the steps section visually appealing and aligned with your brand’s style.
Customizing Process Buttons
In this section, you can:
- Rename Buttons: Change the button labels, such as “Start Process” or “Finish Process,” to suit your process flow.
- Button Colors: Adjust the background color of the buttons to match your brand’s style.
- Text Colors: Customize the text color on the buttons for better contrast and readability.
These options allow you to create a user-friendly and visually cohesive experience for your clients.
Client Process Completion #
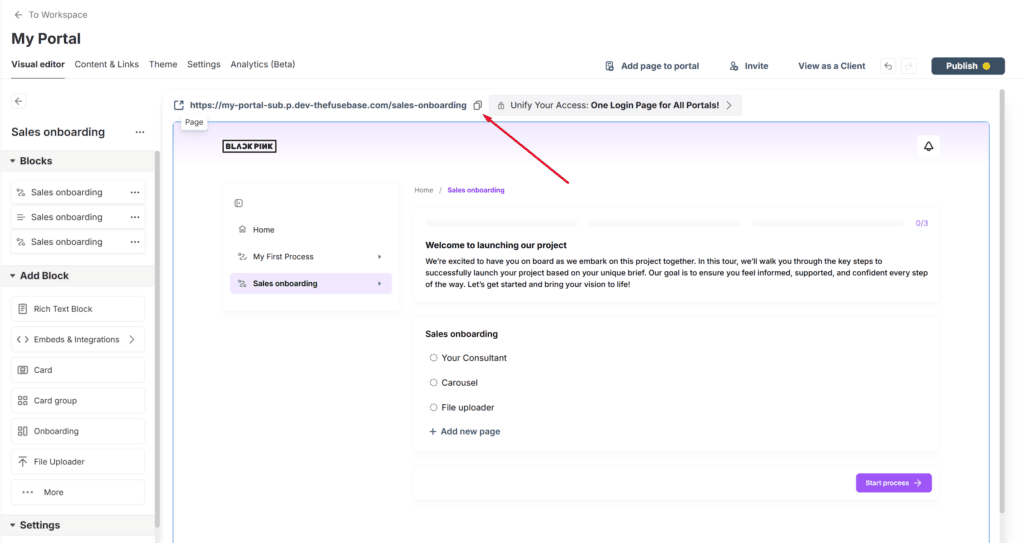
Send the client a link to the portal or directly to the process for them to begin. We recommend creating separate processes for each client to ensure a personalized and organized experience.
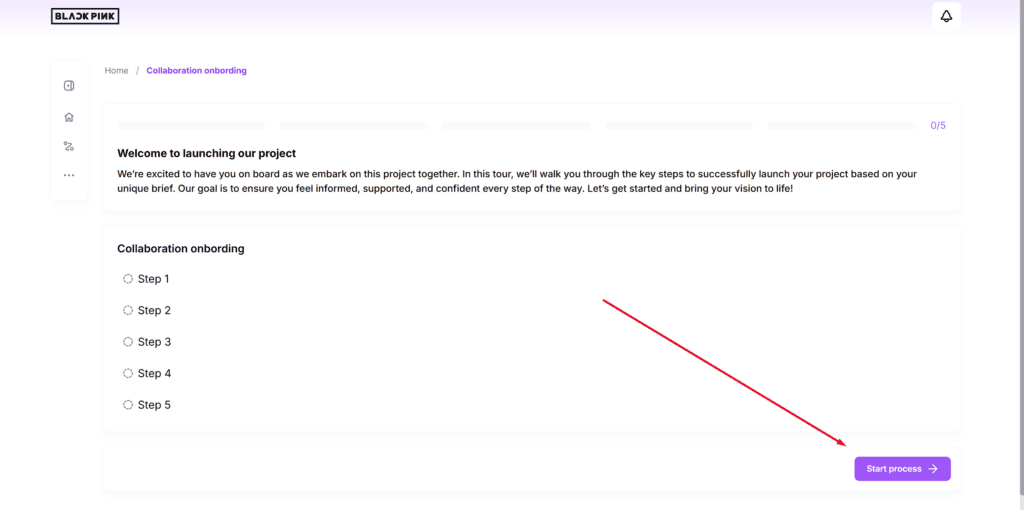
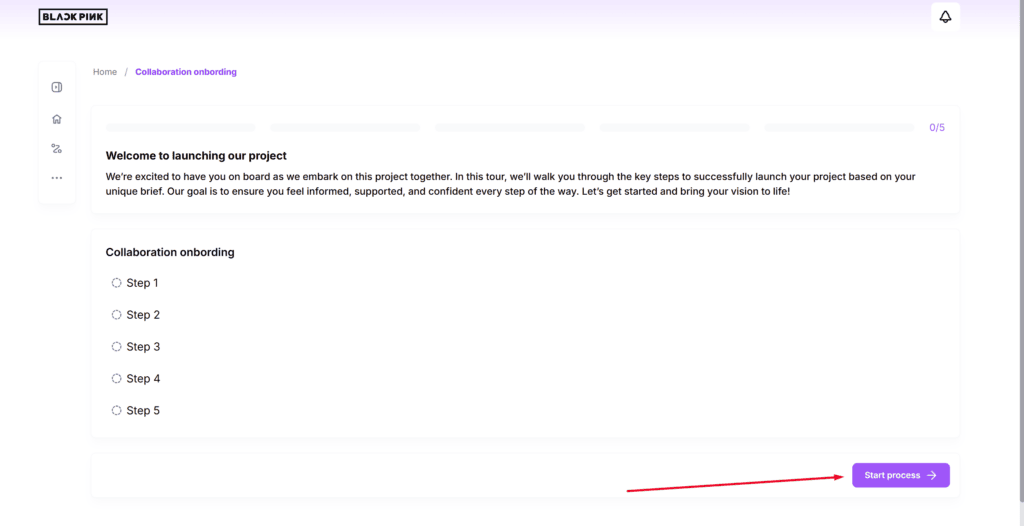
To begin the process, the client needs to click on Start Process (button names may vary depending on your settings).
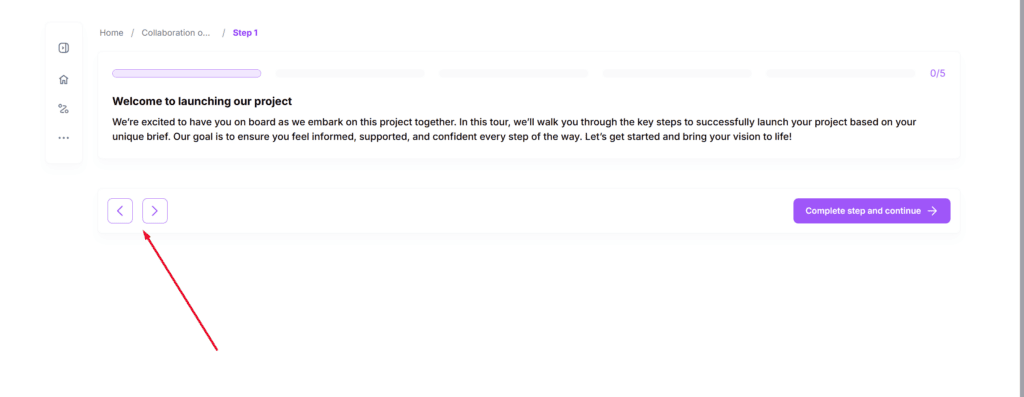
The client can navigate through the steps without completing them by using the left-right arrows.
To complete a step, the client needs to click Complete.
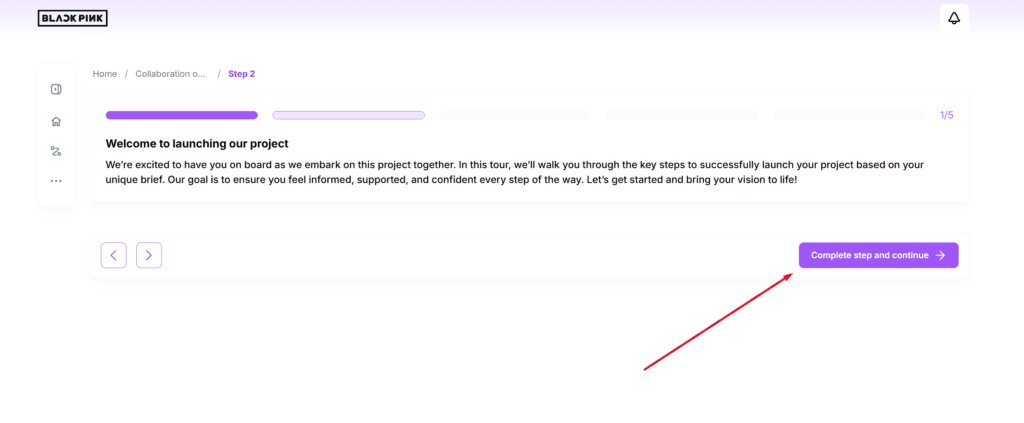
They can also revisit and edit a completed step if needed.Once all steps are completed, the client can finalize the entire process.
