Image Settings – Format – allows choosing the format in which to save your screenshot. You can also select screenshot quality if you choose the JPG format.

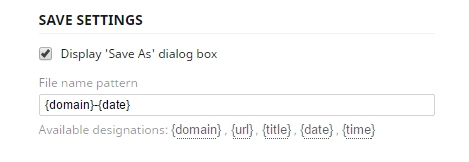
Display Save As dialog – when active, you will be asked for a destination folder for the screenshot being saved to the disk.
File name pattern – you can set a name pattern for the screenshot to be saved to disk or Nimbus Note.

Delay before delayed screen – you can set delay in seconds for the Delayed Screenshot mode.
Hide fixed elements – allows hiding some static elements on the page when making a screenshot – for example, menu items.
Display url/date in printing – if checked, the screenshot will come with the source link and date when printed out.
Save crop position – Handy for when you need to make multiple screenshots of the same size (works only for Selected Area and Selected and Scroll) in the same spot. For example, when you select a page fragment and check Save crop Position, the next time you click on Selected area, a fragment of the same size will be selected in the same spot.
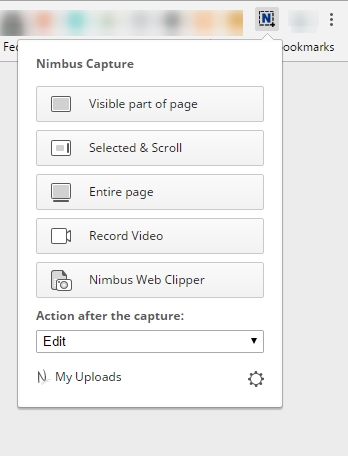
Enable quick screenshot – allows making screenshots in a single click. For instance, if you select Visible Area and Edit, clicking on the app icon will automatically make a screenshot of the visible area and open it for editing.

Main Menu Settings – here you can set the app’s main menu and select just the types of screenshots you use.

Hotkeys settings – here you can choose key combinations to boost your efficiency when working with the app.