In Fusebase portals, you can finely tune the access level for your portal visitors: from a fully open portal to access by invitation only.
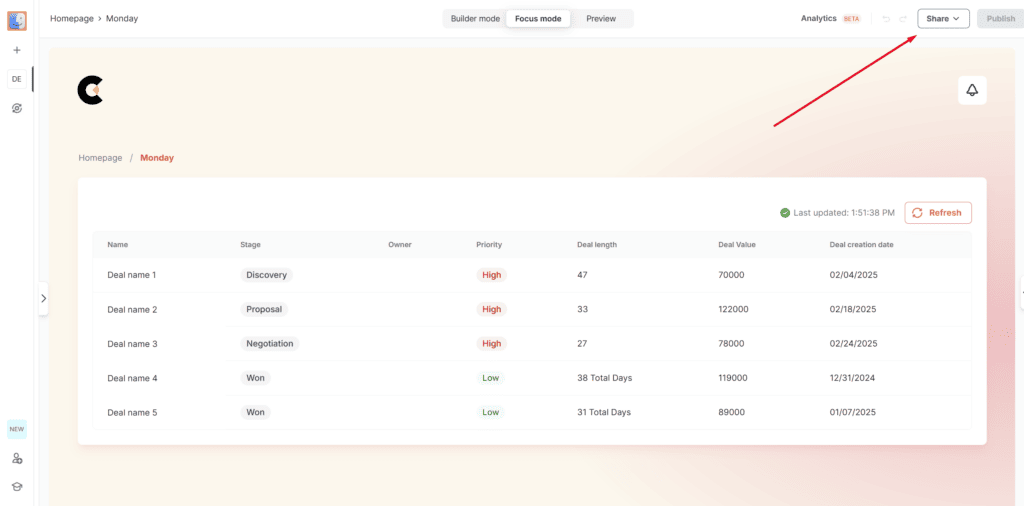
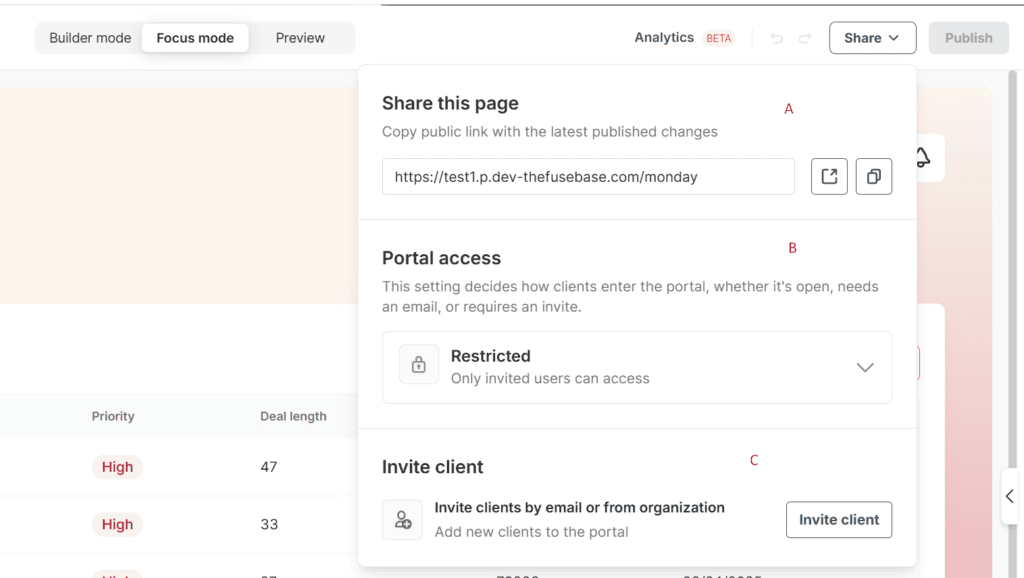
You can configure access to the portal through the Share option. When you click on it, you’ll find:
a) A link to the portal or the current page.
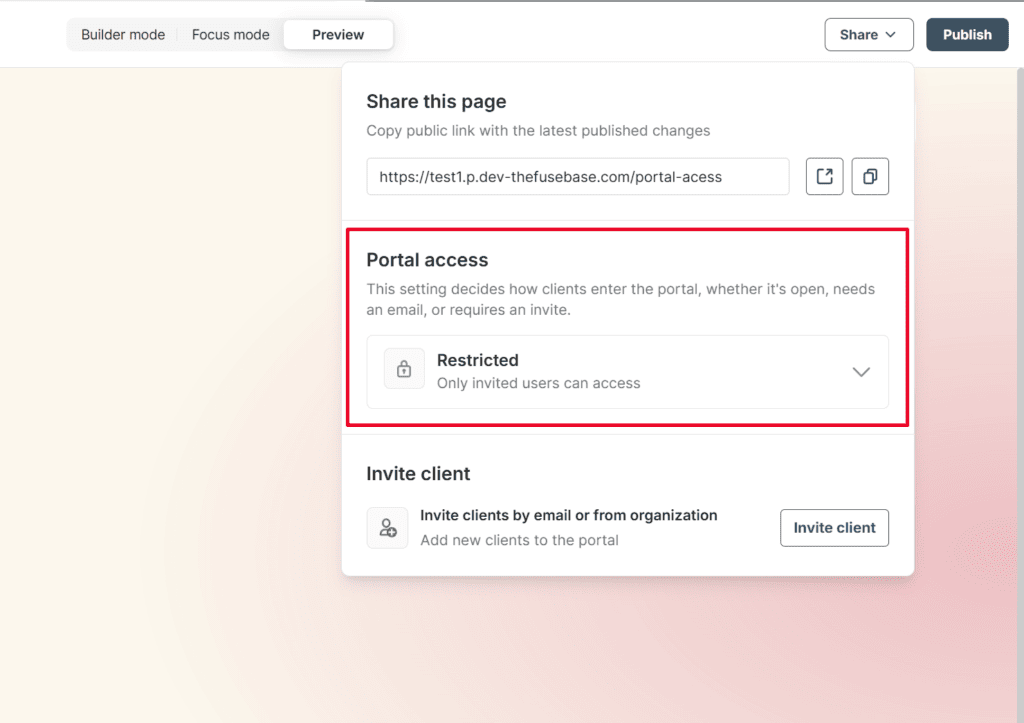
b) Access settings for the portal (important – this sets the access level for the entire portal, not individual pages).
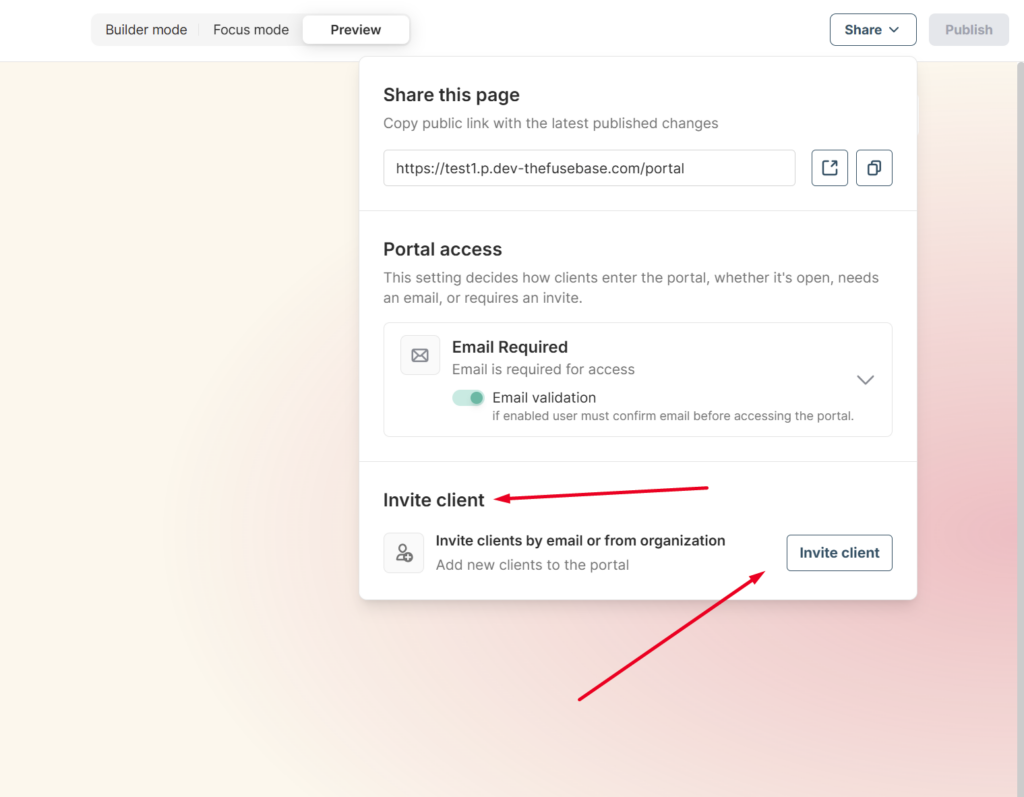
c) The Invite Clients option, if you want to manually send an invitation to the portal.
Portal Access Levels #
You can choose the appropriate access level for your portal through Portal Access.
Let’s go over each access level in more detail.
Open Portal – if you activate this option, the portal is accessible to all visitors, even if they haven’t created an account (anonymous visitors). It’s an ideal choice for public knowledge bases, landing pages, portfolio sites, and similar use cases.
Email Required with Email Validation – If you activate this option, any anonymous visitor opening the portal will see a message prompting them to enter their email. After they submit it, a Magic Link will be sent to their email for portal access. This process automatically creates an account and verifies the email. The client will then have full access to interact with the portal – join chats, work with tasks, sign documents, and more.
Email Required without Email Validation – This option is designed to simplify portal access as much as possible. The client just needs to enter their email and will immediately gain access to the portal (in this case, we don’t verify if they actually own the email). While this option is less secure than others, it minimizes the number of steps required to enter the portal. The client will then have full access to interact with the portal – join chats, work with tasks, sign documents, and more.
These two options (Email Required with or without verification) are ideal for deal rooms, where you need to strike a balance between simplifying access and knowing exactly who is entering your portal.
Restricted – If you activate this option, new clients can only be invited manually through Invite Clients. Existing users can continue accessing the portal using their previously created accounts. This option offers the highest level of security, and we recommend using it when you need maximum privacy for your projects—such as Data Rooms or dedicated client portals.
Manual Client Invitations #
You can manually invite clients at any portal access level. To do this, simply click on Invite client, then enter the client’s email address. They will receive a Magic Link granting them access to the portal. You can read more about how Magic Links work at this link.
Granular Permissions #
You can also restrict client access to specific folders. For example, you might set the portal access level to Email Required, but still limit a client’s access to certain folders. This allows you to control exactly what each client can see and interact with. You can read more about granular permissions at this link.
Other Portal Access Management Options #
We also offer additional features for managing portal access. For example, you can add an extra layer of security to Magic Links by requiring a special access key. Alternatively, you can allow your visitors not only to use Magic Links but also to log in to the portal using an email and password. You can read more about these options at this link.