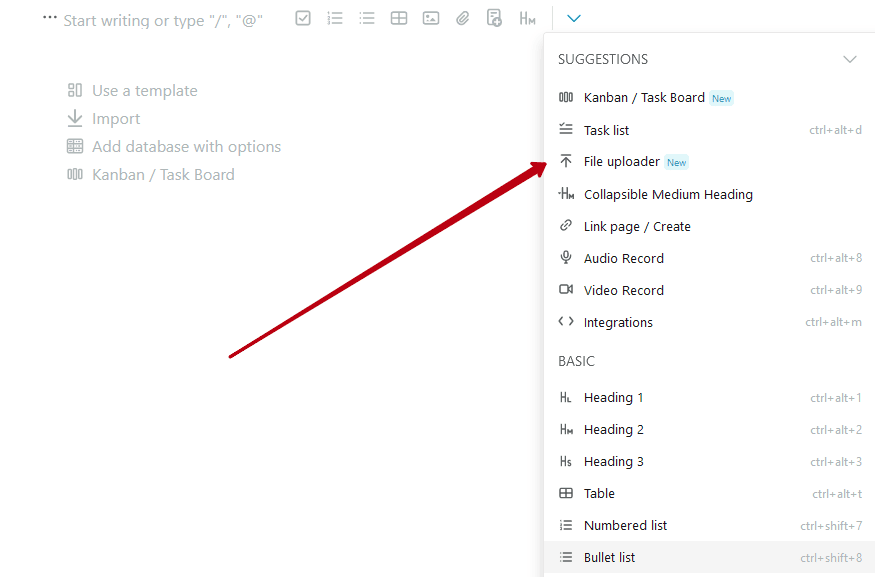
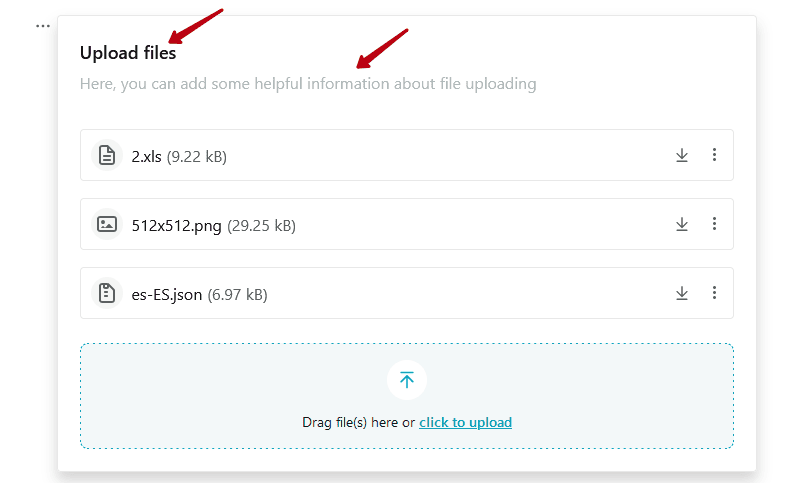
The File Uploader allows you to aggregate several files in one place with the ability to add a name and description to them. You can create an object through the objects menu.
Adding Files #
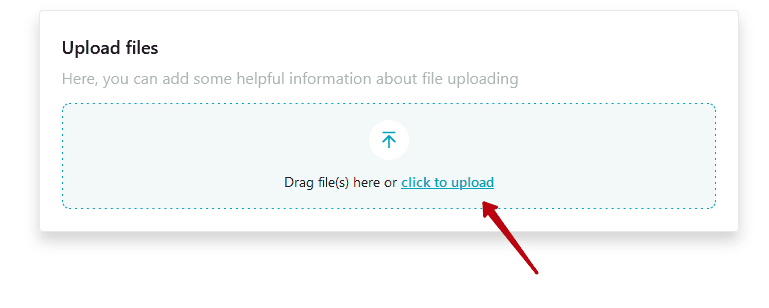
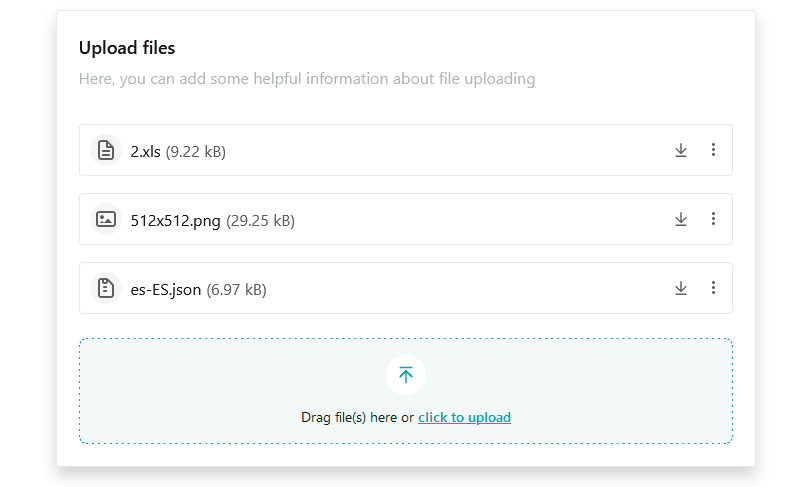
To add files, click on Click to Upload:
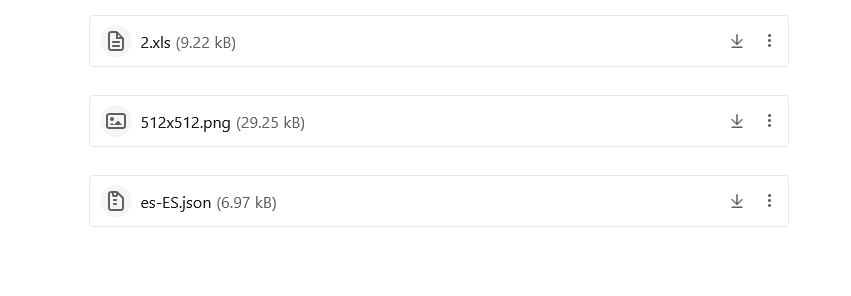
After that, select the files you want. You can also Drag and Drop files. After selecting and successfully uploading, the files will appear in the list:
Downloading Files #
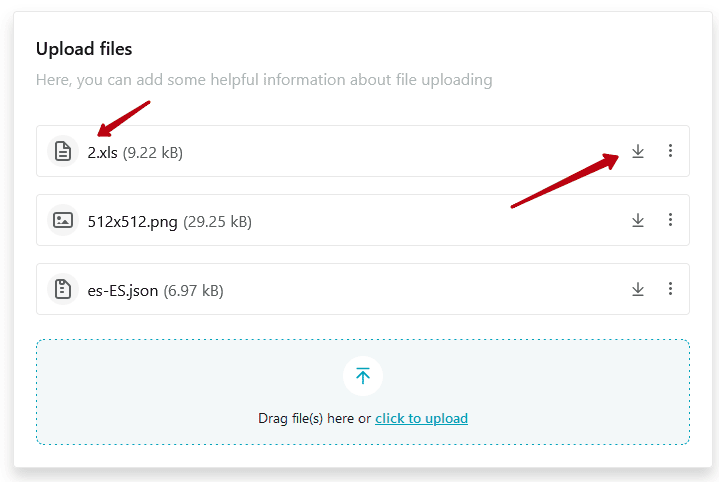
You can download the desired file by clicking on the file name or by clicking on the Download File icon:
File Management #
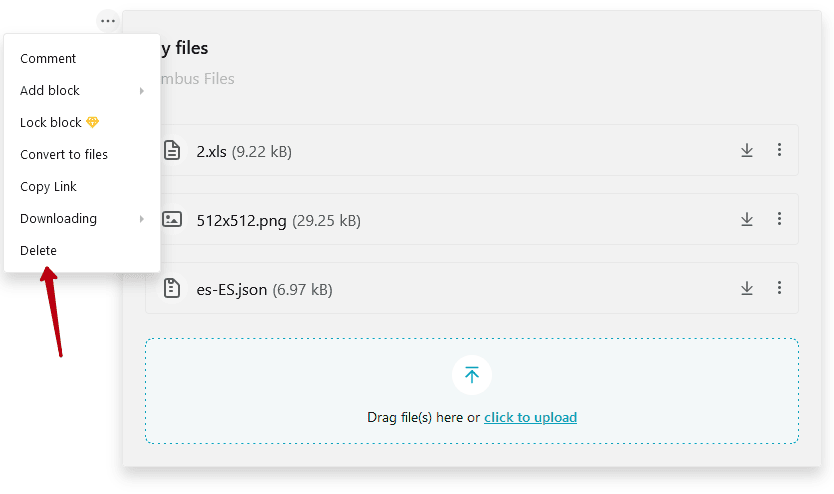
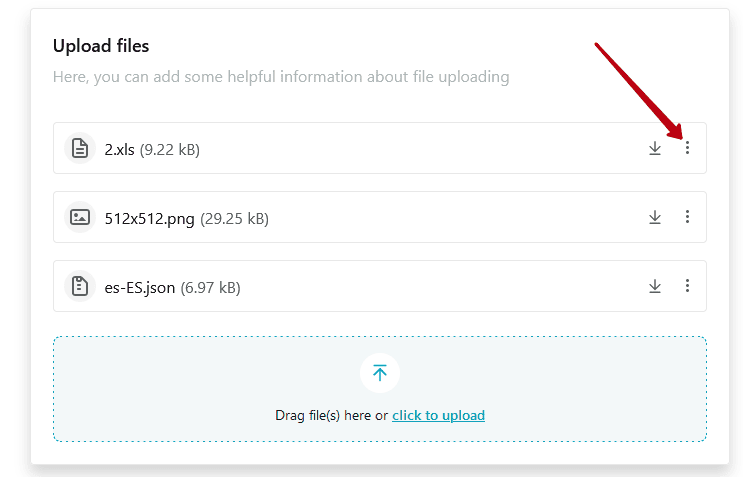
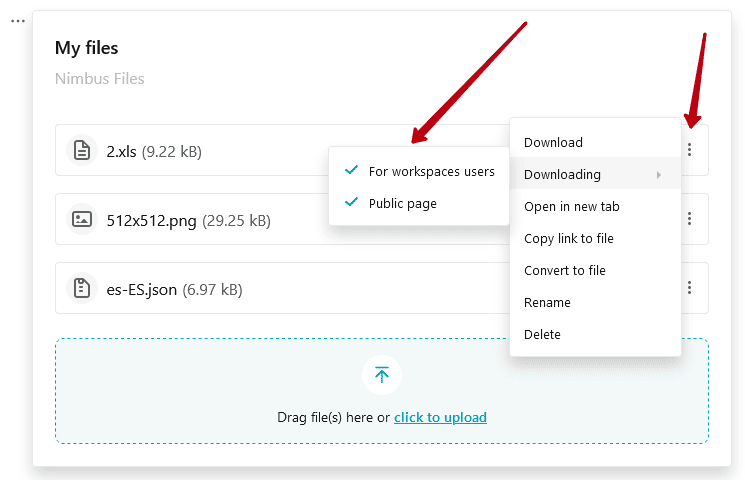
You can manage files through their menu.
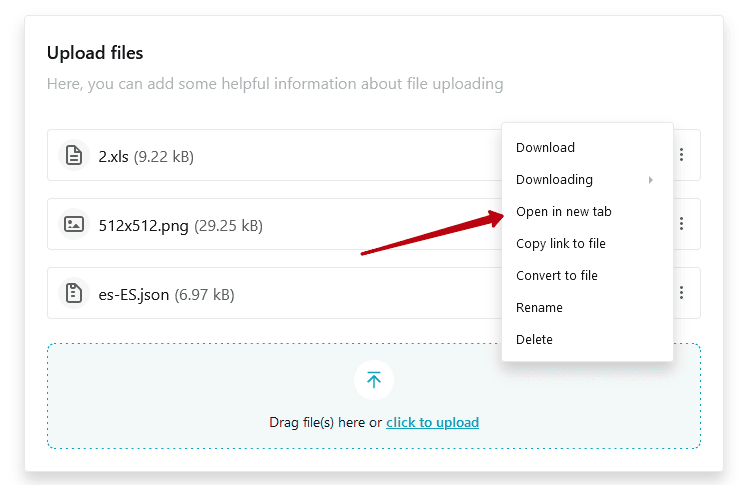
Here you can:
- Rename the file;
- Convert it to a regular file (outside the object);
- Copy a link to a file;
- Delete file.
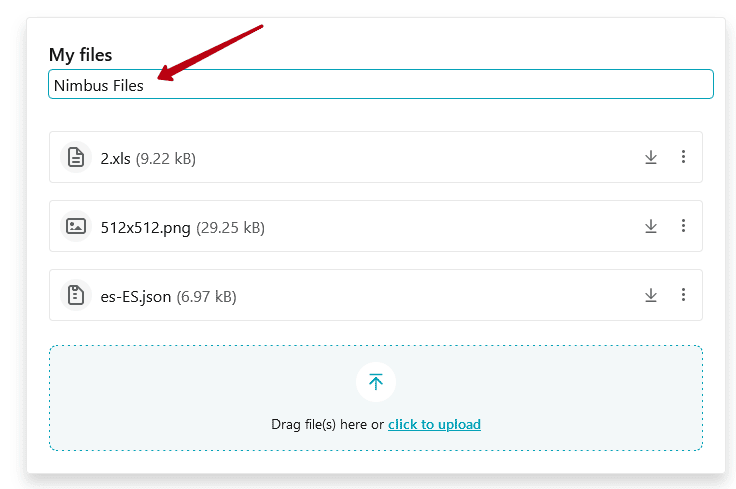
Renaming an Object and Adding a Description #
You can also rename the object or add your own description. To do that, click on the appropriate option and in the field that appears type in the name you want, then press Enter.
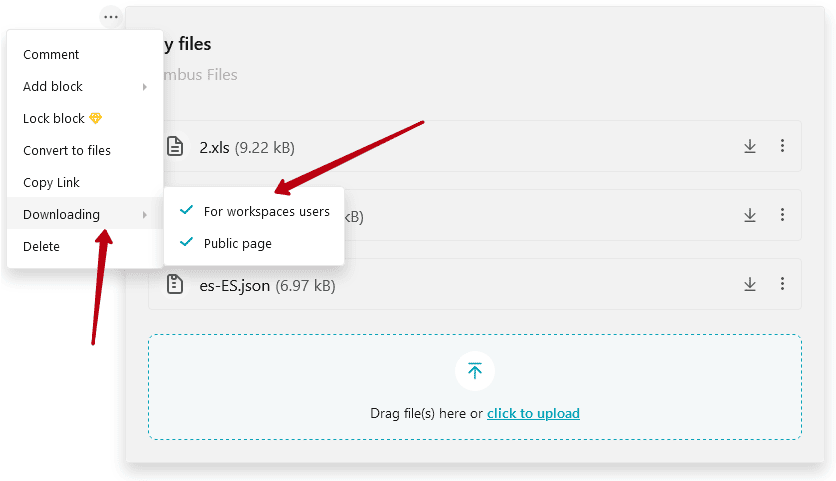
Banning Objects from Downloading Files #
If you want, you can forbid downloading any files from the object by clicking on the object’s menu and unchecking the Downloading checkbox:
- For workspace users – banning downloads to the web client
- Ban on downloading in public pages
You can also enable a download ban for individual files in an object. You can do this through the file menu:
Deleting an Object #
If you want, you can delete the object with all its files. You can do this through the object menu: