- How to create a new workspace?
- How to switch to another workspace?
- How to remove a workspace?
- How to rename a workspace?
- How to move a note/folder to another workspace?
- I was added to the project. Can I leave it?
- How do I create more than 5 workspaces?
- I bought a subscription to Nimbus Pro and invited other members to the workspace. Will they also have Nimbus Pro accounts?
One of the main keys to of successful and productive work is proper distribution and categorization of information. Personal information should never get mixed with corporate or work-related documents.
Workspaces lay the groundwork for properly organizing your notes. In each Workspace you can create your own folder / subfolder structure, tags and notes.
For work-related matters, you can create a workspace titled Work where you can save only information related to your corporate issues. In a workspace titled Home you can create folders and tag lists related to your personal matters only.
There are no restrictions whatsoever and most importantly – zero confusion at any point!
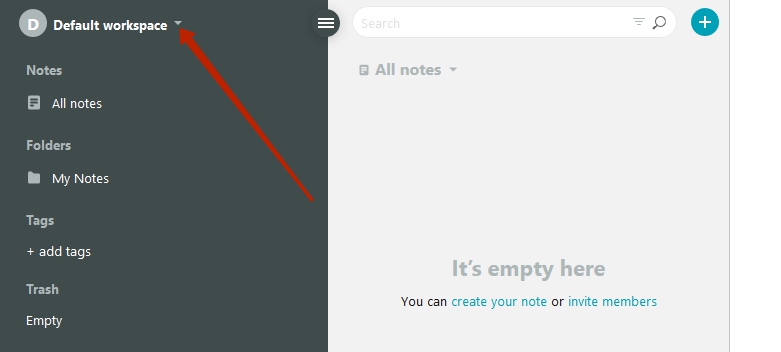
How to create a new workspace? #
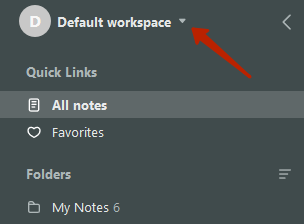
To create a workspace, open the left panel and click on the arrow to open the workspace window.
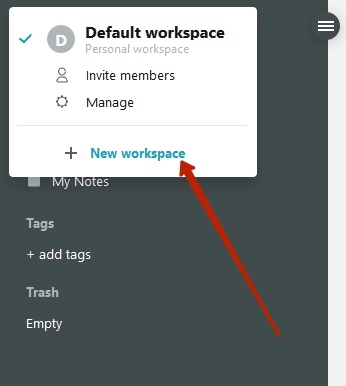
Next, click on New workspace.
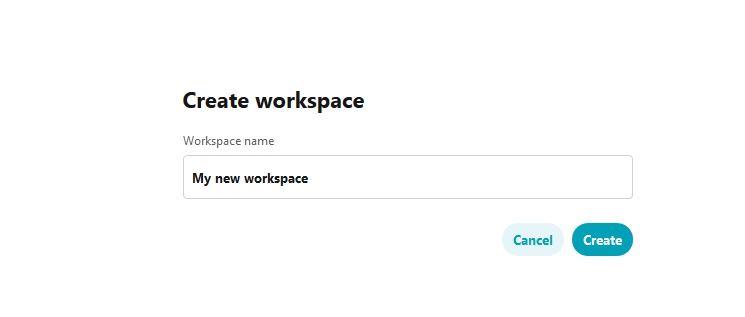
Type in the name of the new workspace, then press Create.
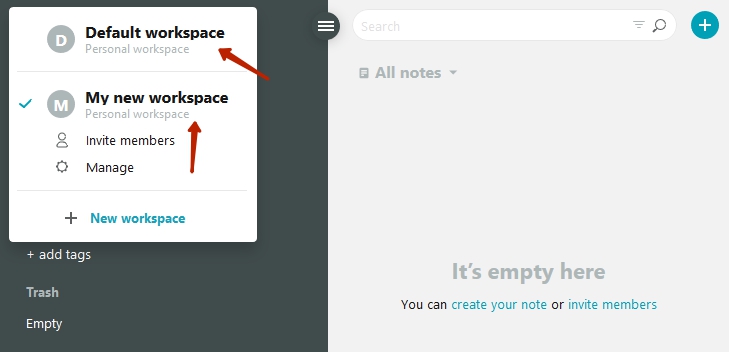
How to switch to another workspace? #
Click on the arrow on the left to view the list of projects. Then click on the desired project.
How to remove a workspace? #
Open the project list and click on Manage
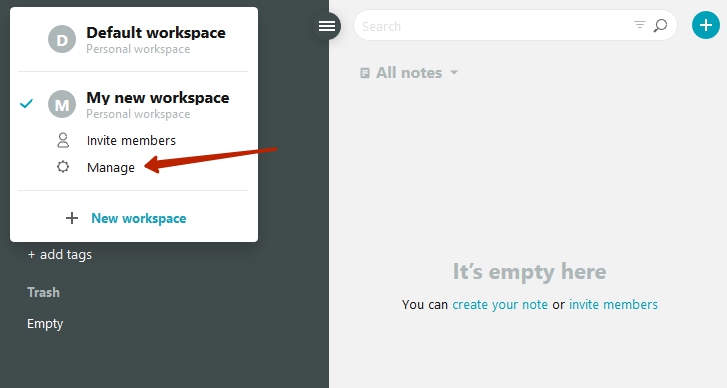
Next, click on the project menu and select Delete workspace.
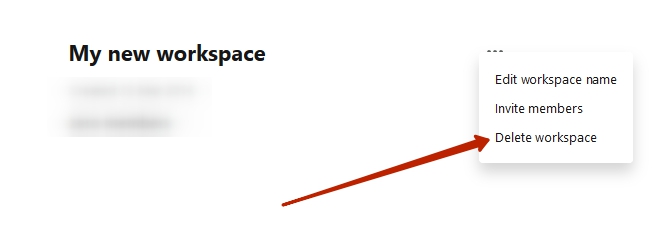
Important! All workspace data will be deleted – folders, tags and notes. It will be impossible to restore that data!
How to rename a workspace? #
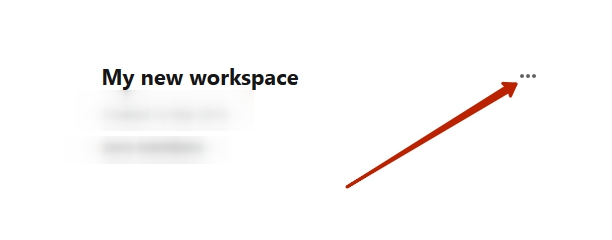
Tap on the workspace menu and select Manage workspaces. Next, click on the rename button and enter a new name.

How to move a note/folder to another workspace? #
1) Right-click on note/folder – Move to other workspace.
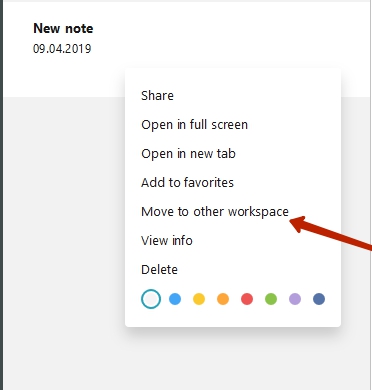
2) Select the needed workspace from the list and tap on it.
3) Click on Move and wait for the note to be moved.

When moving or copying notes to another project, the time will update at the moment of moving.
The notes will be moved to the My Notes folder of the project you selected. Later you can move it to another folder manually.
If you want to send a note from a personal workspace to a shared one (the one shared with you) and vice versa, the note will be copied rather than moved. This means the original note will remain in the workspace, with a copy moved to the new workspace.
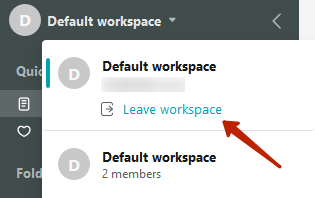
I was added to the project. Can I leave it? #
Yes, go to the project.
Open project menu.
Press Leave workspace.
How do I create more than 5 workspaces? #
To do this, you need to switch to a Business account. Learn more about Nimbus Note for Business and its benefit by visiting this link.
I bought a subscription to Nimbus Pro and invited other members to the workspace. Will they also have Nimbus Pro accounts? #
No, the account status will not change for the invited workspace participants. However, in your workspace they will enjoy premium features, such as increased file size, OCR, document search, etc.