By default, clients have access to all portal content. You can use granular permissions to restrict access to individual folders or pages. For example, one client can have access only to Folder 1 and the other client can have access only to Folder 2, and both clients are unaware of other folders in the portal.
General Information #
Who can manage access to portal content? #
Any member with access to the Portal Customizer can manage portal permissions.
Who can restrict access to specific content in the portal? #
Any portal member, except those with access to the Portal Customizer, can restrict access.
Read more about managing portal access: HOW DO I MANAGE PORTAL ACCESS?
What Portal Content Can I Restrict? #
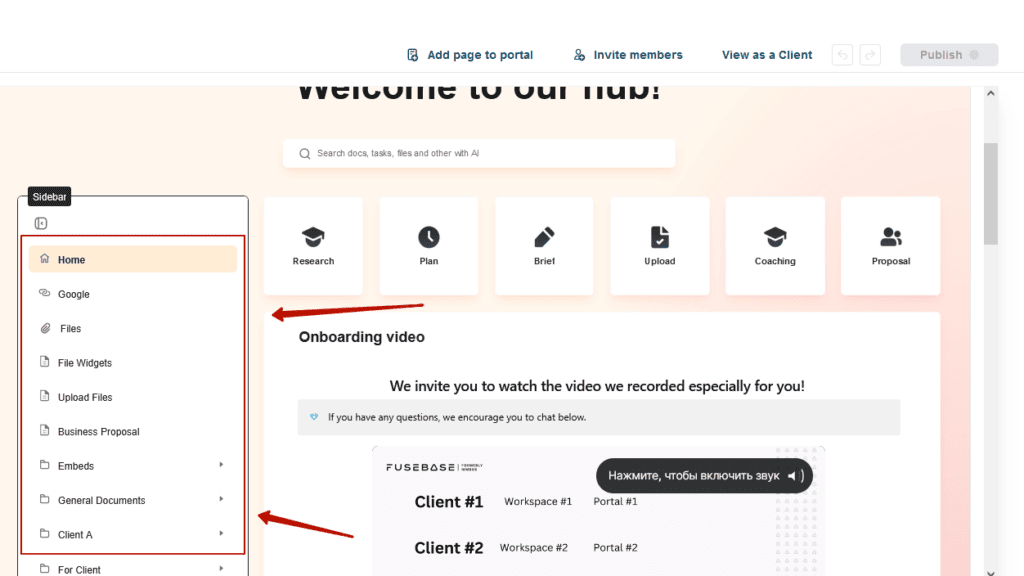
You can restrict access to all root items in the Portal Sidebar:
- Folders
- Root pages
- Root links
You cannot restrict access to:
- Home page
- Portal’s footer and top bar content
Changing Folder Permissions #
How do I prevent certain members from accessing folders? #
1) Go to the Portal’s Customizer.
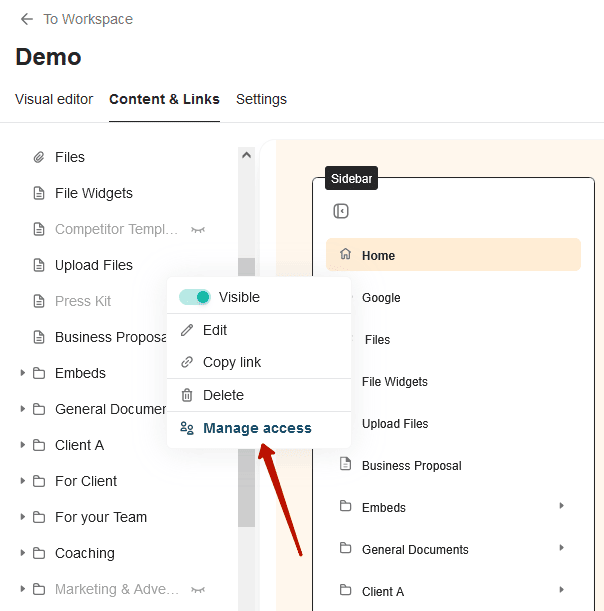
2) Click on the “Content and Links”:

3) Hover over the required item and click the menu. Select the “Manage Access” button:
4) In the window that appears, you will see a list of members with access to the folder.
5) Click the “Block access” icon next to the user you want to restrict.
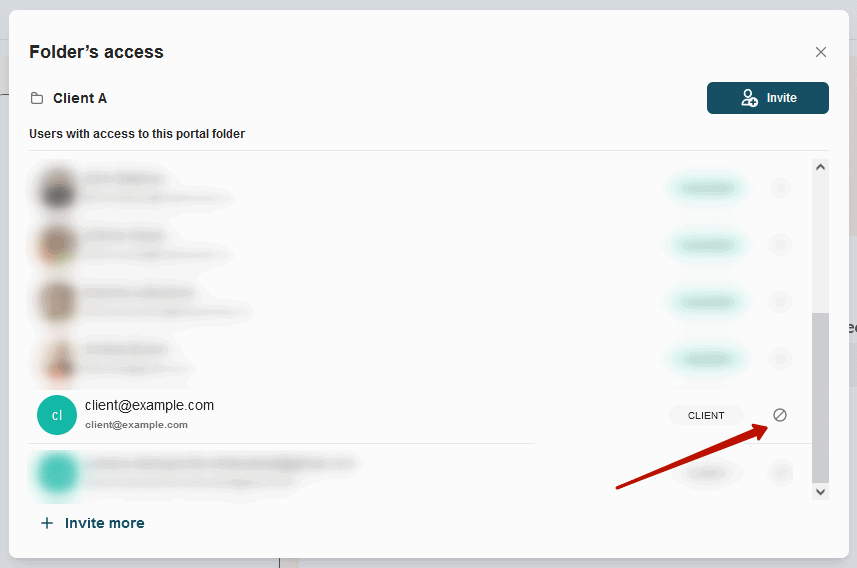
6) Confirm your action.
How do I allow members to access a specific folder? #
If you have restricted access to folders and want to allow individual members to access them, here are the steps to follow:
1) Go to the Portal Customizer.
2) Click on “Content and Links“.
3) Hover over the folder you want to share and click on the menu. Then choose “Manage Access“
4) Click on “Invite“:
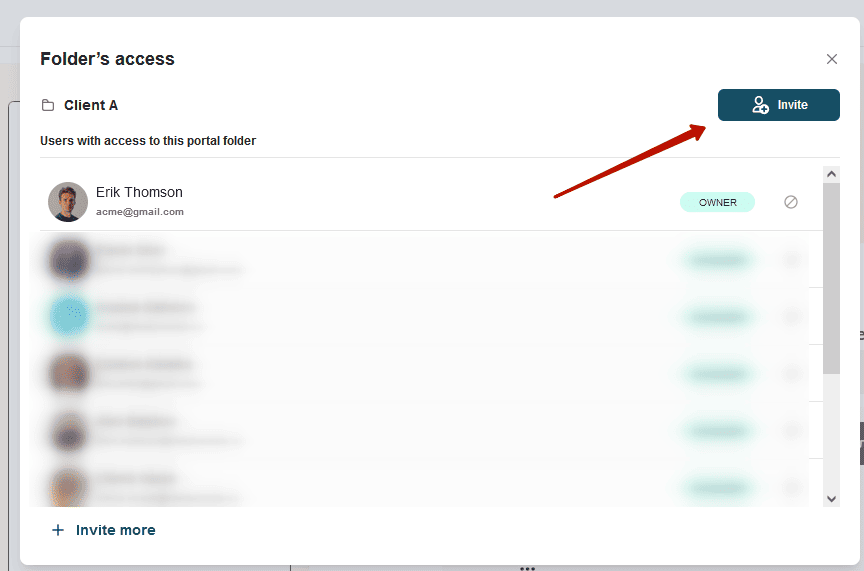
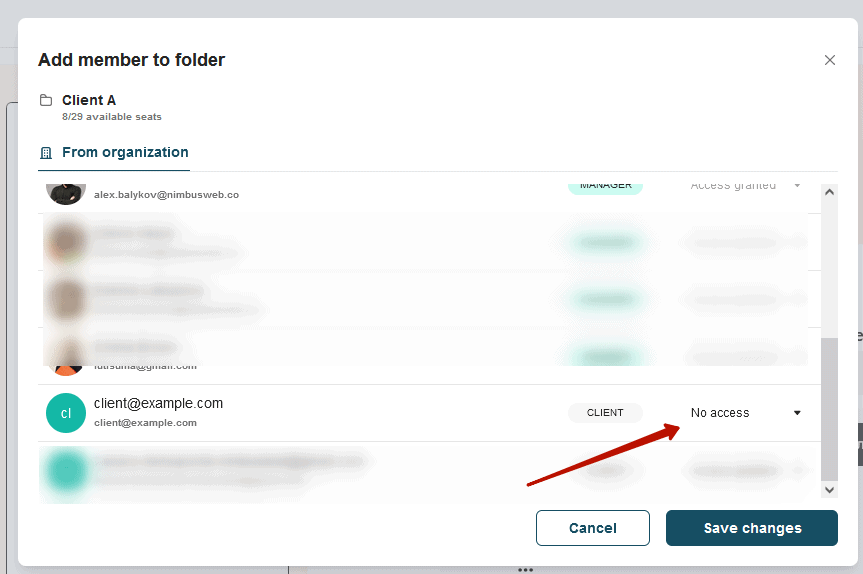
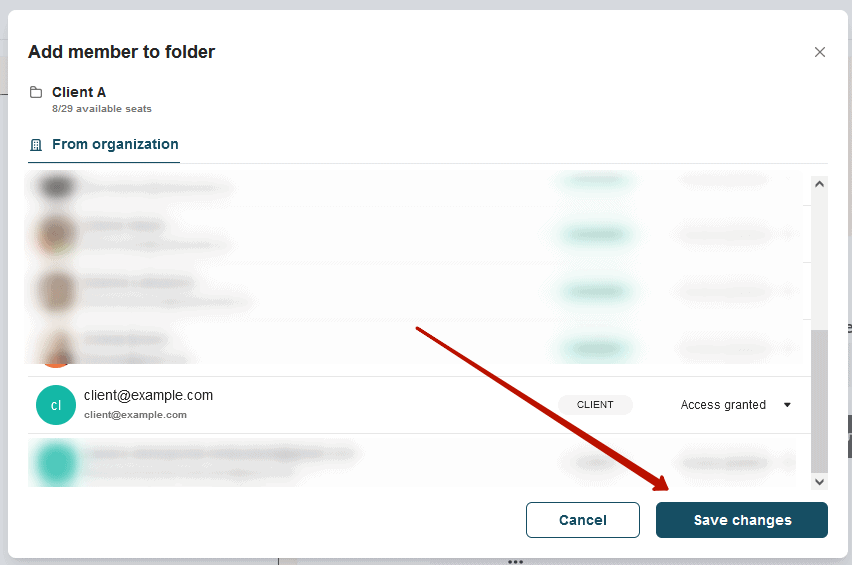
5) To grant access to the folder, click “No access” and replace it with “Access granted”. The folder and its contents will be visible to users with this status:
6) Save your changes:
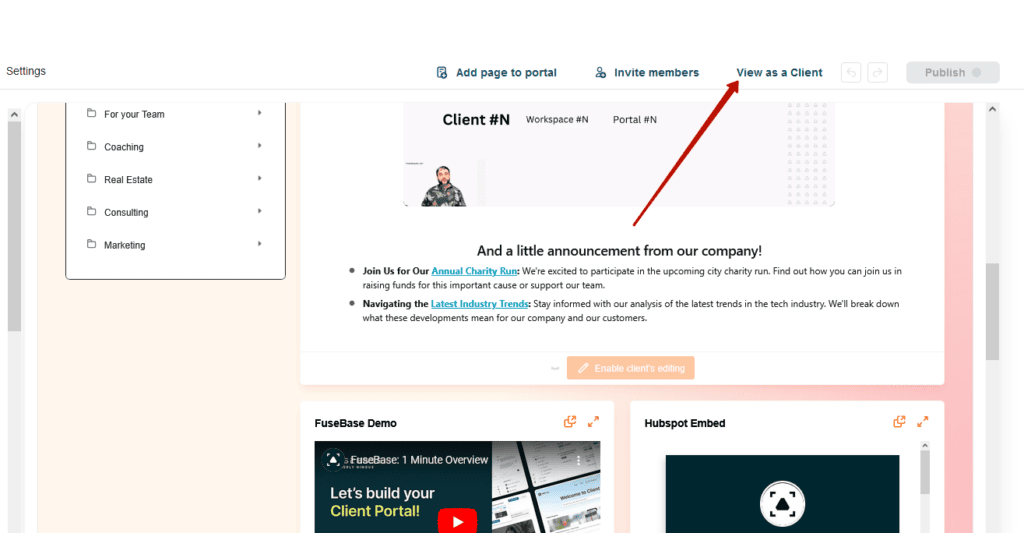
How To View The Portal From The Client Side #
If you’ve restricted access to specific areas, you’ll probably want to view the portal from the client’s perspective. To do this, go to “View as a Client” mode.
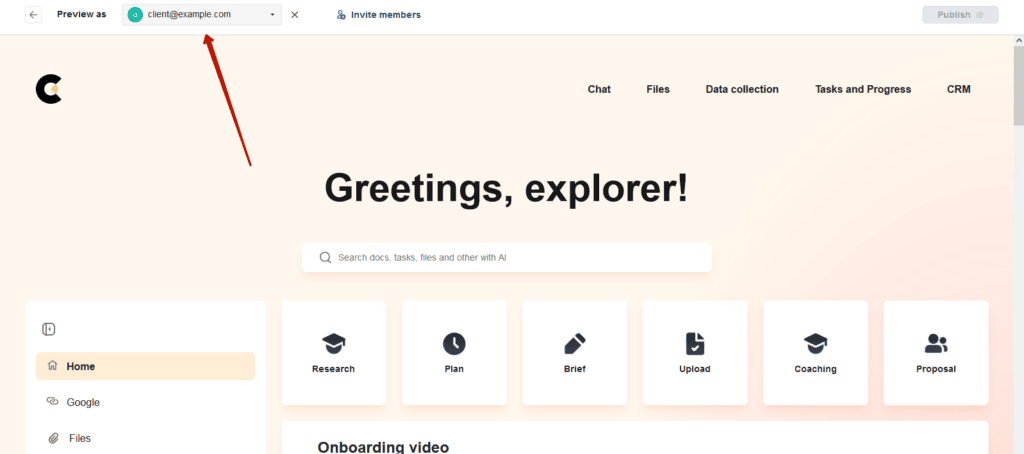
Select the desired client from the “Preview as” drop-down list. The portal view specific to this user will then be displayed.
Inviting New Users To The Folder #
To invite a new user directly to a portal folder, follow these steps:
1) Go to the Portal’s Customizer.
2) Click on “Content and Links“.
3) Hover over the folder you want to share and click on the menu. Then choose “Manage Access“

4) Click on “Invite“:

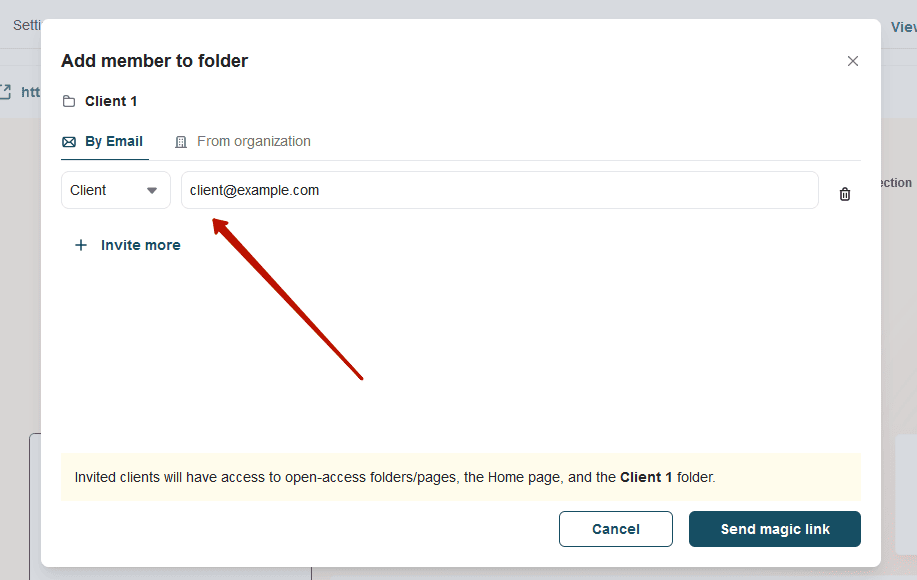
5) Go to the “By Email” tab.
6) Select a role and enter the user’s email address.
7) Click on “Send magic link“.
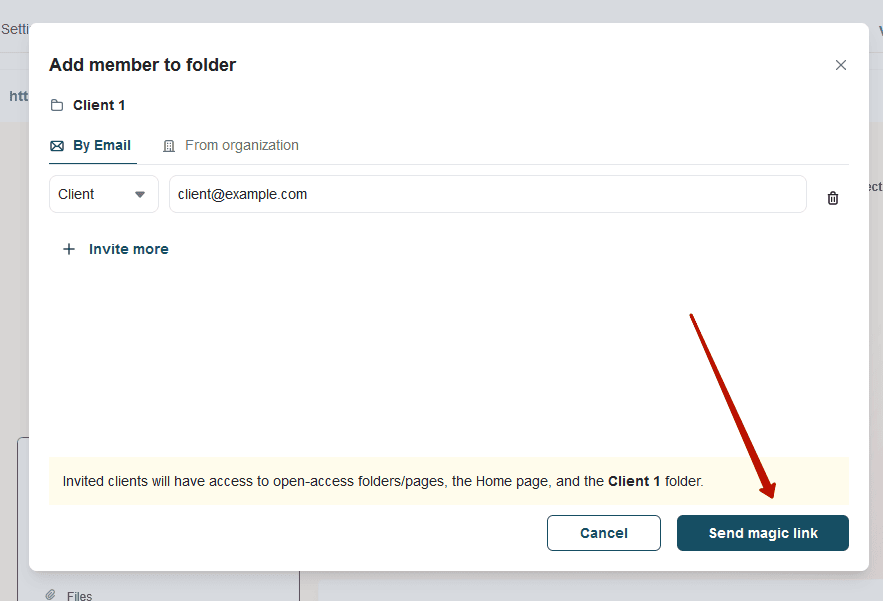
Once the user receives the invitation, they will have access to the following:
- Home page
- The folder to which they have been invited
- Portal’s footer and top bar content
Read more: