First, we’ll explain the difference between a guest account and a regular one. A participant with the rights of the Guest has the same opportunities as other members of the organization, but with one restriction – access to only one project. You can also limit the time the Guest account stays at the organization. The number of guest accounts is limited and depends on the number of members. You can add 3 guests for each member. For example, if you have 3 members, you can add 9 guests.
Add guest to organization #
There are two ways to add a guest account:
Adding a guest through the Add to Organization dialog
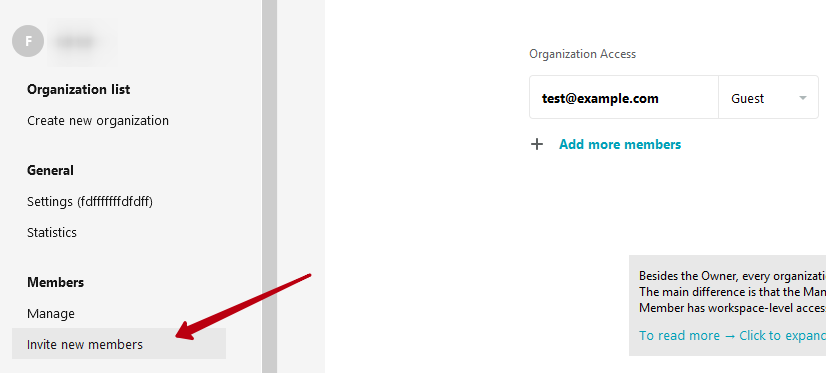
In the Members menu, click on Invite new members –
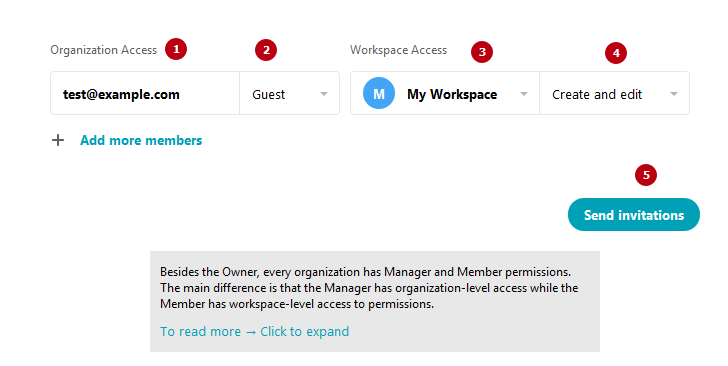
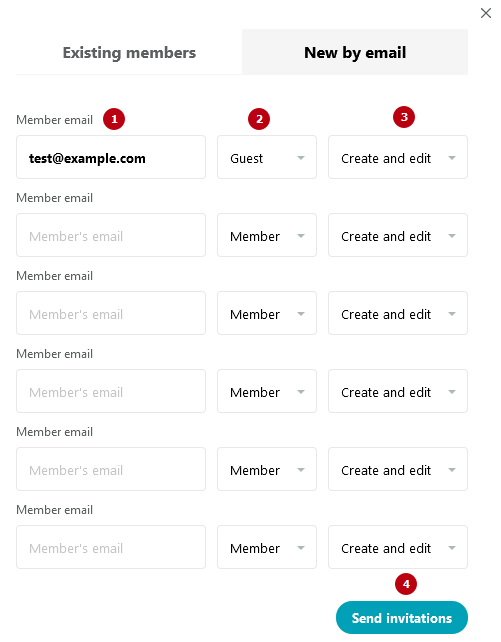
You need to:
- Enter the email address of the participant;
- Choose a role “Guest”;
- Select the desired project where the participant will be added;
- Choose permissions (edit or read-only);
- Next, click on Send invitations.
Adding a guest through the Add to Project dialog
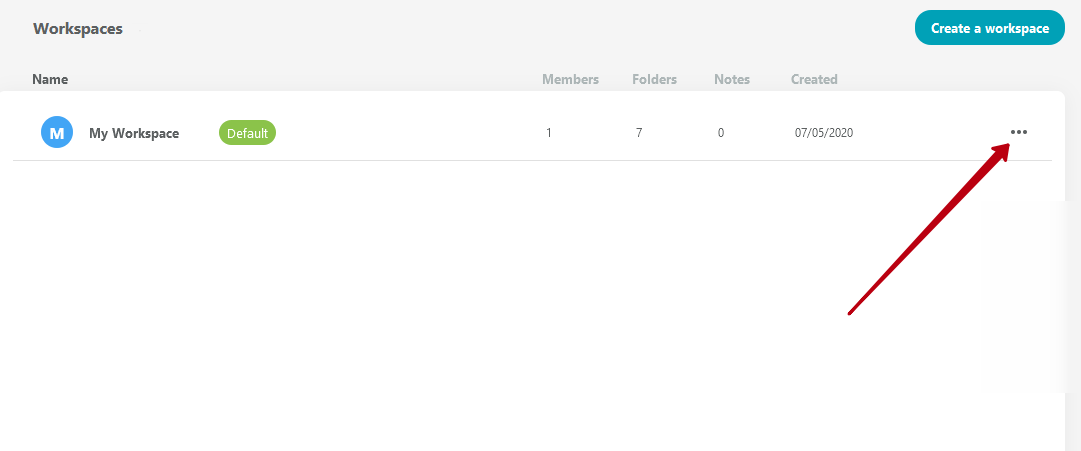
Open the list of projects and in the menu of the desired project, select Invite members –
Go to New by email –
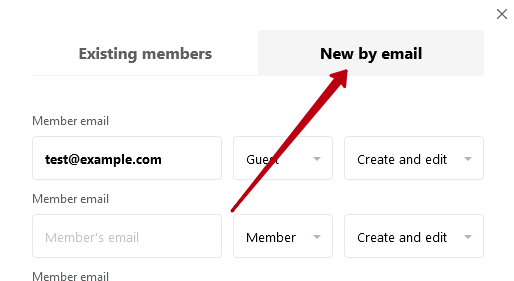
You need to:
- Enter the email address of the participant;
- Choose a role “Guest”;
- Choose permissions (edit or read-only);
- Next, click on Send invitations.
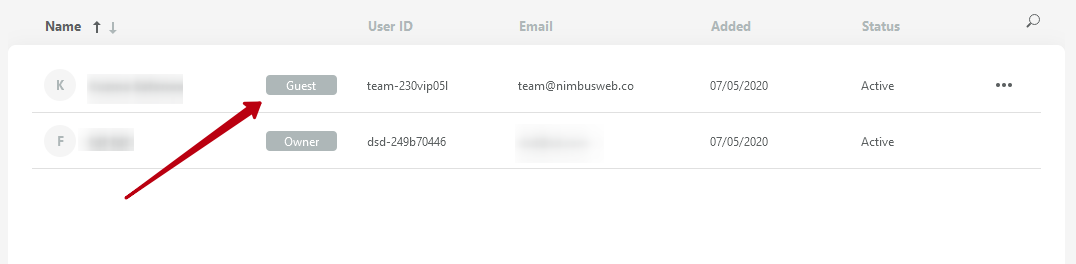
After accepting the invite, the guest will appear in the list of participants in the organization and the project. Guest accounts are highlighted on the list and are easy to find.
Expiration (time limit for staying in the organization) of guest accounts #
By default, the guest’s stay in the organization is unlimited, but if desired, you can set a period in the participant’s profile.
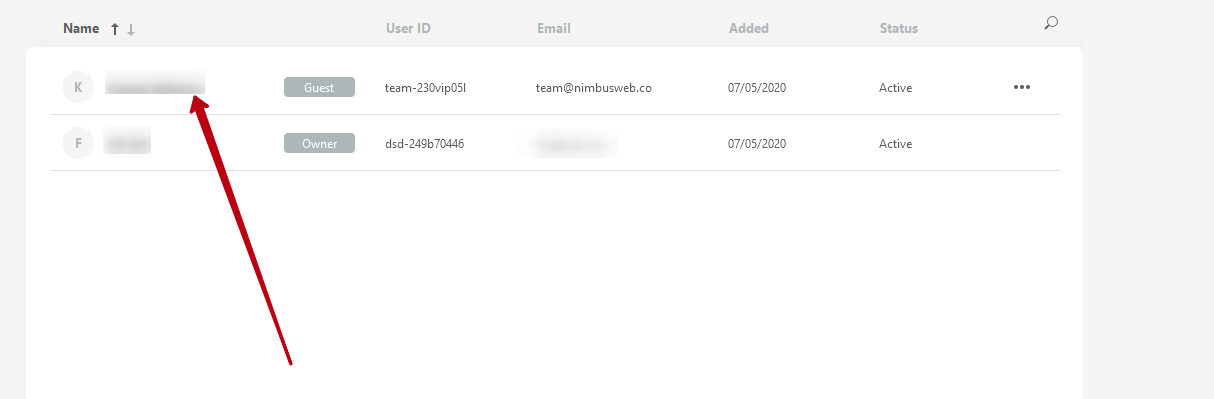
To do this, we go to the list of participants and click on the name of the desired participant.
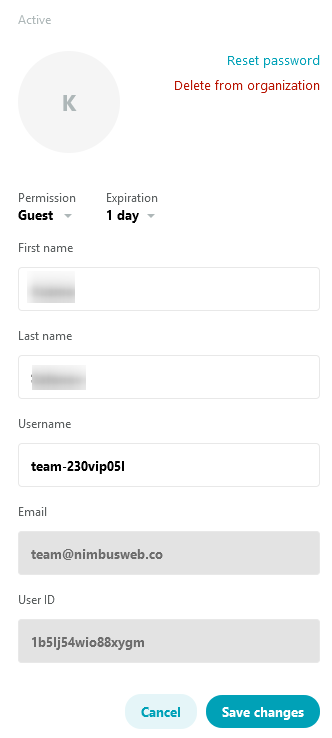
In the menu that appears, we find the item Expiration, where you can change the expiration time.
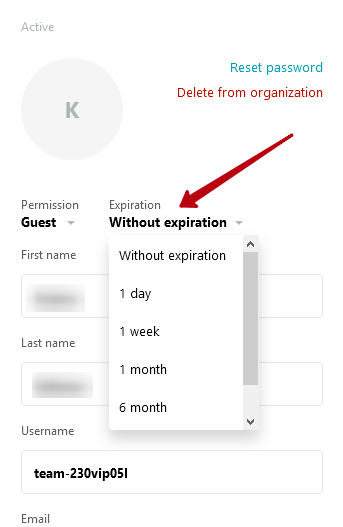
Today there are the following periods for expiration:
- Without expiration;
- 1 day;
- 1 week;
- 1 month;
- 6 months;
- 1 year.
If you set the expiration date for the guest, then in the list of participants you can see how much time is left before the end of the guest’s stay in the organization. At the end of the period, the guest is automatically removed from the organization and it will be necessary to add again.
If desired, you can change the expiration date—from a week to a day, or from a month to a year. You can even remove the expiration date. This will be in effect from the moment of the change. For example, if you added a guest on 11/21/2020 and set the expiration to one week, then the guest should leave on 11/28/2020. However, let’s say on 11/25/2020 you changed the expiration period from a week to one month. Then accordingly the guest will be deleted on 12/25/2020.
Convert guest to member #
The guest can be converted into a regular member of the organization with all opportunities (participation in various projects, etc.). This can be done through the menu participant.
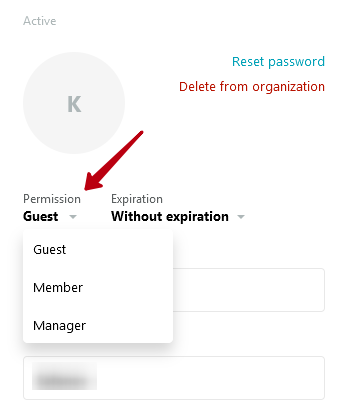
Important: You can turn a guest into a regular member, but you cannot turn an organization member into a guest.
Editing Guest Data #
Open the list of members.
Click on the name of the guest you want. Finding a guest on the list is very easy – they stand out in the list of participants.

In the menu that appears, you can:
- Change the name and surname of the participant;
- Change the avatar;
- Convert guest to regular members;
- Remove guest from the organization.
Guest Deleting #
You can remove a guest from a workspace or organization.
Delete from workspace
Open the desired project in the list of workspaces.
Click on their name.
In the menu that appears, find the guest in the Members list.
Click on Remove from workspace.
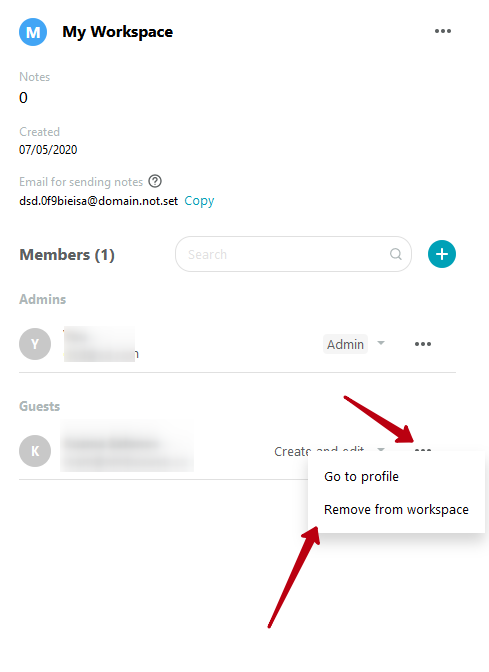
The guest will be deleted from the workspace, but will remain in the organization. It will be possible to add them to another workspace.
Deleting from organization
Open the list of members of the organization.
Click on the guest name.
In the window that appears, click on Delete and confirm the action.
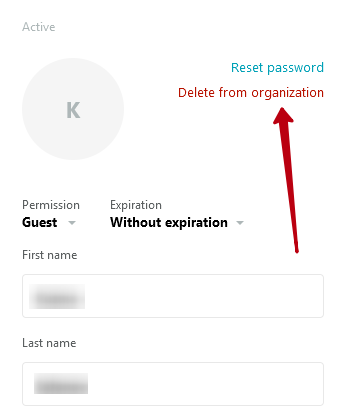
The guest has been removed from the workspace and the organization.