In portals, you can fully communicate with your portal visitors through the chat widget. It’s very simple to set up and only takes a couple of minutes.
Adding chat to the portal #
1) Go to the customizer of your portal.
2) Go to the desired page or create a new one.
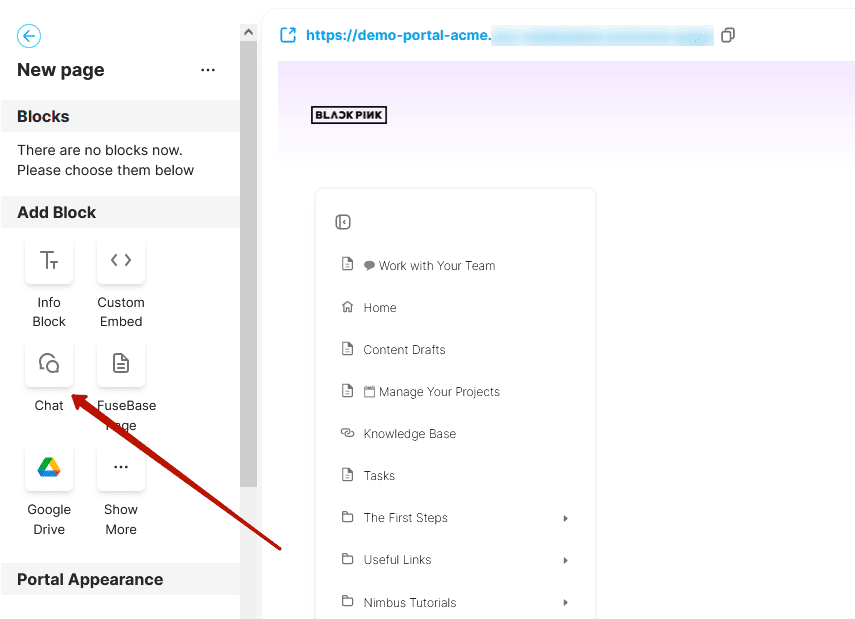
3) Click on Chat in the Add block section.
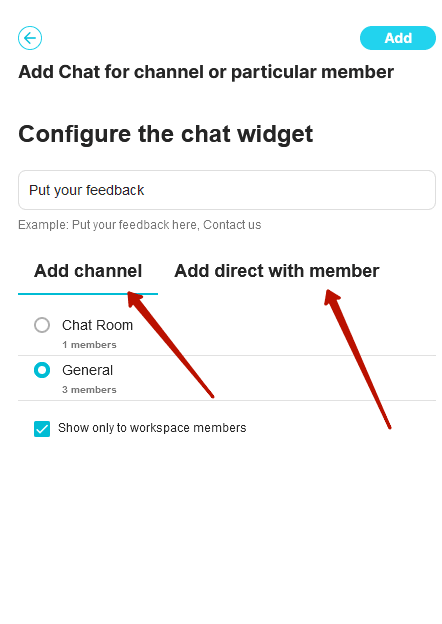
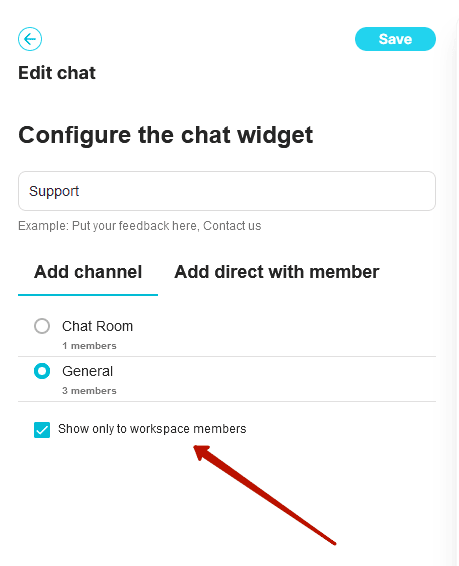
4) Next, you need to select the desired channel or team member that chat messages will be sent to.

Click on the desired channel or participant to select them.
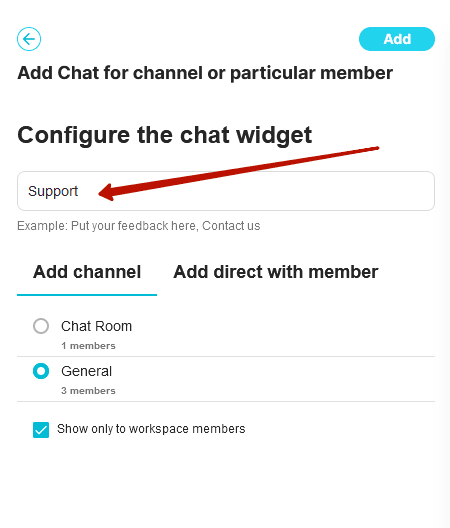
5) Specify the name of the chat room.
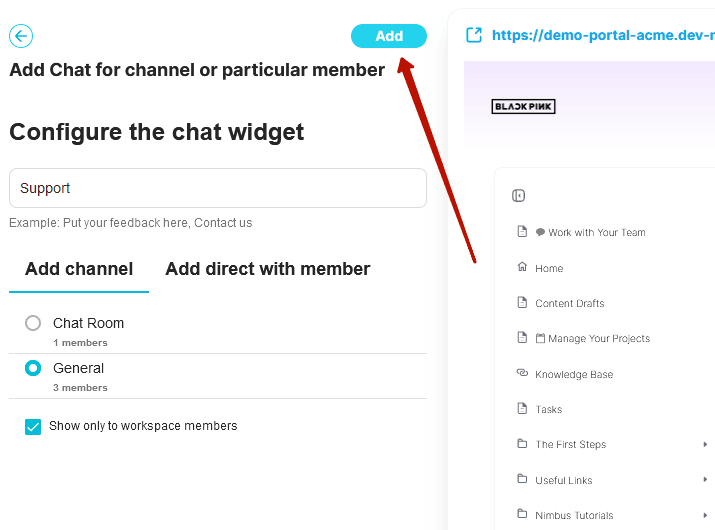
6) Click on Add to save the chat.
8) Publish the changes to the portal.
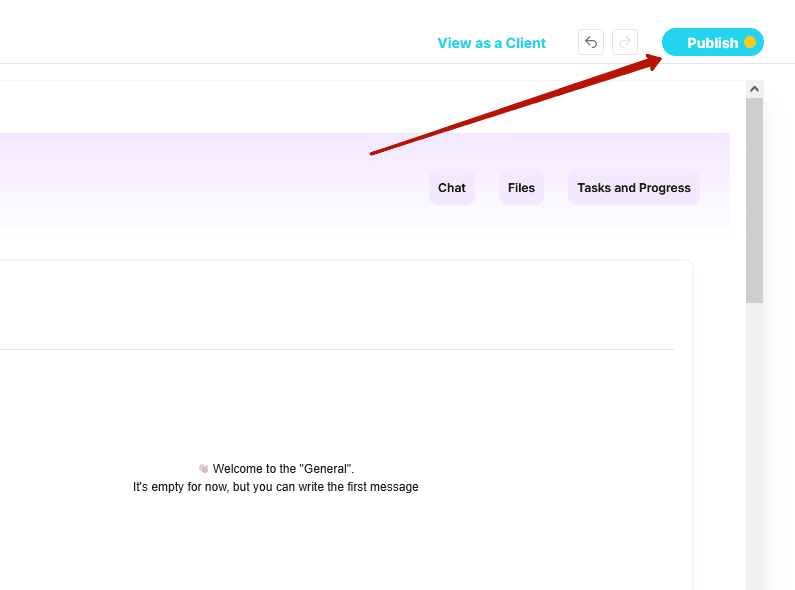
It’s done! Chat is added to the page. Visitors can send you messages and you can reply to them.
The “Show only to workspace member” option #
By default, only members of your organization can see the chat content. However, you can uncheck the Show only to workspace member checkbox, then all visitors will be able to see the chat content, but only organization members will be able to reply.
Editing a Chat widget #
If you wish, you can always:
- change the chat name
- choose a different channel or member of the organization
To do this, hover over the widget and click on the Edit icon.
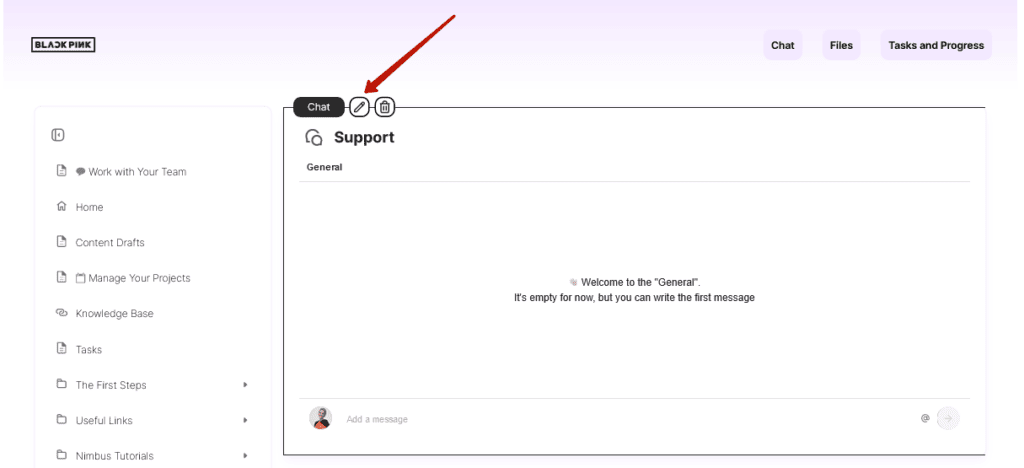
Next, make the desired changes and save them.
Widget removal #
If you want to remove a widget from the chat page, click on the Delete widget icon.
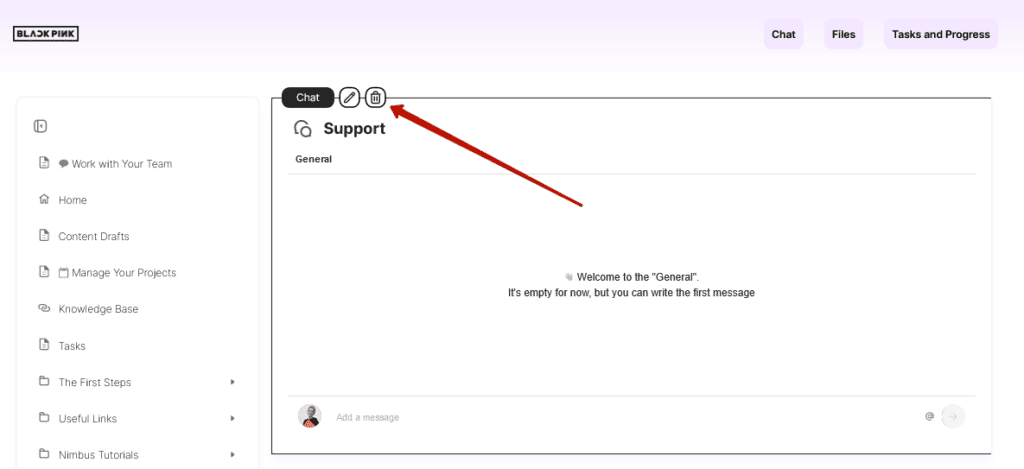
Next, click on Delete.
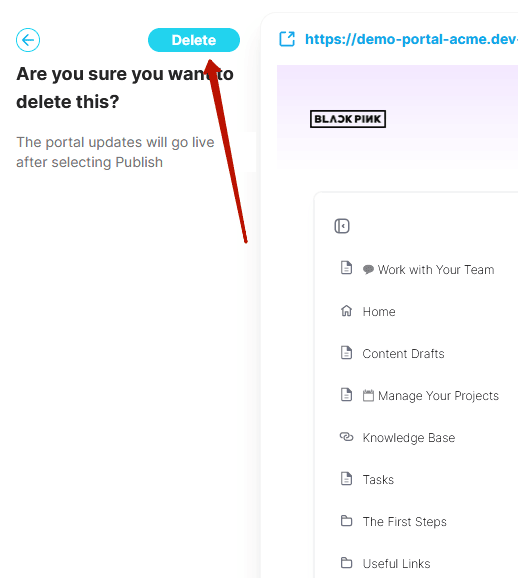
Finally, publish the changes in the portal.