In Fusebase, you can use your own domain for portals (e.g., portal.yourdomain.com). Before setting the portal with Custom Domain, you need to configure the Custom Domain for your organization. You can find more information in our guide: https://nimbusweb.me/guides/branding/custom-subdomains-cname/
At the moment, adding your own domain is only possible for new portals. If you want to add your domain to an existing portal, please contact support.
Connecting a CNAME (Custom Domain) to your portal #
If you want to use your own domain name, and you have access to your registrar’s dashboard / DNS control panel, you can easily connect your custom URL to the portal. In order to do so, please follow these steps:
1. Click on the icon + and choose “New Portal” and the workspace you need.
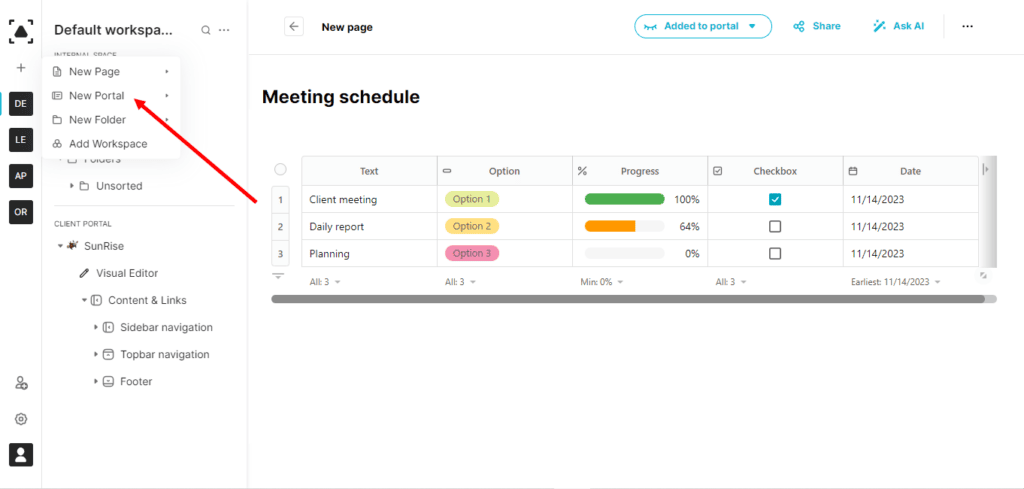
2. The window with the wizard will appear.
3. Enter the title of your portal and the domain you want to use as in the example below. It may be any valid. You need to provide the portal URL in the format subdomain.yourdomain. For example, if your domain is example.com and the desired subdomain is client, then you should enter client.example.com. The screenshot shows an example URL for our test portal –
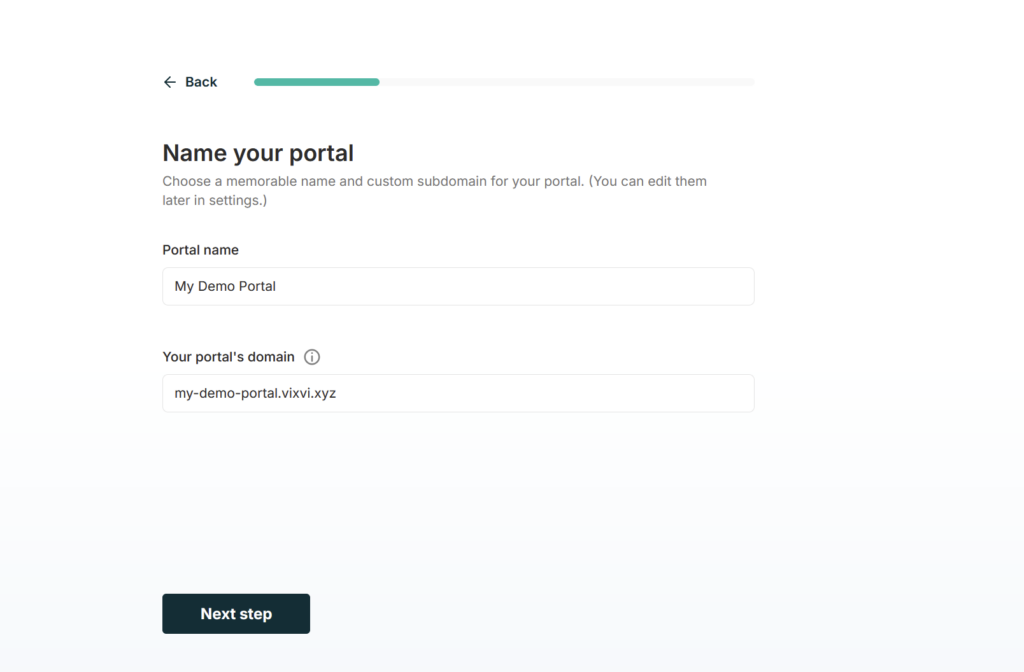
4. Complete the wizard and you will be redirected to the portal customizer.
5. Here you can see the message, click on the “Activate Cname” and the window with the DNS settings will be opened. Here you will see 2 CNAME records (each record has a Name and Value) that need to be added to your domain’s DNS settings.
6. Depending on the registrar, the setup process may vary. Here are guides for configuring CNAME for the most popular registrars:
If you encounter any difficulties, feel free to contact our support team and we’ll help you set everything up (free of charge, of course).
7. After the DNS records are added, it may take some time before the portal becomes active on your domain. Usually, this takes no more than 10–20 minutes.
I don’t want to manually configure DNS records for each portal #
We understand that if you have many portals, create them frequently, and use automation, setting up DNS manually can be tedious, time-consuming, and inconvenient.
For such cases, we’ve started testing a new technology – Wild Card. It allows portals to be automatically set up on your domain without manually adding DNS records each time. You only need to add the DNS records once, and everything else will work automatically.
We’re currently testing this technology, and if you’d like to enable it for your organization, please contact our support – https://thefusebase.com/support/ Enabling Wild Card is completely free.