With Zapier, you can integrate Nimbus Platfom with thousands of other services and automate
its work. You will be able to send content from Nimbus Platform to other services and vice versa – to save content in Nimbus Platform.
Getting Started with Zapier #
To get started with Zapier and automate your Nimbus Platform, follow these steps:
1. Open https://zapier.com
2. Create an account or log in to an existing account

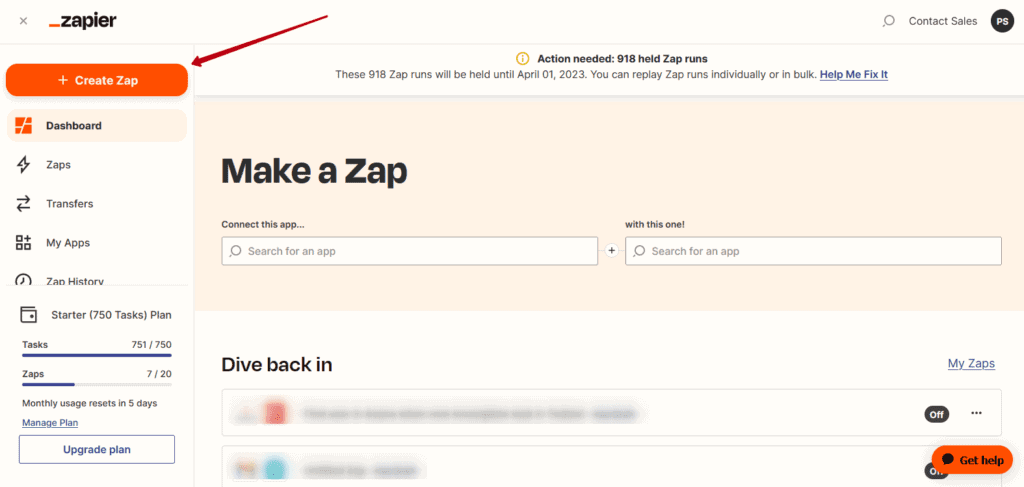
3. Click on Create Zap
Zapier has Actions and Triggers.
Actions – you want to call actions in Nimbus Platform in response to events in another service.
For example, you created a post on Facebook, and in response, a folder was created in
Nimbus Platform.
Triggers – the events in Nimbus Platform that can cause a response action in another service.
For example, you created a page in Nimbus Platform, and in response, an event was created in Google Calendar with a link to the page. Let’s try to understand based on concrete examples.
Actions in Zapier for Nimbus Platform #
Nimbus Platform for Zapier has three actions:
- Create workspace
- Create folder
- Create page
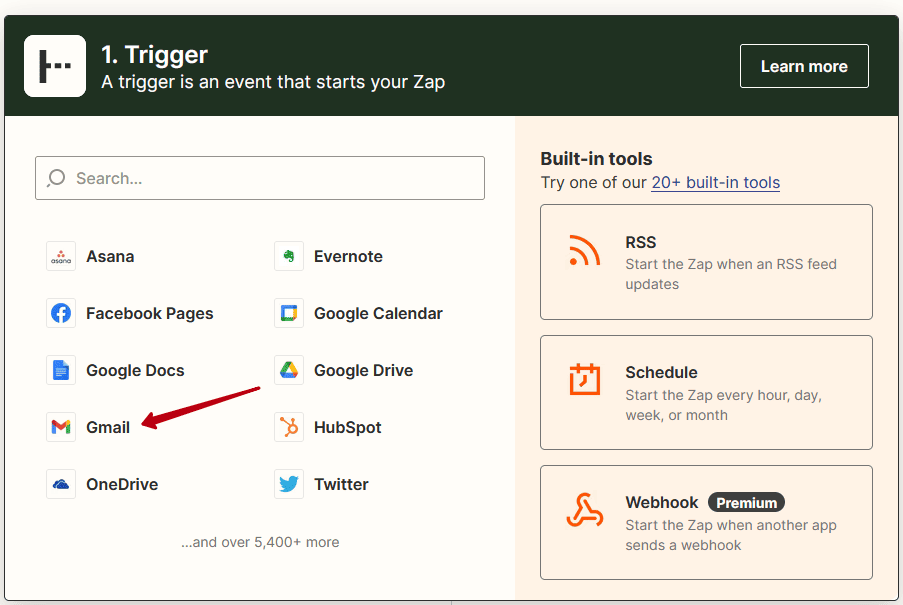
Let’s try to create an Action – Saving emails from Gmail to the new page of Nimbus Platform.
1) Select Gmail
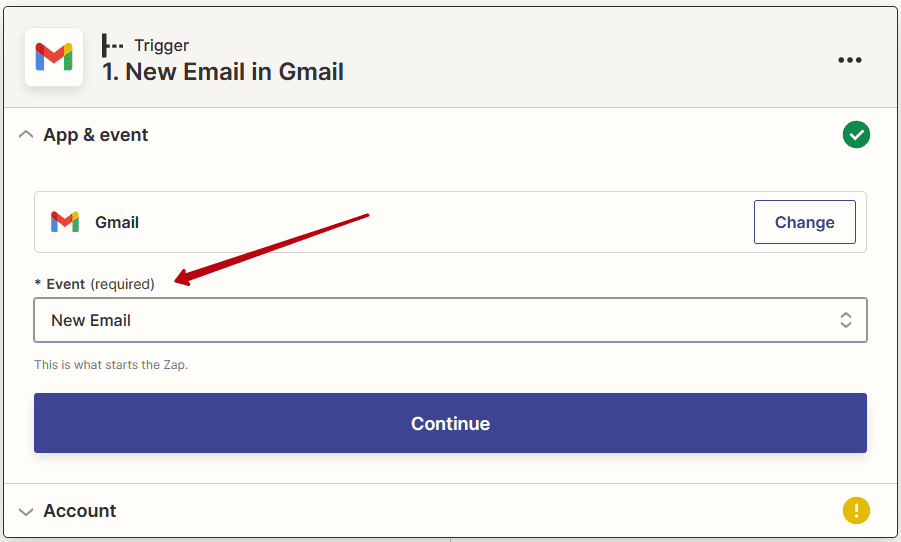
2) Select the new email event and click Continue
3) Log in to your Gmail account and click Continue
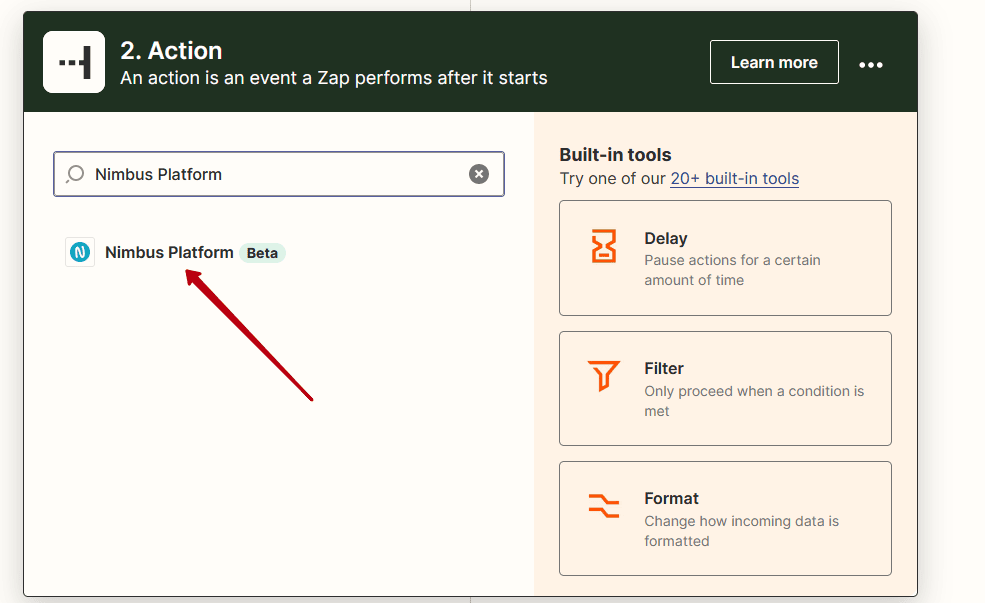
4) Search for Nimbus Platform and click on it
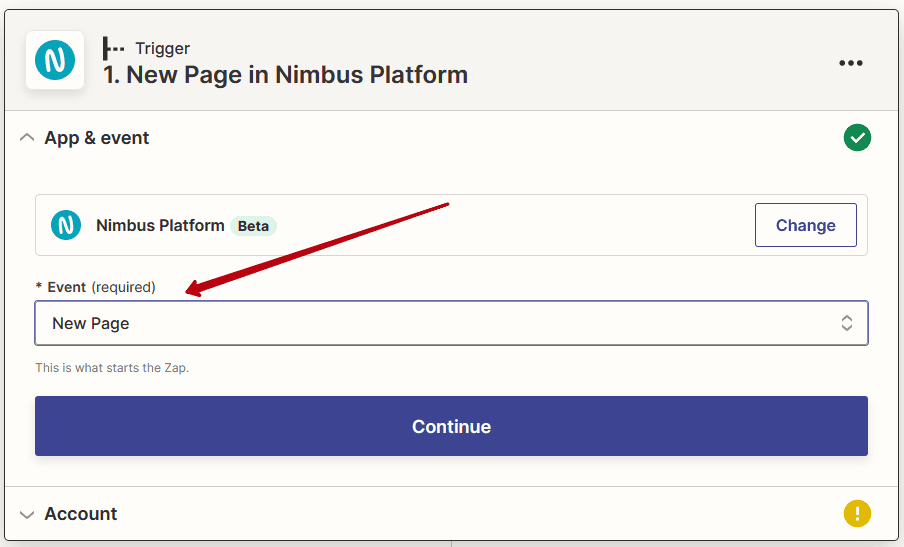
5) Select the New Page event and click Continue

6) Log in to your Nimbus Platform account and click Continue
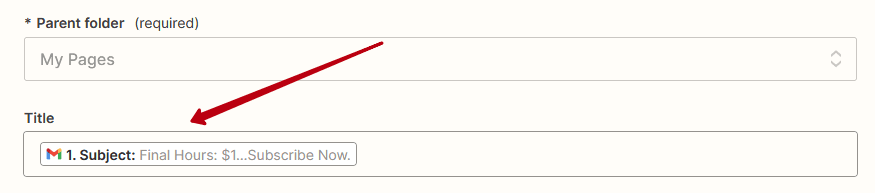
7) Select the organization, workspace, and folder in which the pages will be created

8) In Title, select Subject so that the name of the page is taken from the name of the email
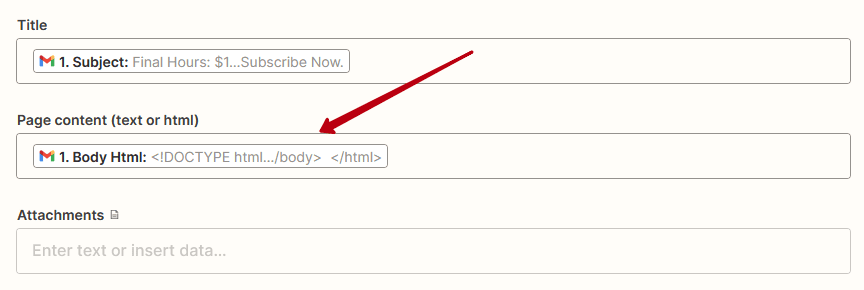
9) In Page Content, select Body HTML
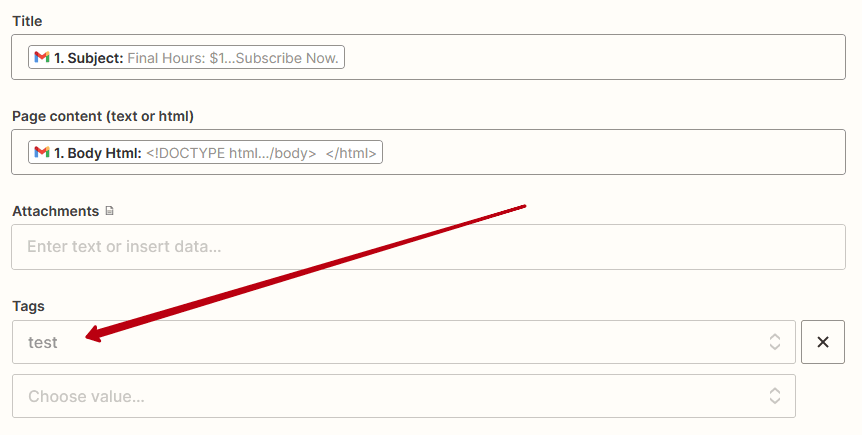
10) In Tags, select the tags you want to add to new pages
11) Next, click Continue, and activate your Zap after a short check. After activation, all new
emails will be automatically saved in the Nimbus Platform.
Triggers in Zapier for Nimbus Platform #
Nimbus Platform for Zapier has two triggers:
- Create folder
- Create page
Let’s try creating a Trigger – Create a Facebook post after creating a page in Nimbus Platform.
1) Type Nimbus Platform in the search box and click on it

2) Select the new page event and click Continue
3) Log in to your Nimbus Platform account and click Continue
4) Select the organization, workplace, and folder in which the pages will be created for
Facebook

5) Select Facebook Pages
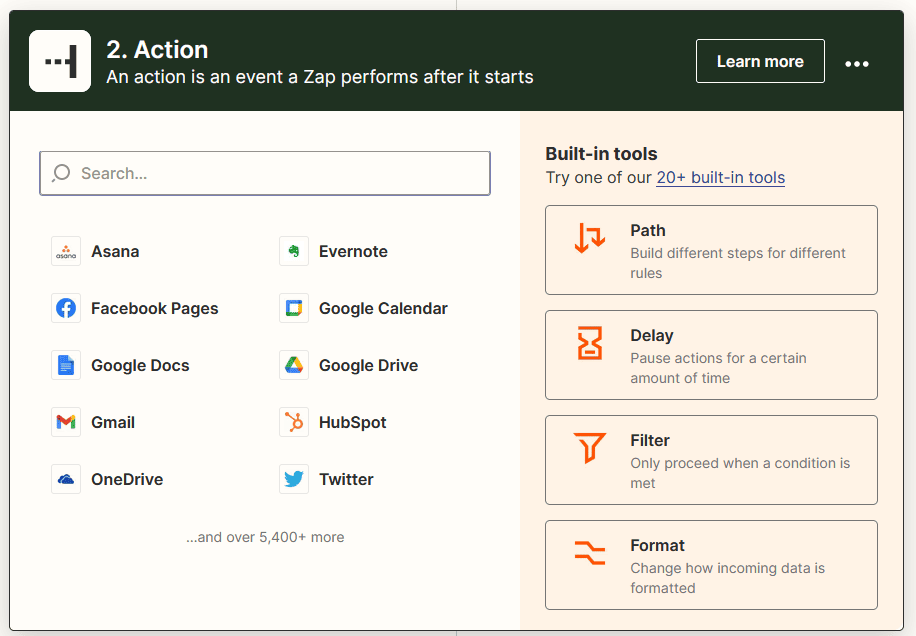
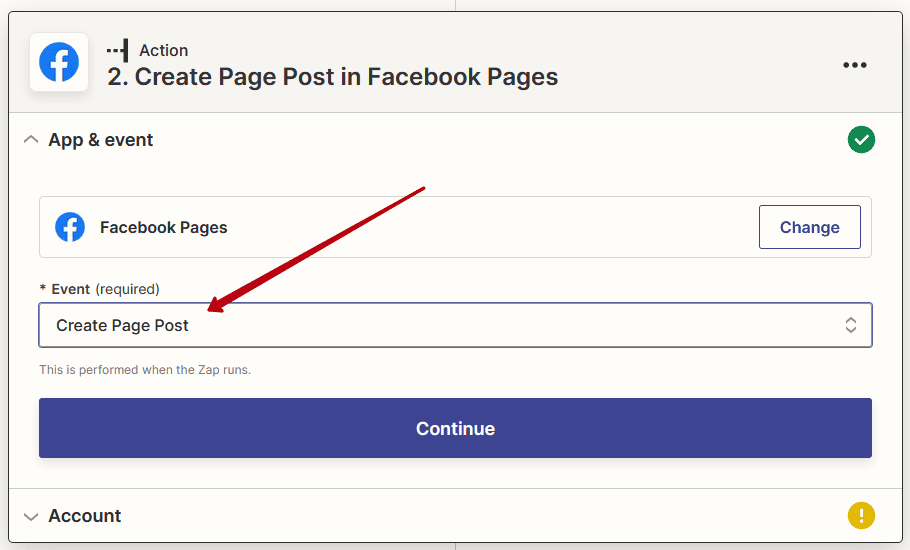
6) Select Create Page, post the event, and click Continue
7) Select your Facebook account
8) Select the page on which the post will be created
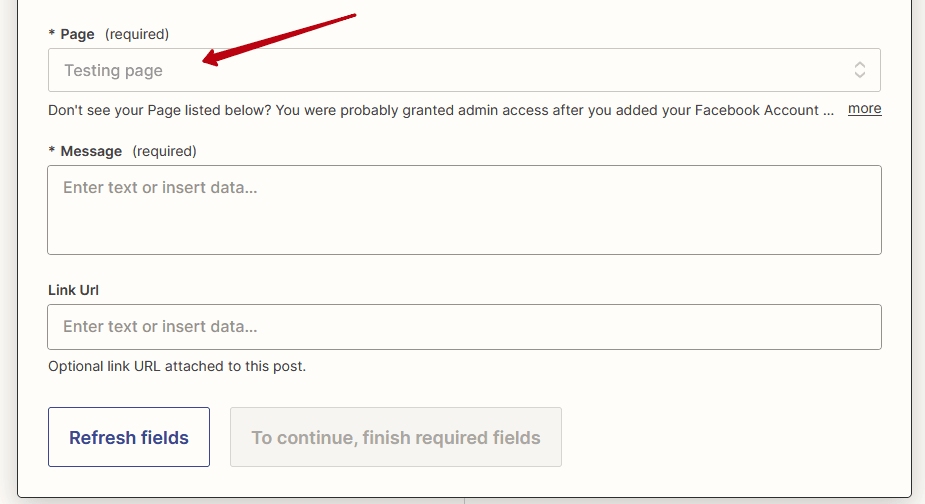
9) In Message, select HTML (page content)
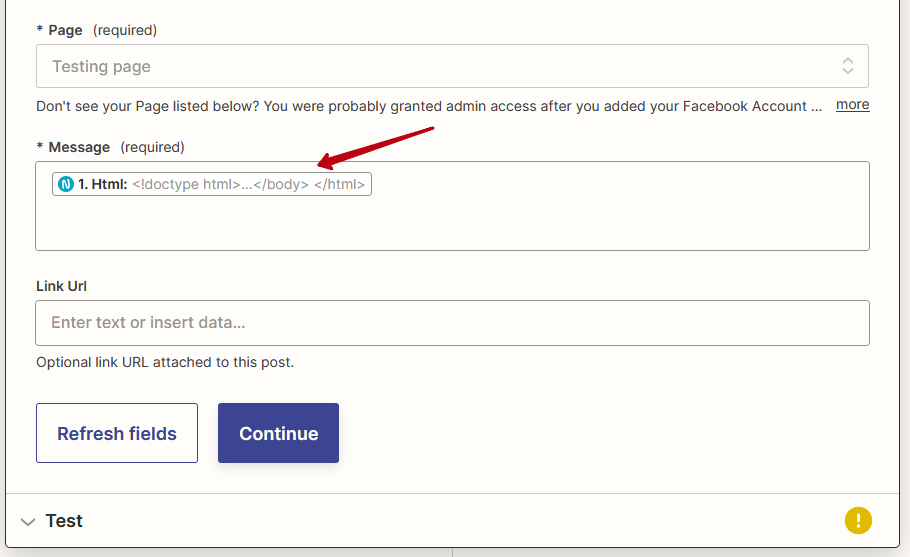
10) Next, click Continue, and activate your Zap after a short check. After activation, new
Facebook posts will be created based on the content of your Nimbus Platform pages.