On Nimbus Note, you can change the appearance of public pages / folders and add components of your brand to them. This option is only available for organizations. For each workspace, you can change the appearance of public pages.
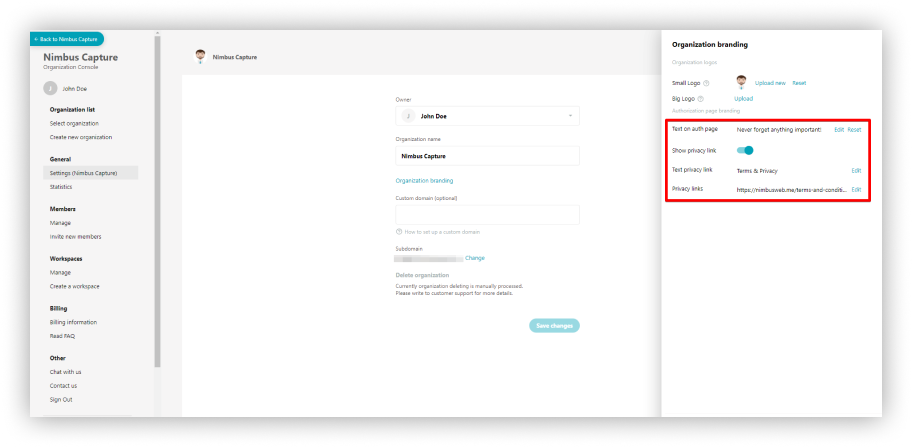
Organization branding #
Organization logo #
To set an organization logo you need to:
- Click on Organization branding.
- Upload small logo to display the logo in the organization settings and in embeds.
- Upload big logo to display on the login page.

Authorization page branding #
- Write a welcome text for members of the organization (instead of the default standard welcome).
- Provide your link for the Privacy Policy (or remove it).
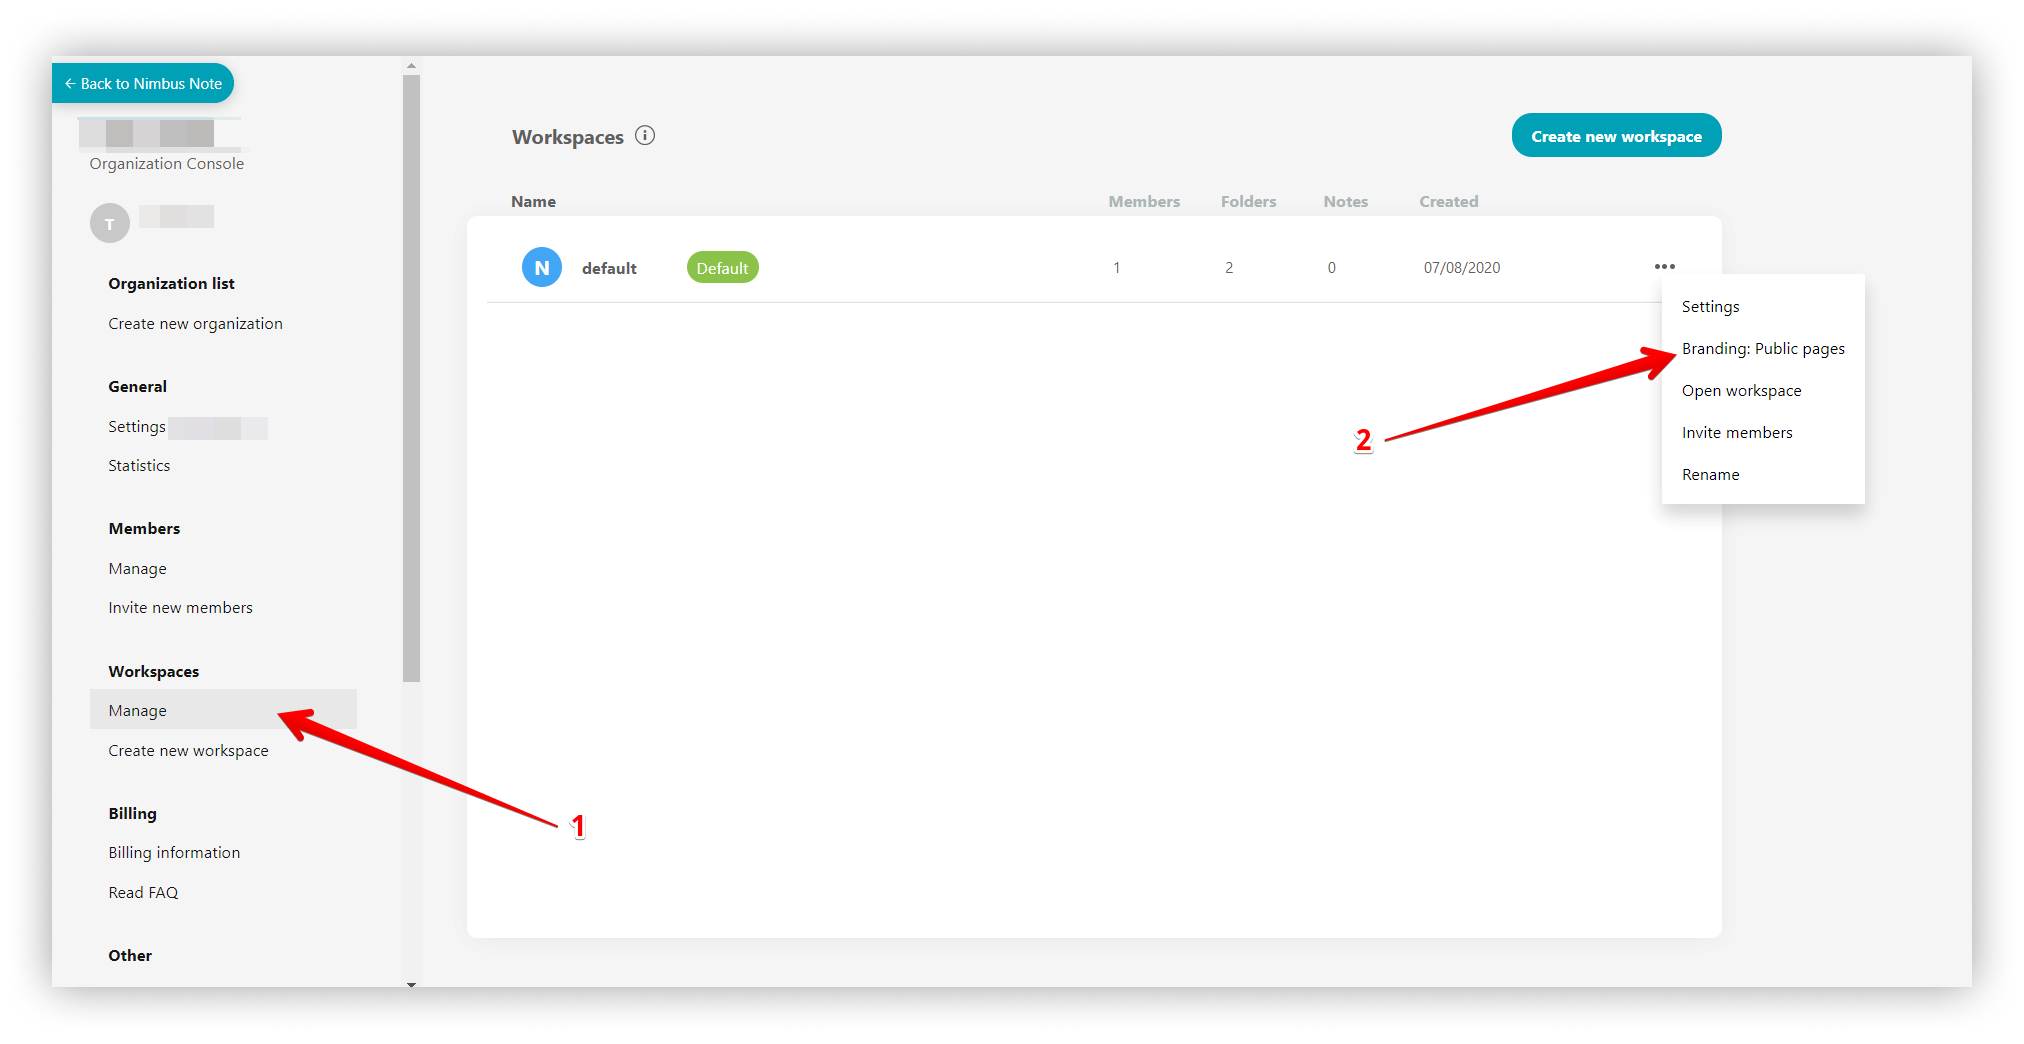
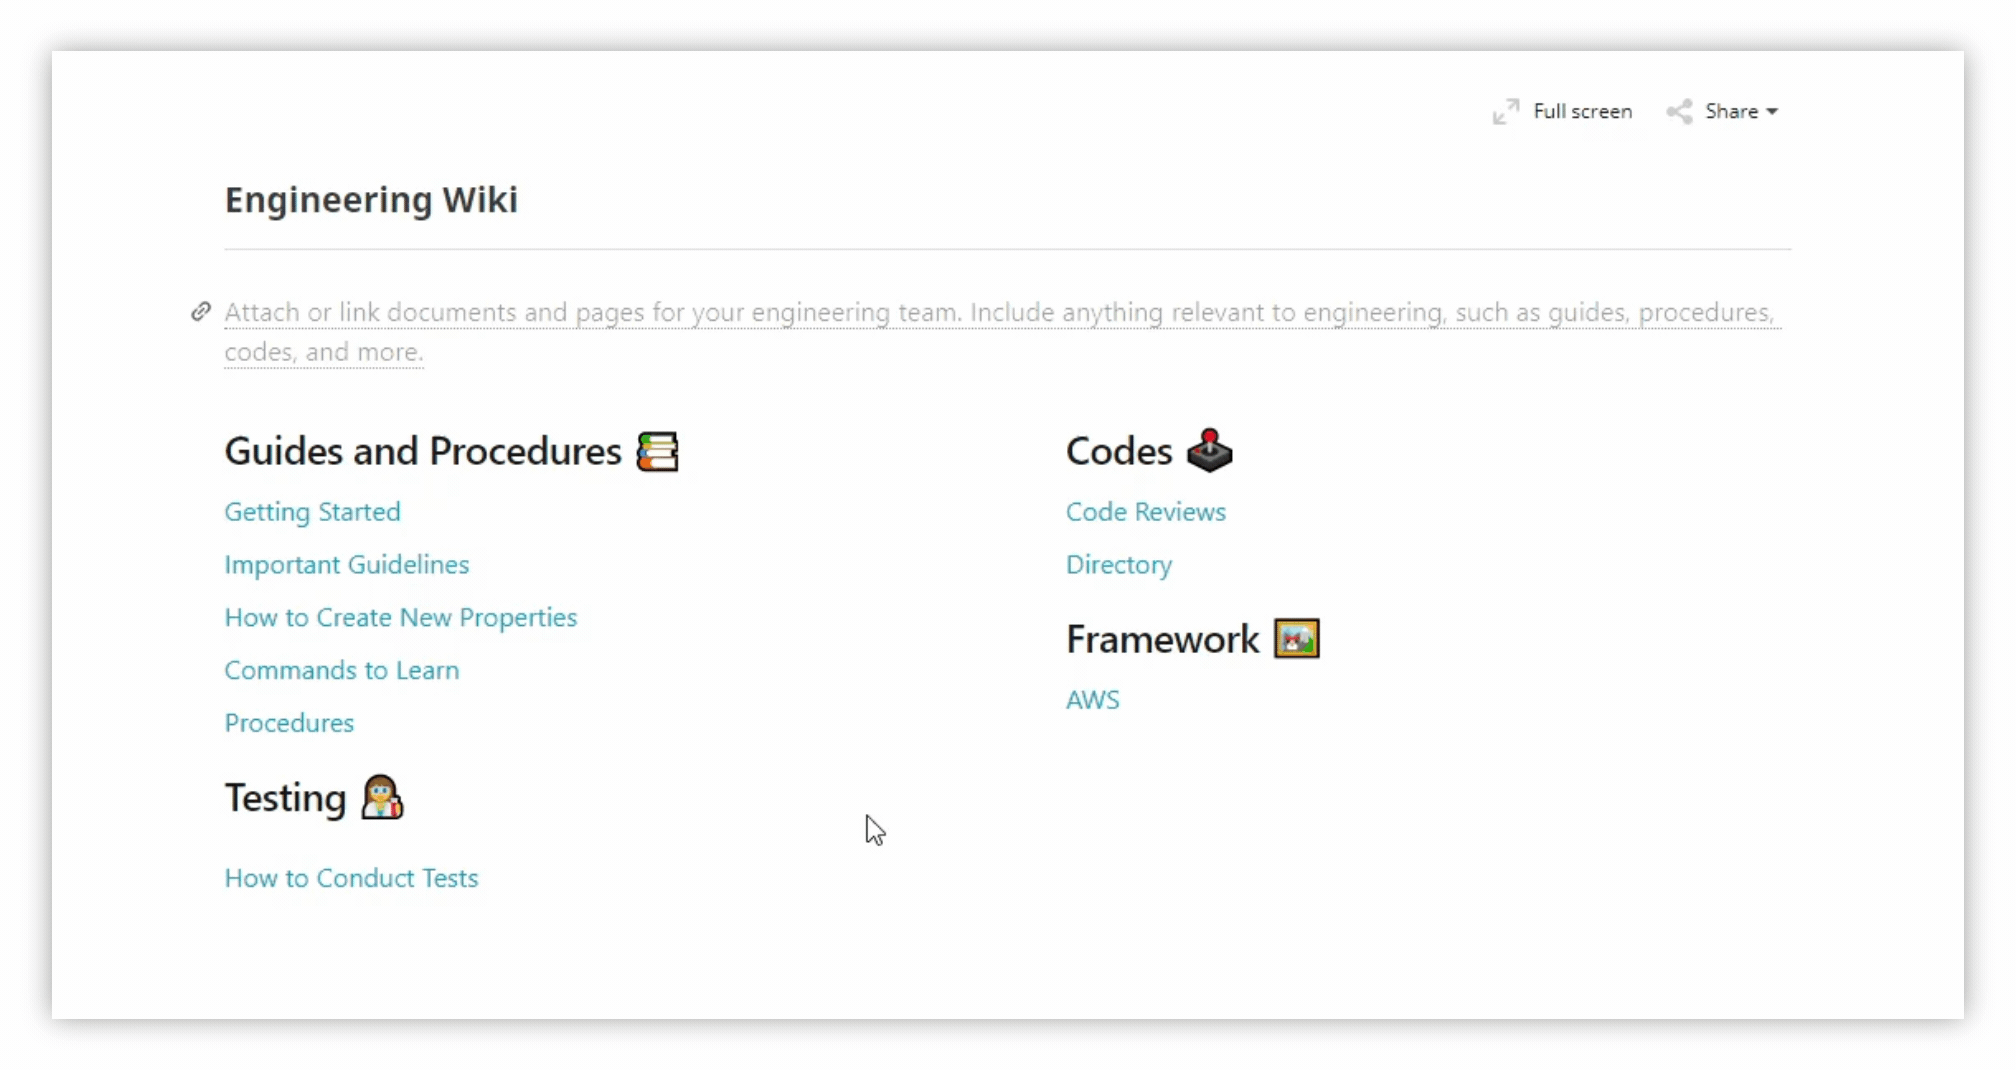
Branding for public pages #
To customize the look you want:
- Open the business organization dashboard at https://teams.nimbusweb.me.
- Go to the Workspaces page.
- Click the menu of the desired workspace and select Branding : Public pages.
.png)
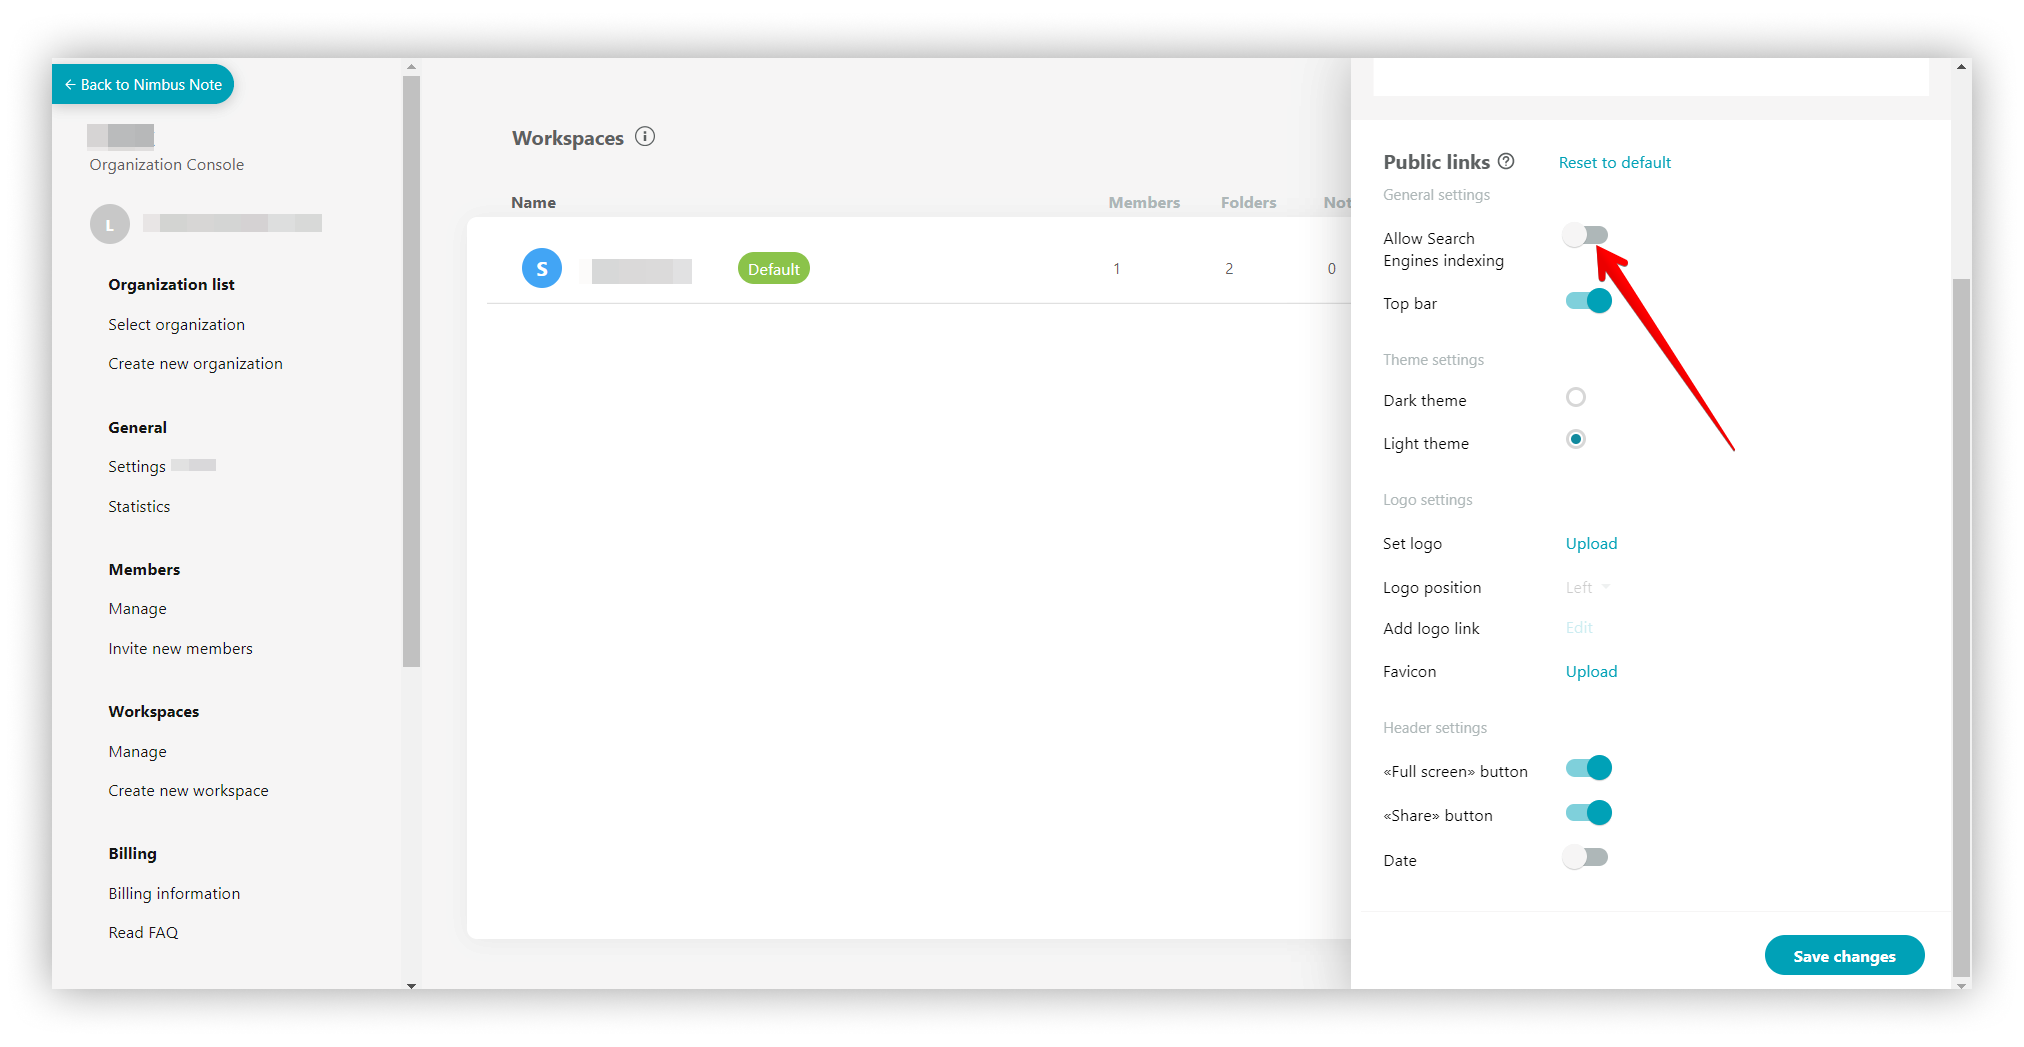
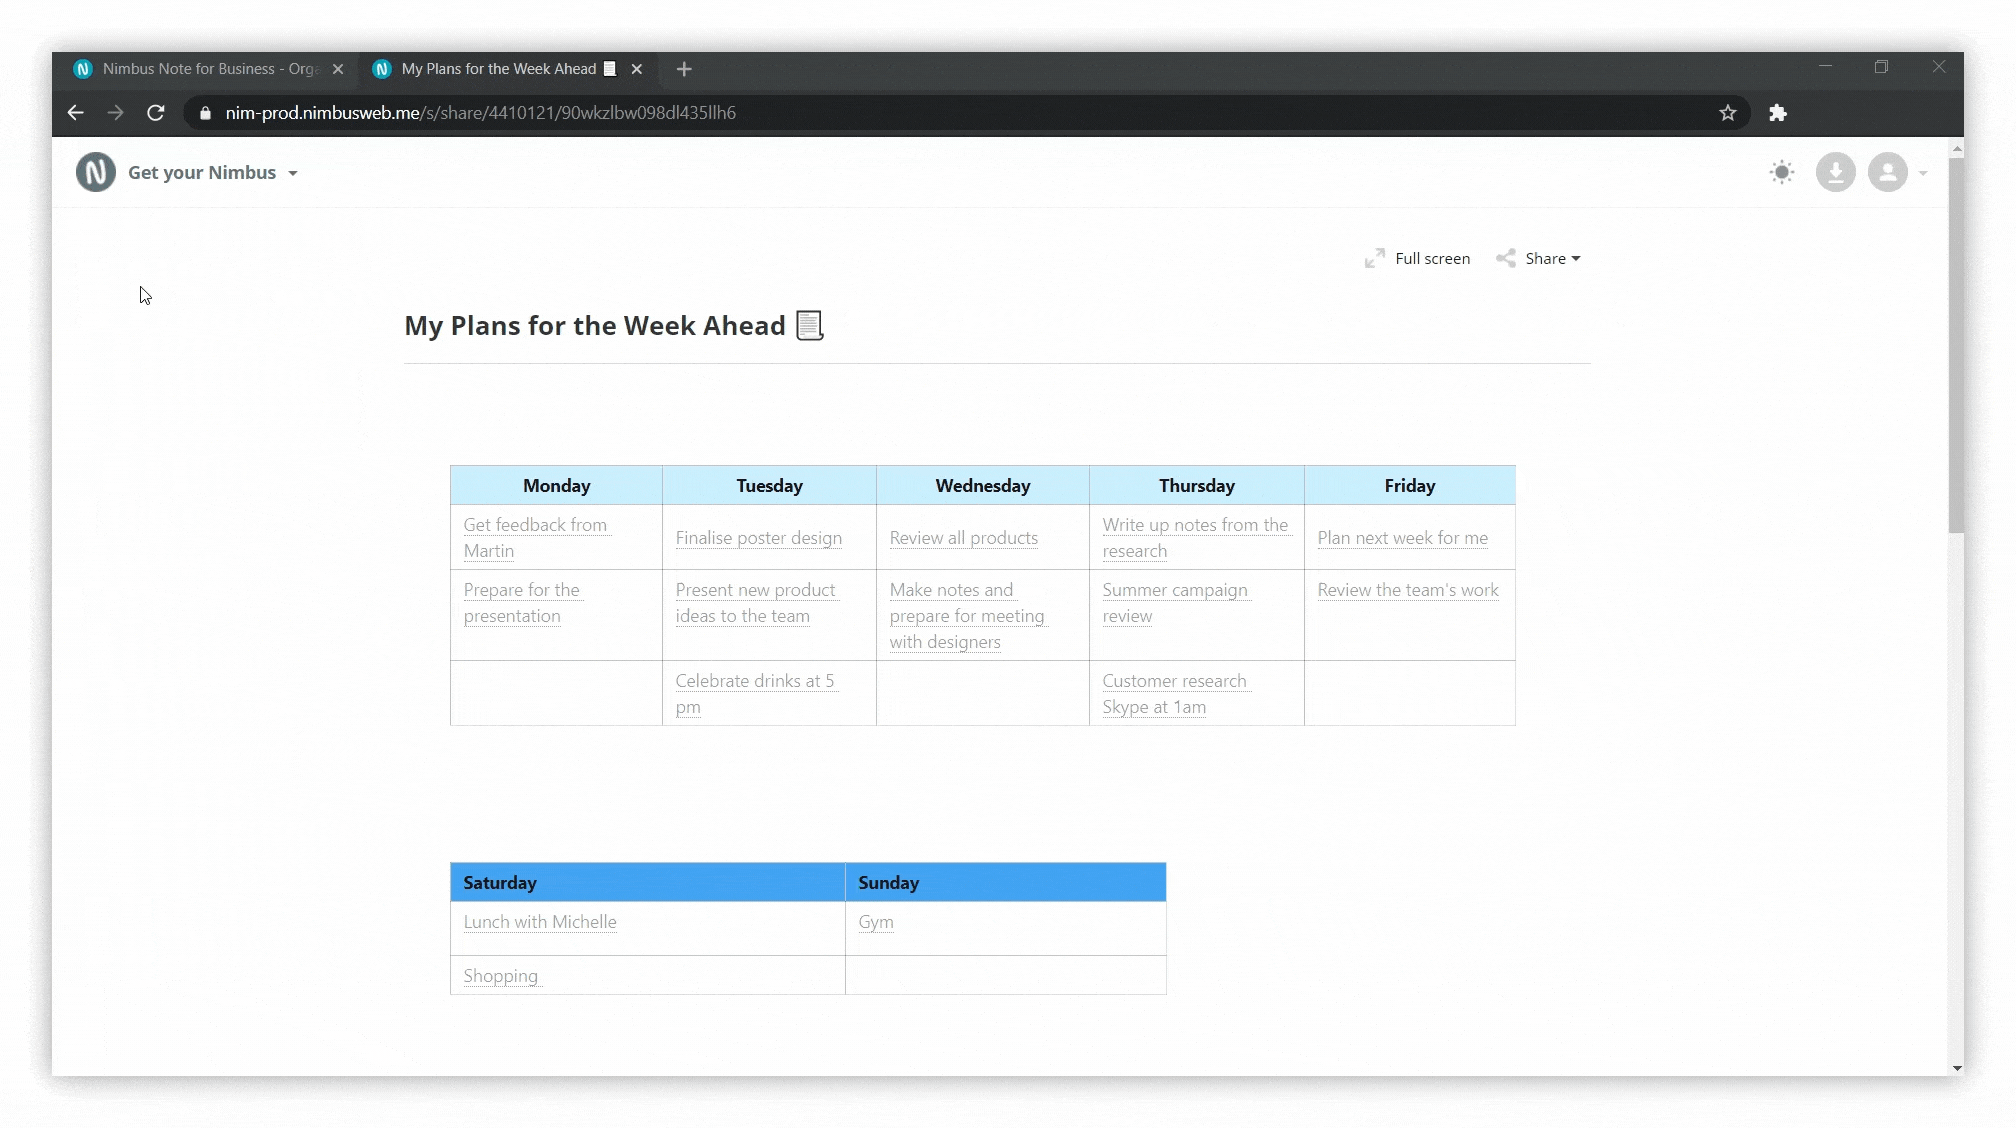
Next, a menu will open, allowing you to change the appearance of public pages.
- At the moment, you can change the upper components of a public page (logo, top bar, buttons, and so on). For your convenience we also allow you to view a demo of the public page, so you can immediately see what your public page or folder will look like.
Important: after you have made the changes, you need to save them using the Save changes button.
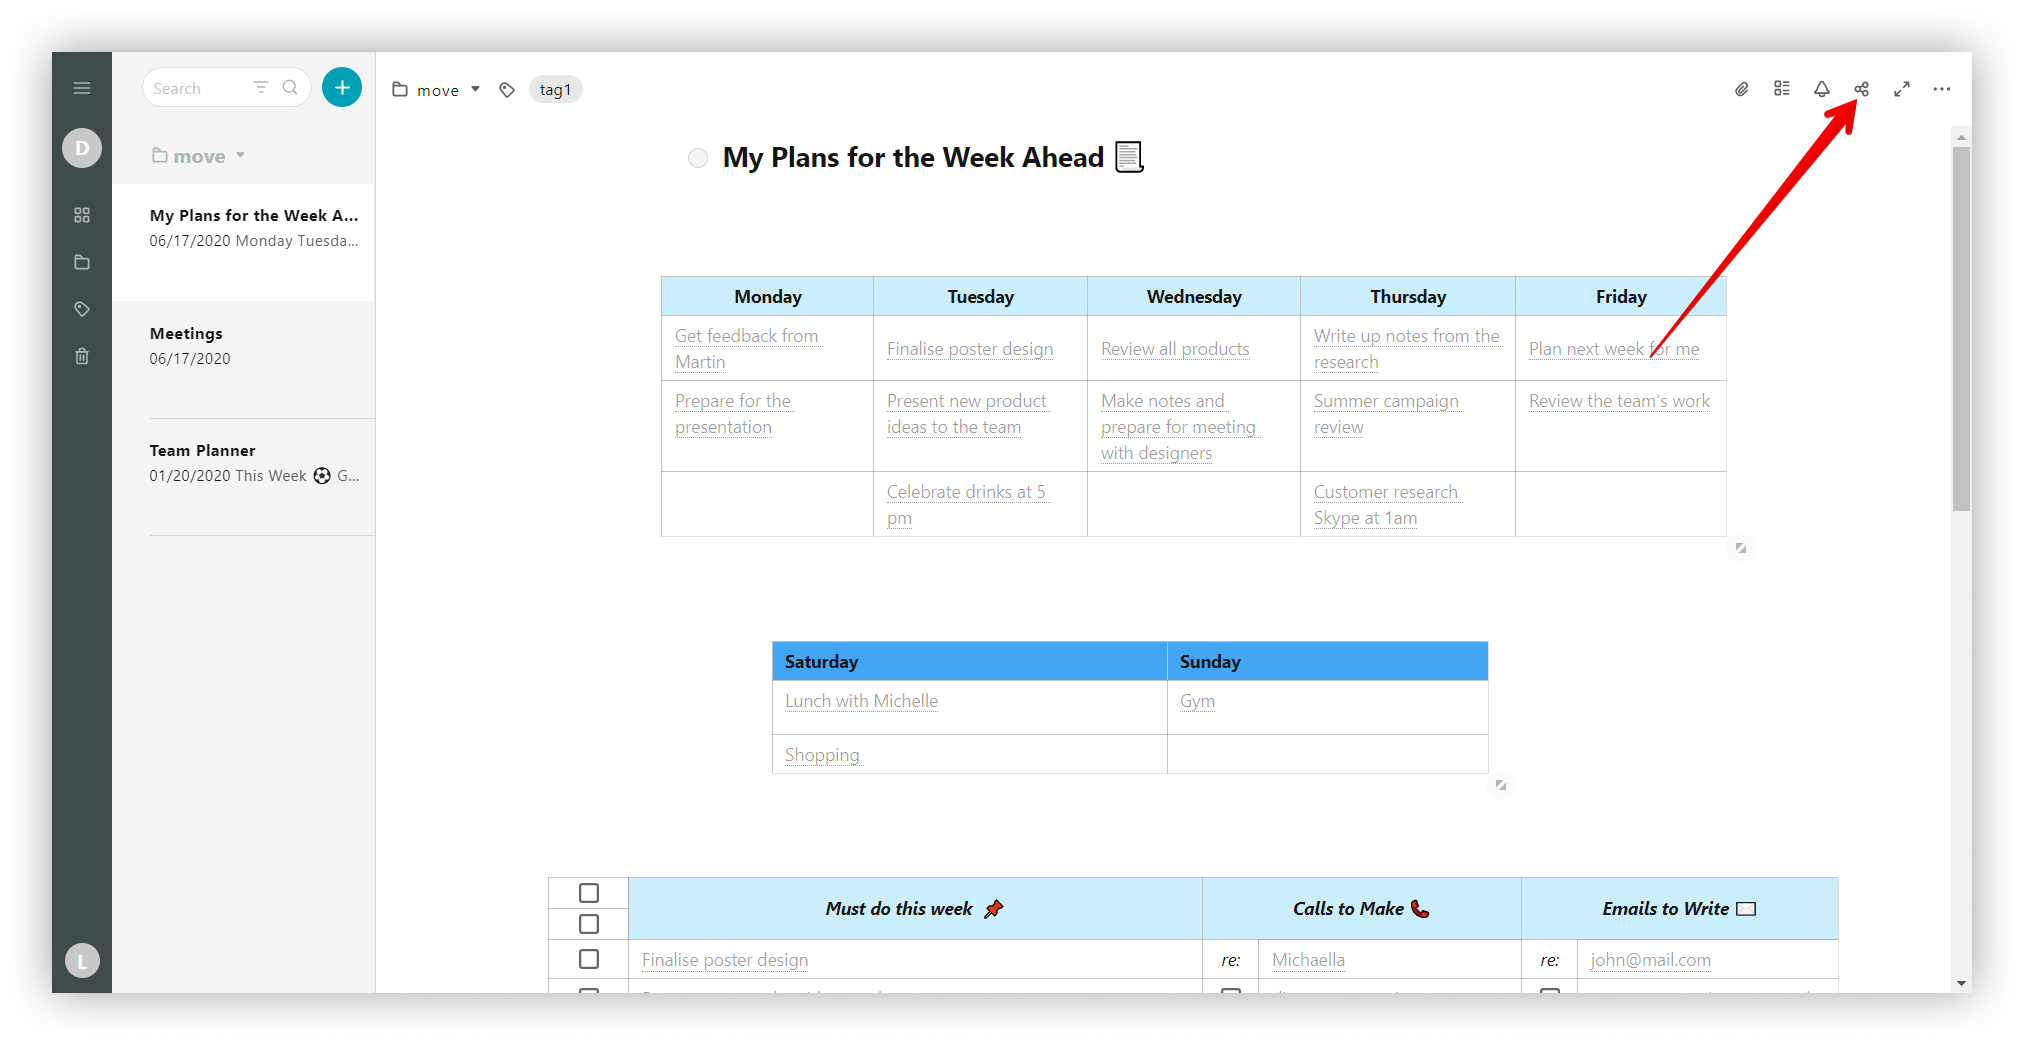
- You can check the modifications instantly on any public link from the desired workspace. You can get the link by clicking on the Get Public Link button or through the context menu of a page or folder.
%20(1).png)
Now let’s see the appearance settings we can change ?
General Settings #
Switch on/ off page indexing by search engines #
- Public pages are not automatically indexed by online search engines (Google, Yahoo, Bing, etc.). To alter this in the settings, enable the Allow Search Engines indexing toggle.
%20(1).png)
By default, this option is disabled. If activated, it will be indexed by public online search engines into public pages. And vice versa – if you uncheck it, then we close the pages from indexing again.
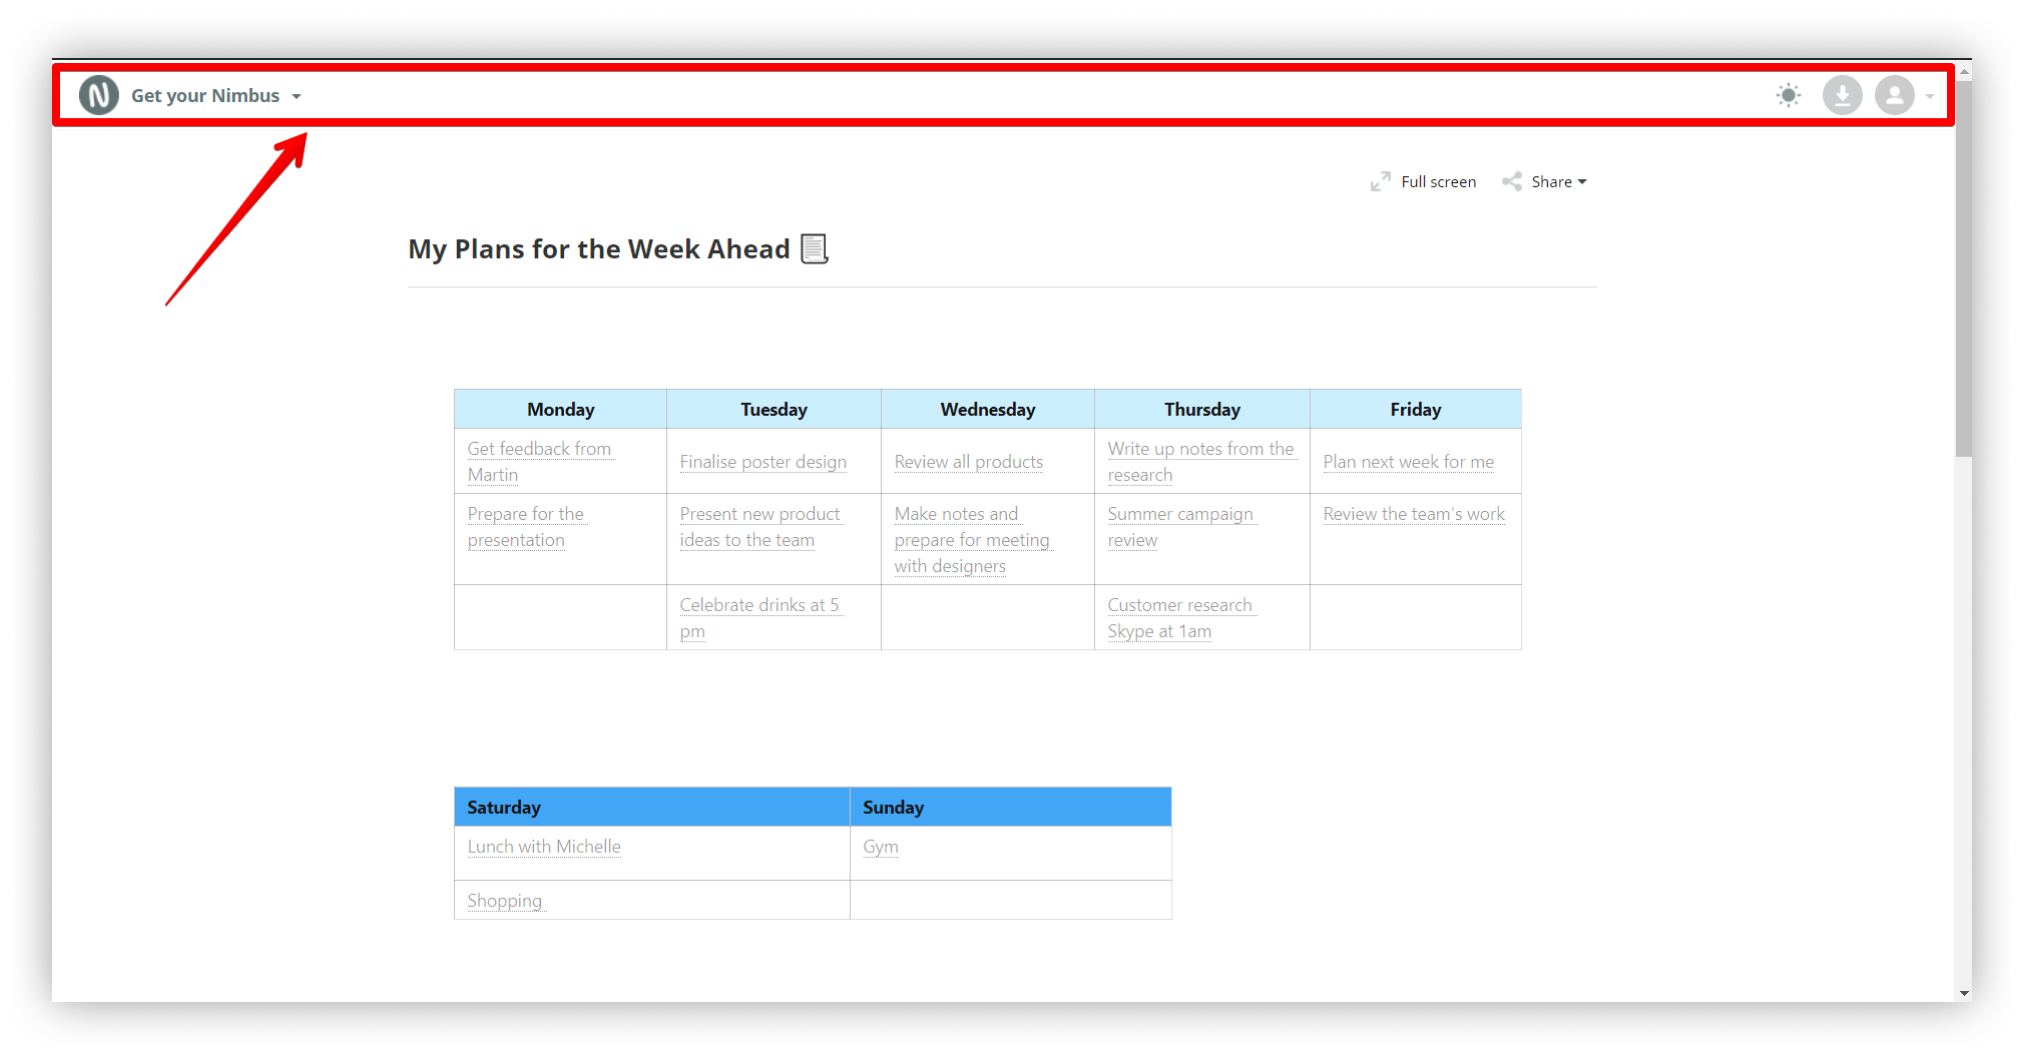
Disabling the top bar #
- Top bar – the top panel where the menu and numerous settings buttons are located.
- If you wish, you can disable it by turning off Top bar under Branding settings.
Show the copy link icon #
You can copy links to blocks on public pages. This feature is enabled by default.
But in Business / Teams, you can disable this under Branding by switching the toggle to the inactive state.
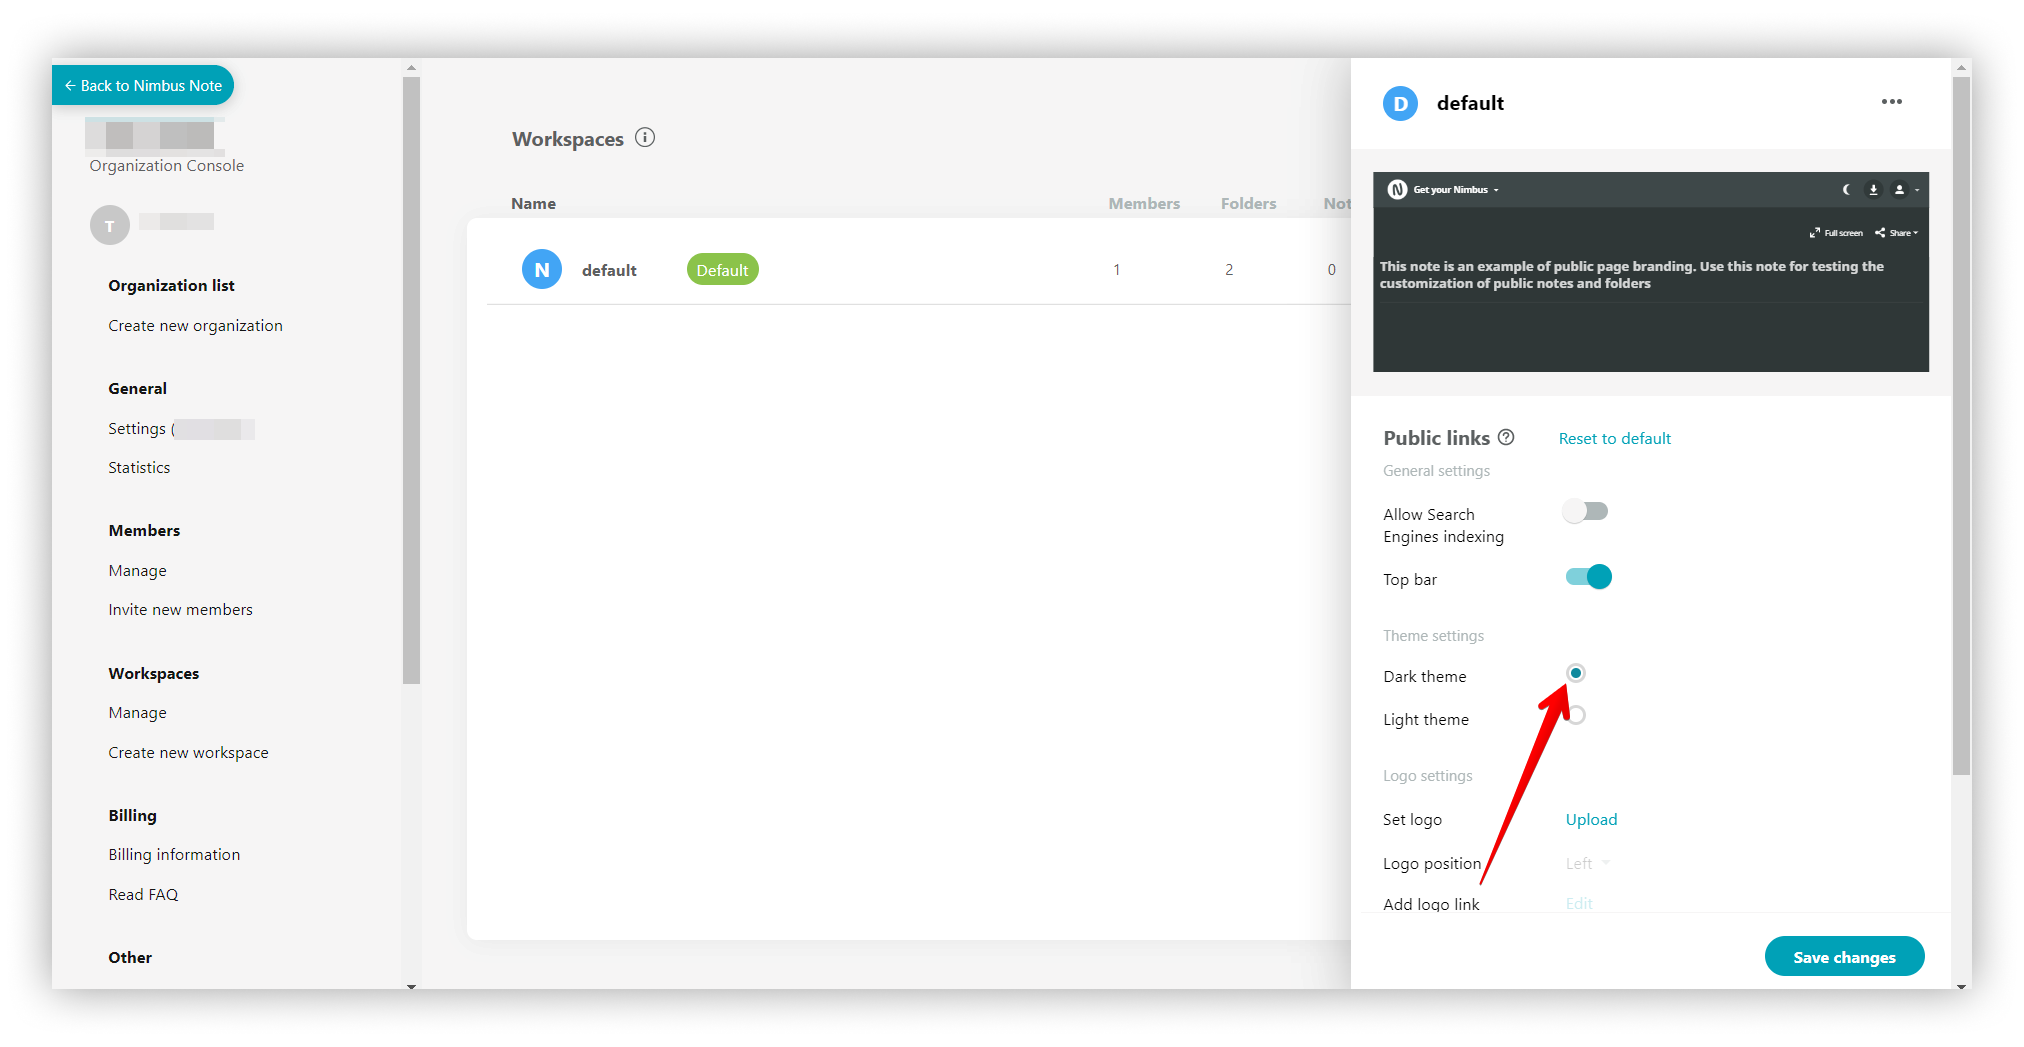
Theme Settings #
Theme (light / dark) #
- Nimbus Note has two styles for public pages: light and dark. The light theme is used by default.
- If you wish, you can turn on the dark theme. This theme will be visible to visitors of your public pages.
.png)
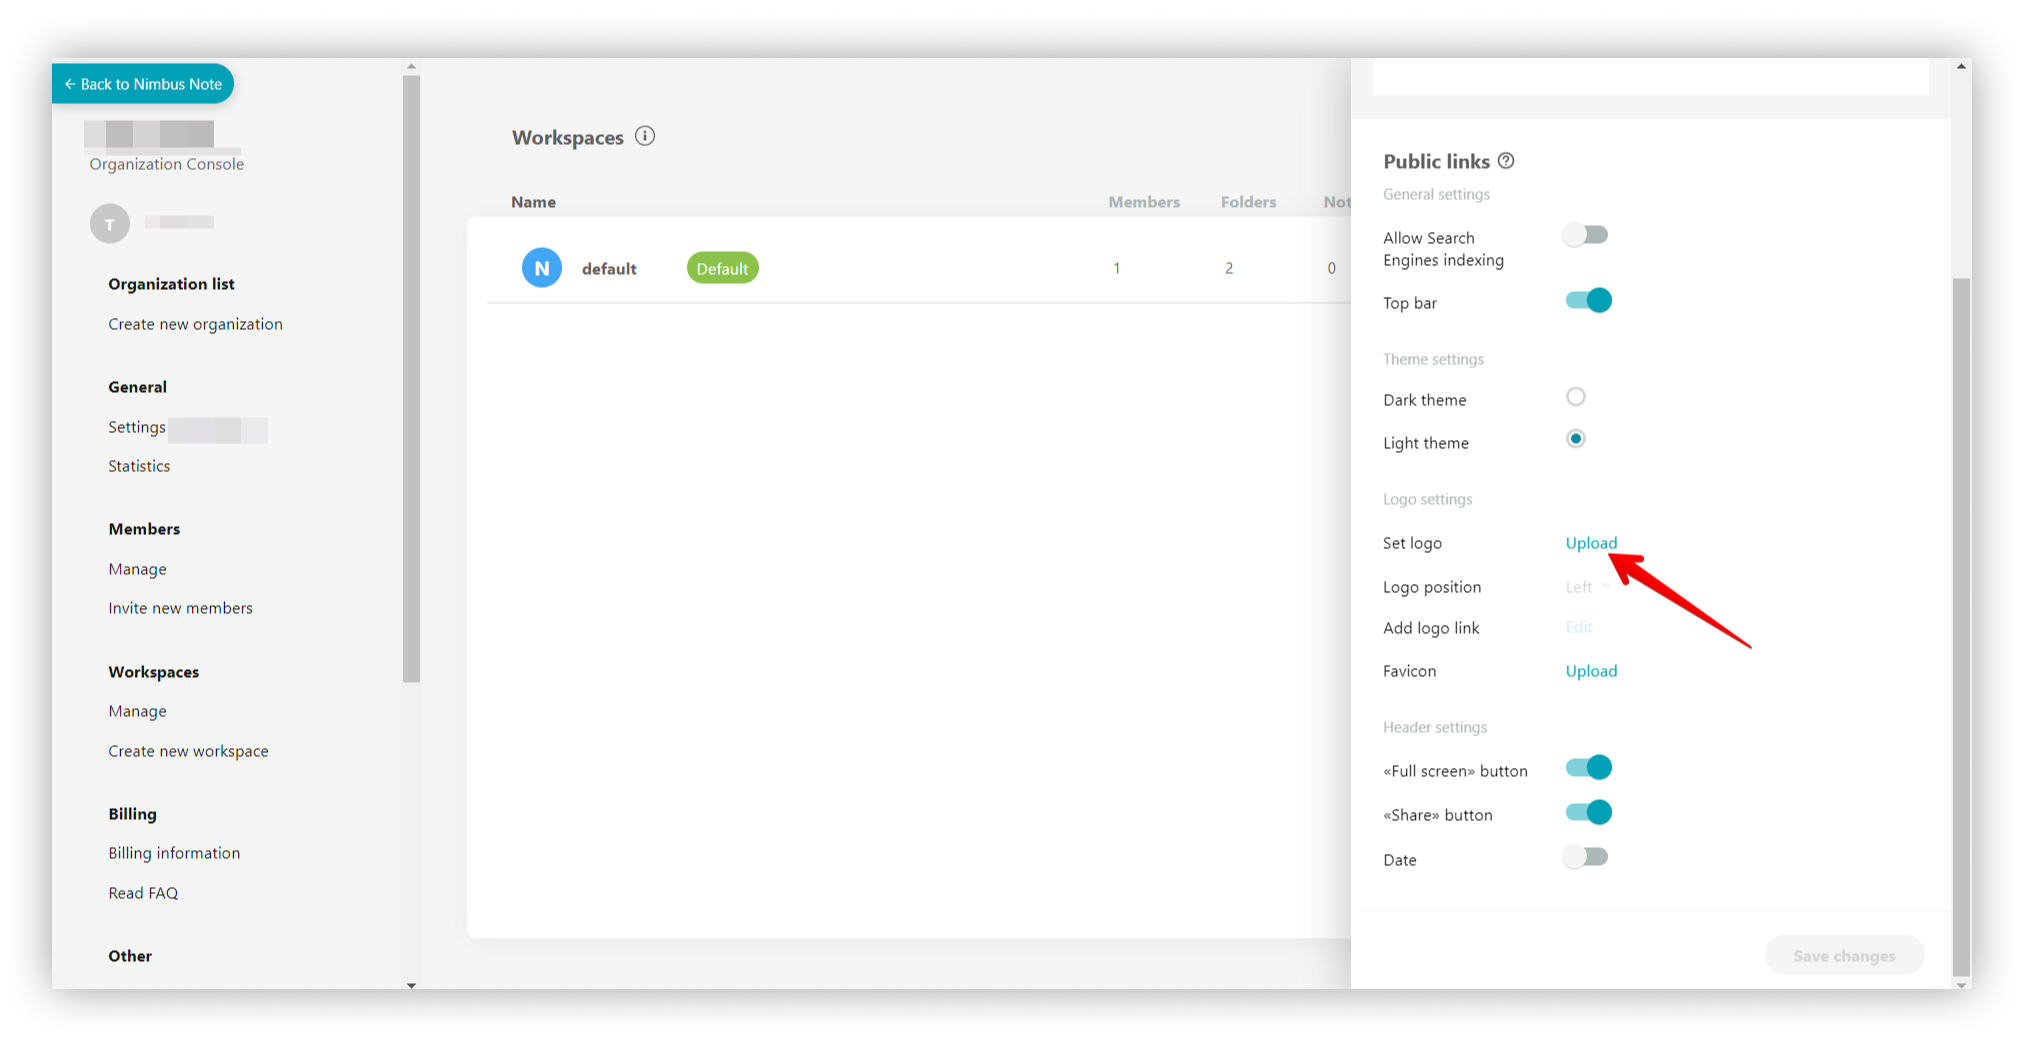
Logo Settings #
Logo design modification #
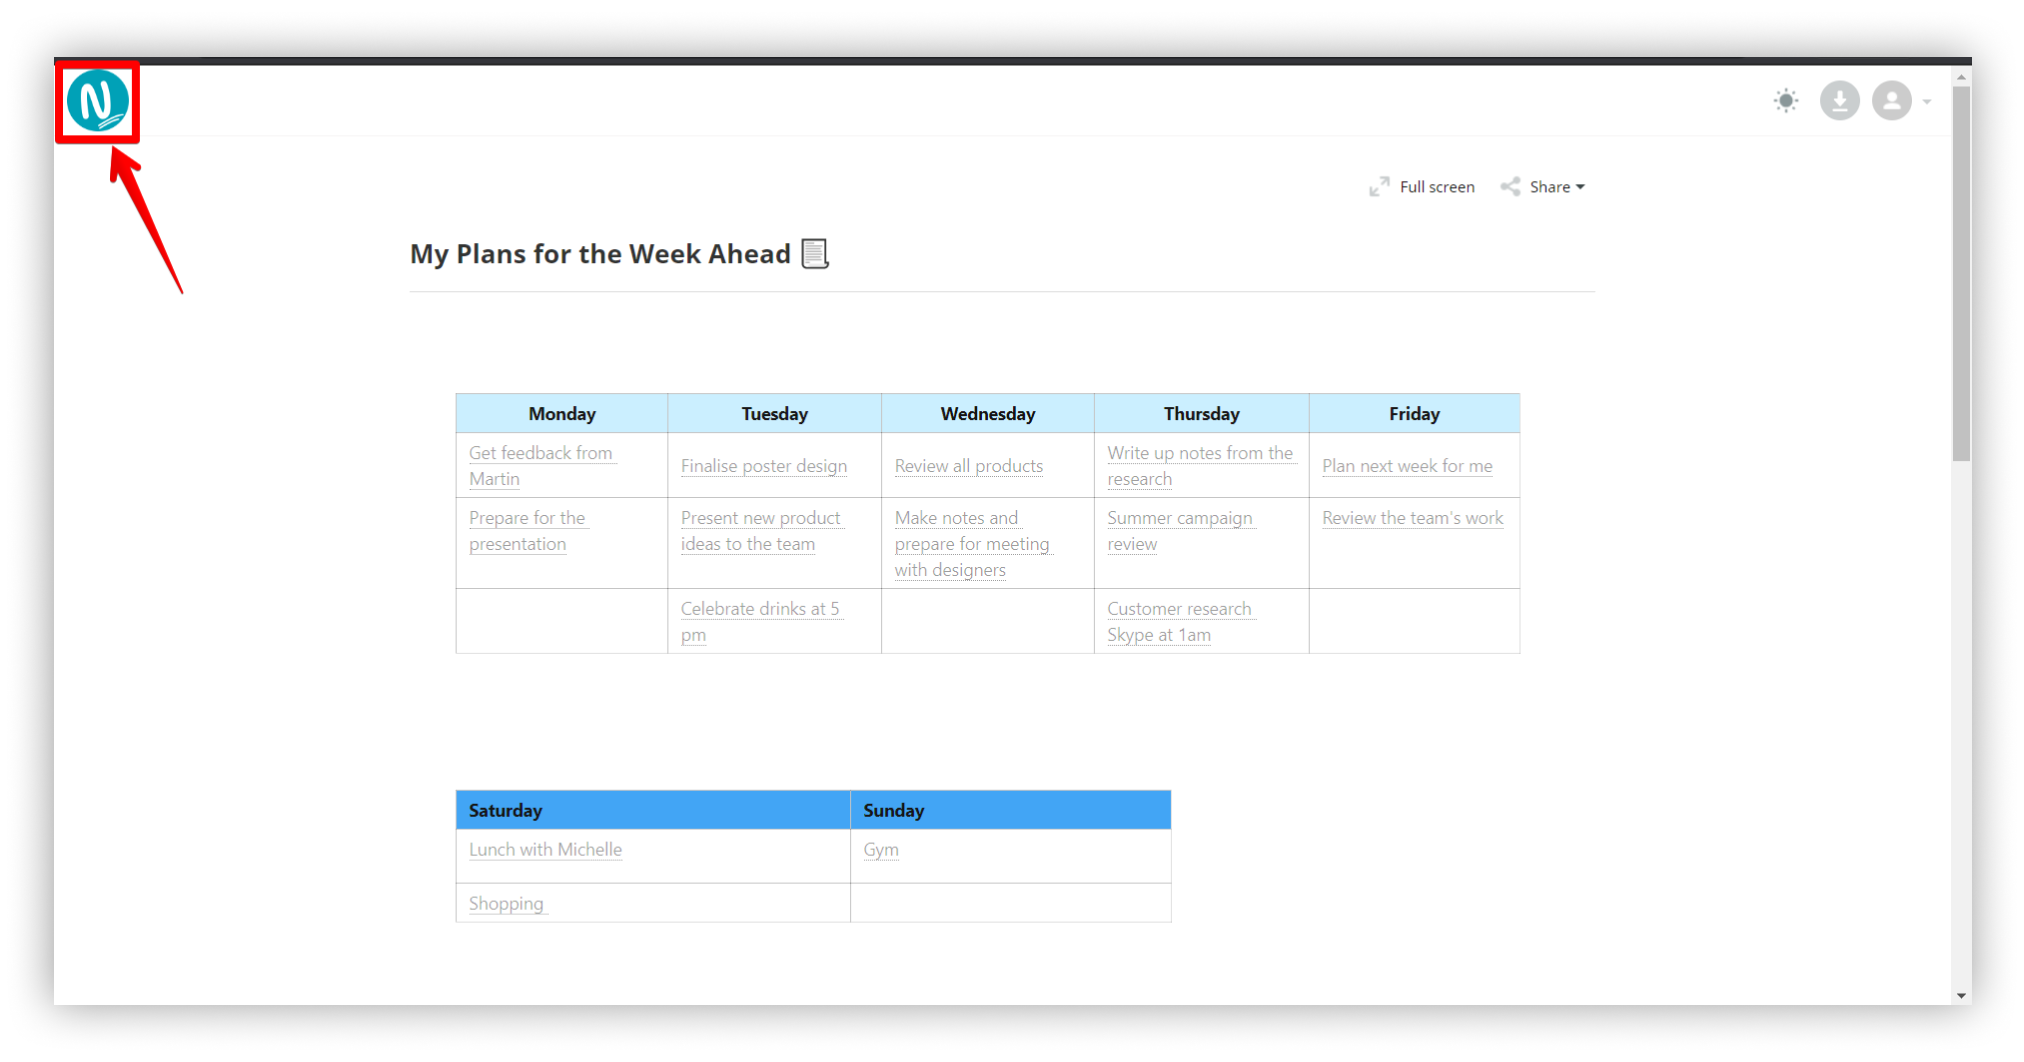
By default, the Nimbus Note logo is displayed on public pages.
.png)
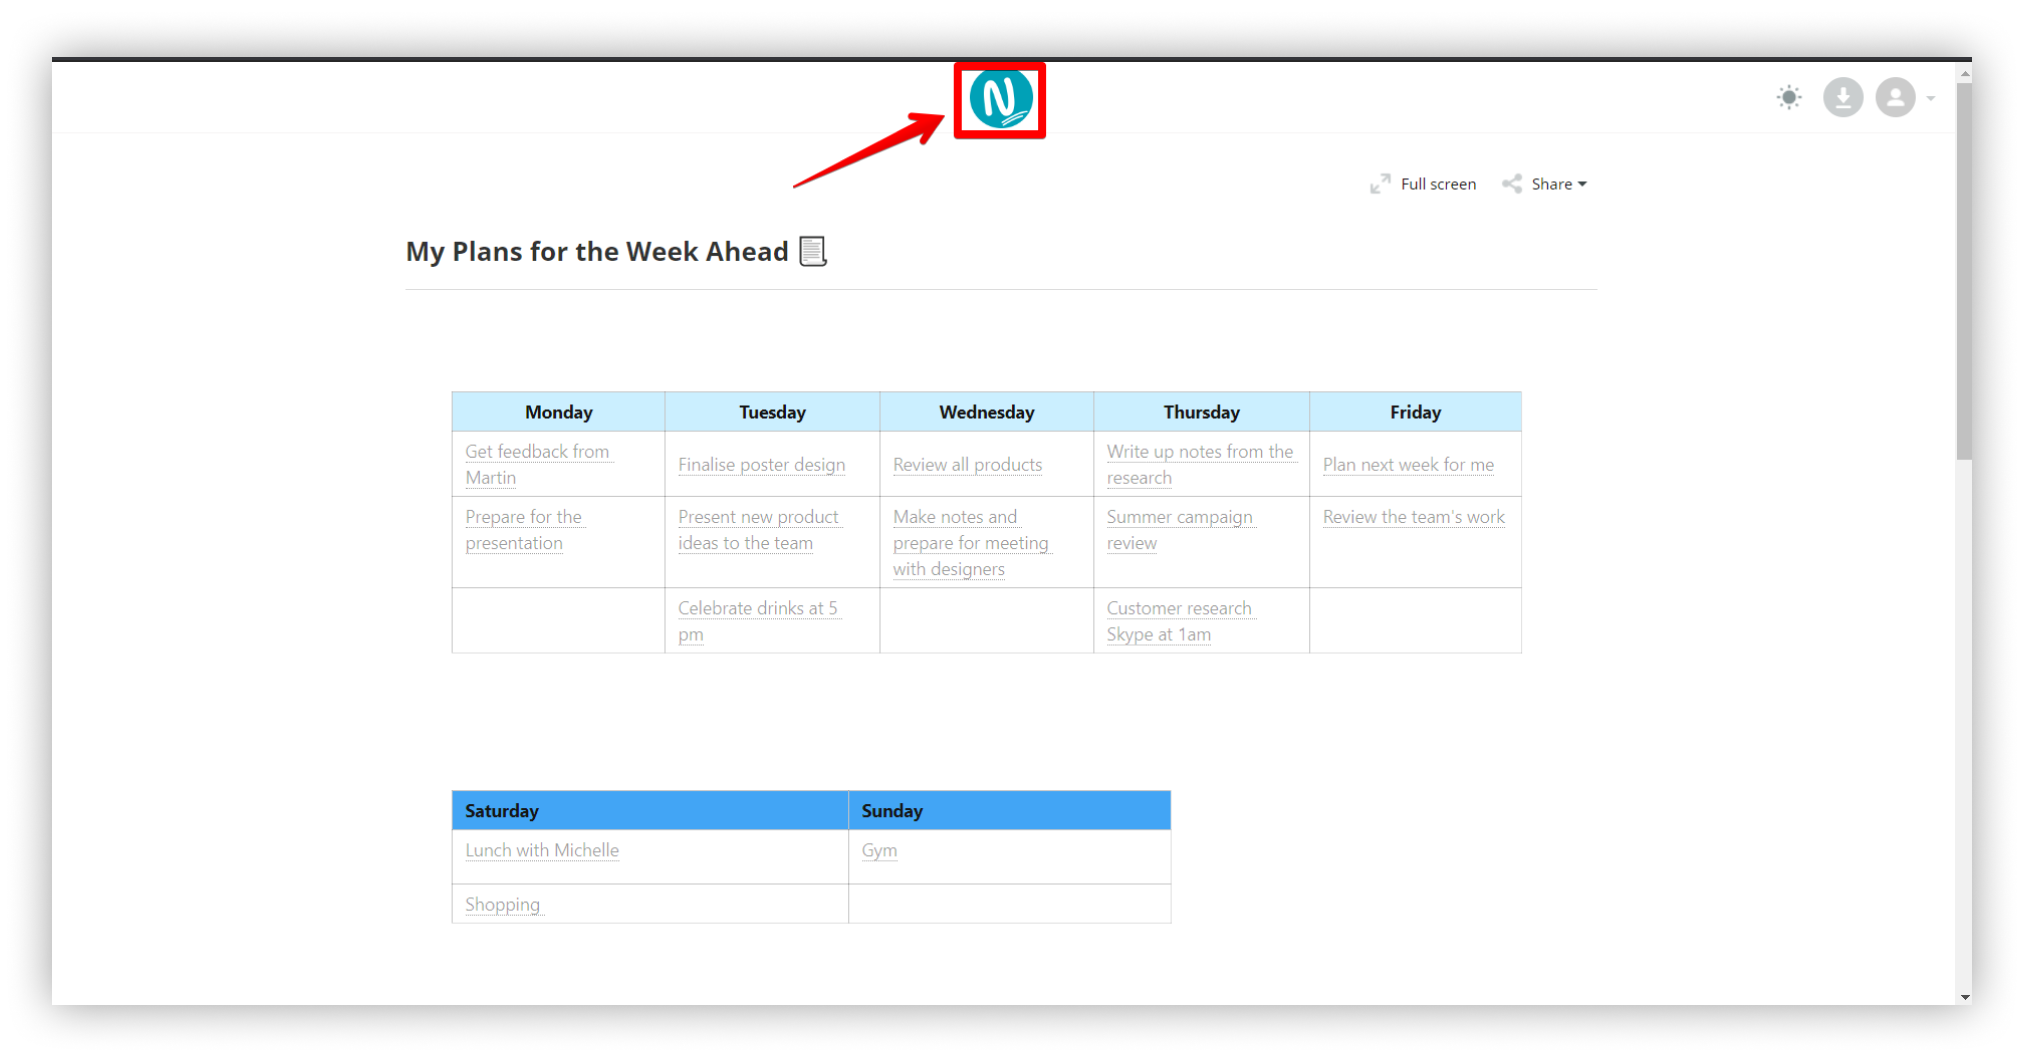
But you can add your own. Just go to Set logo in the settings.
- Click on Upload.
.png)
- Next, choose the wanted logo image from the computer disk.
- Click the Save button.
In the future, you can change the logo using the Upload button. Also, you can return the default Nimbus Note logo by clicking Reset.
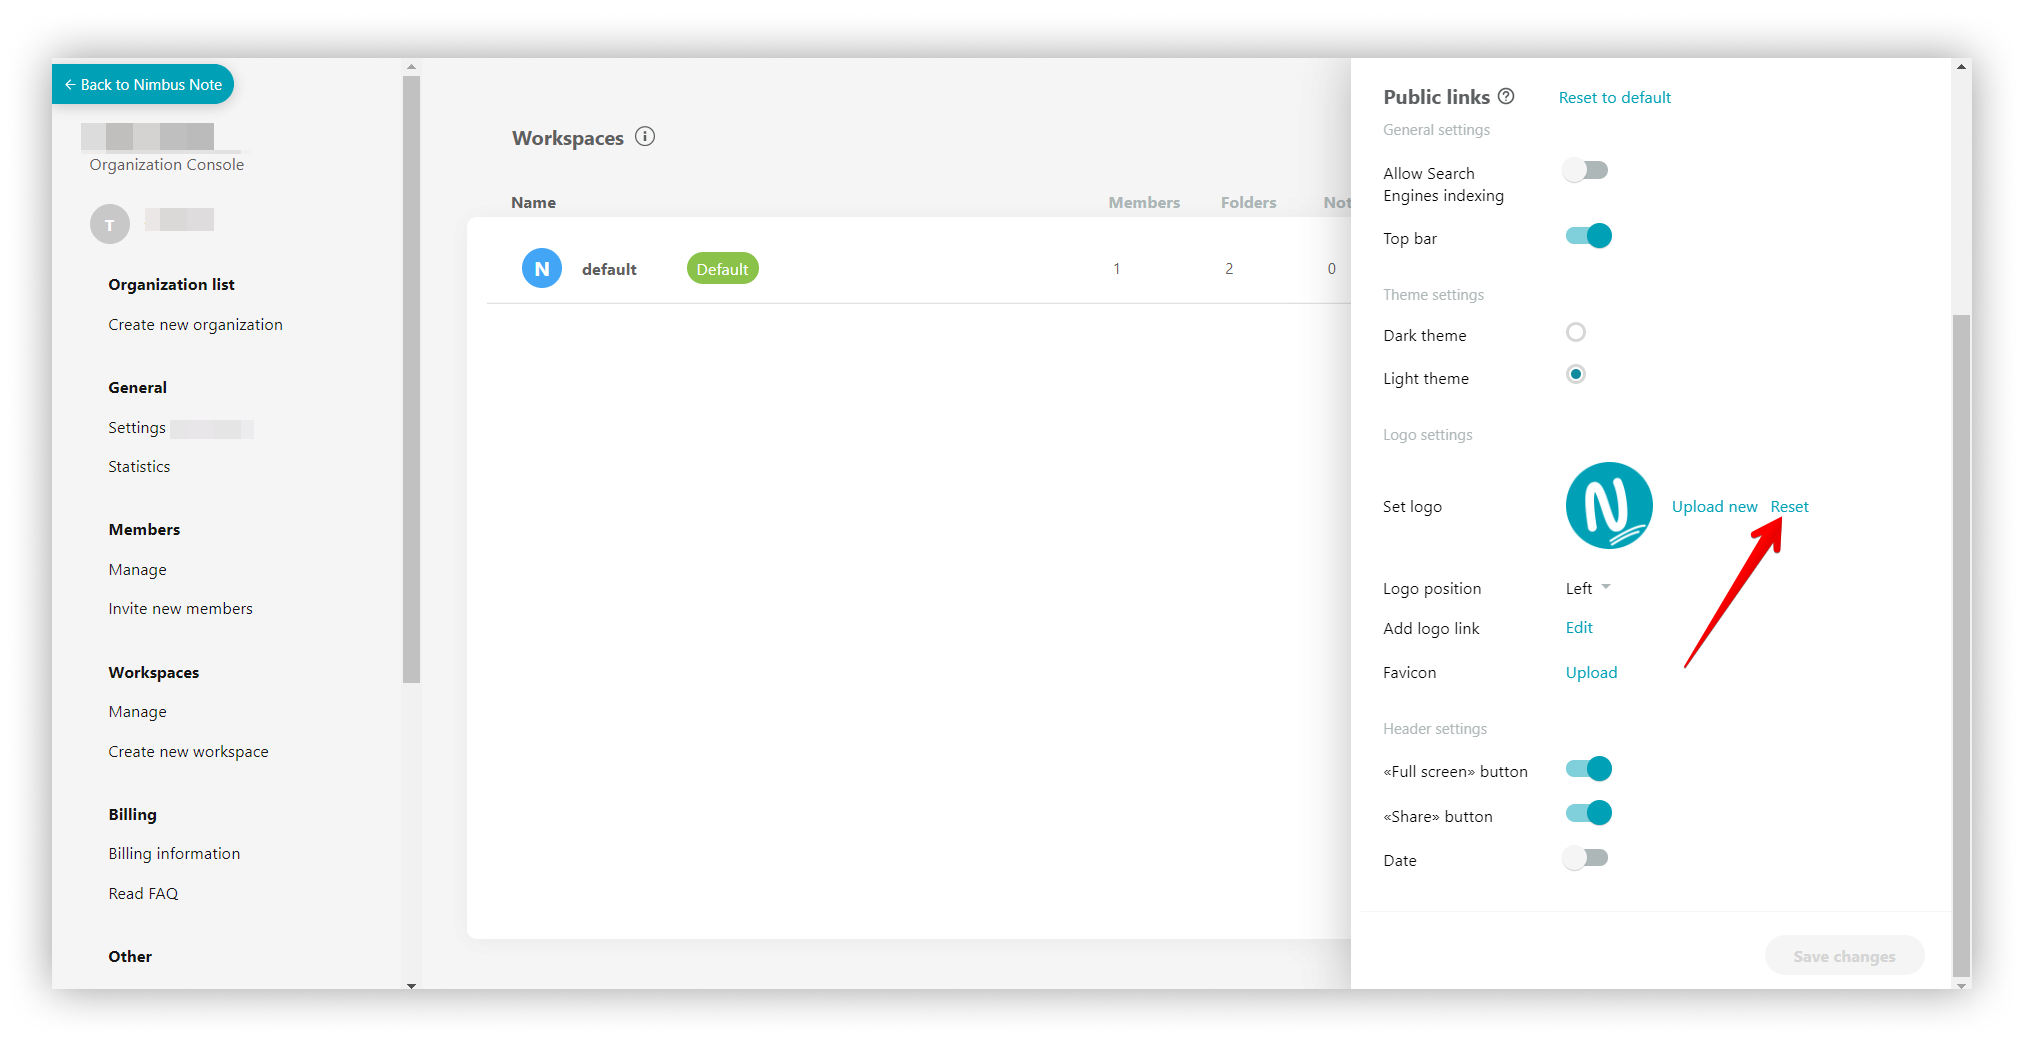.png)
Logo position #
- The position of the logo can be changed, i.e. placed left, right, center.
- You can choose a new position through the option Logo position.
Important: if you change the area of the logo design, the leading bar in public pages will be immediately disabled.
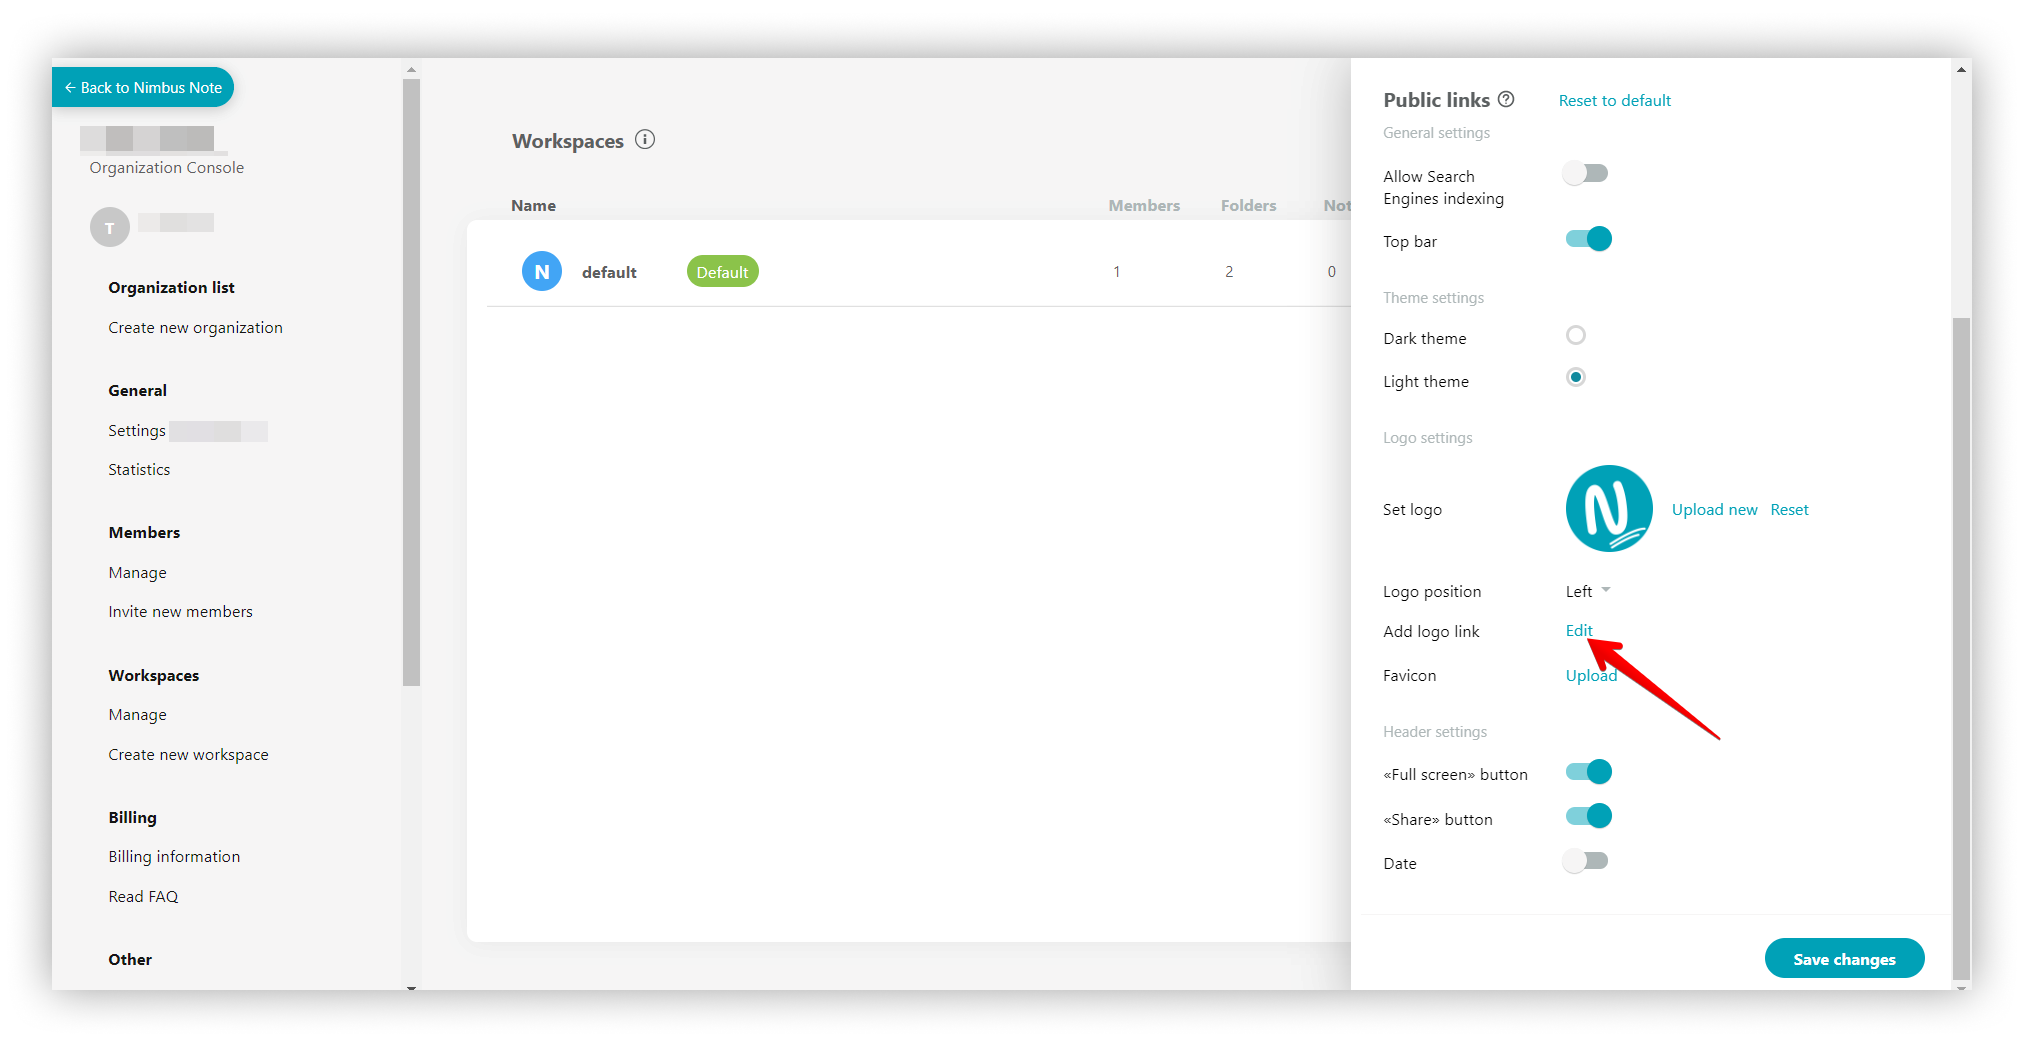
Logo link #
- Also, you can define a link that will open when you click on the logo design. To do this, click Edit in the Logo link and specify the desired link.
.png)
Further, you can change the link or delete it (you need to select Reset).
Favicon #
- The favicon is a small icon that appears in the tab of the page next to its name.
- In Nimbus Note you can upload an icon to use as your favicon. To change the favicon, click on Upload and choose an image. In the future, you can change the favicon or erase it, in which case the standard Nimbus Note favicon will be shown.
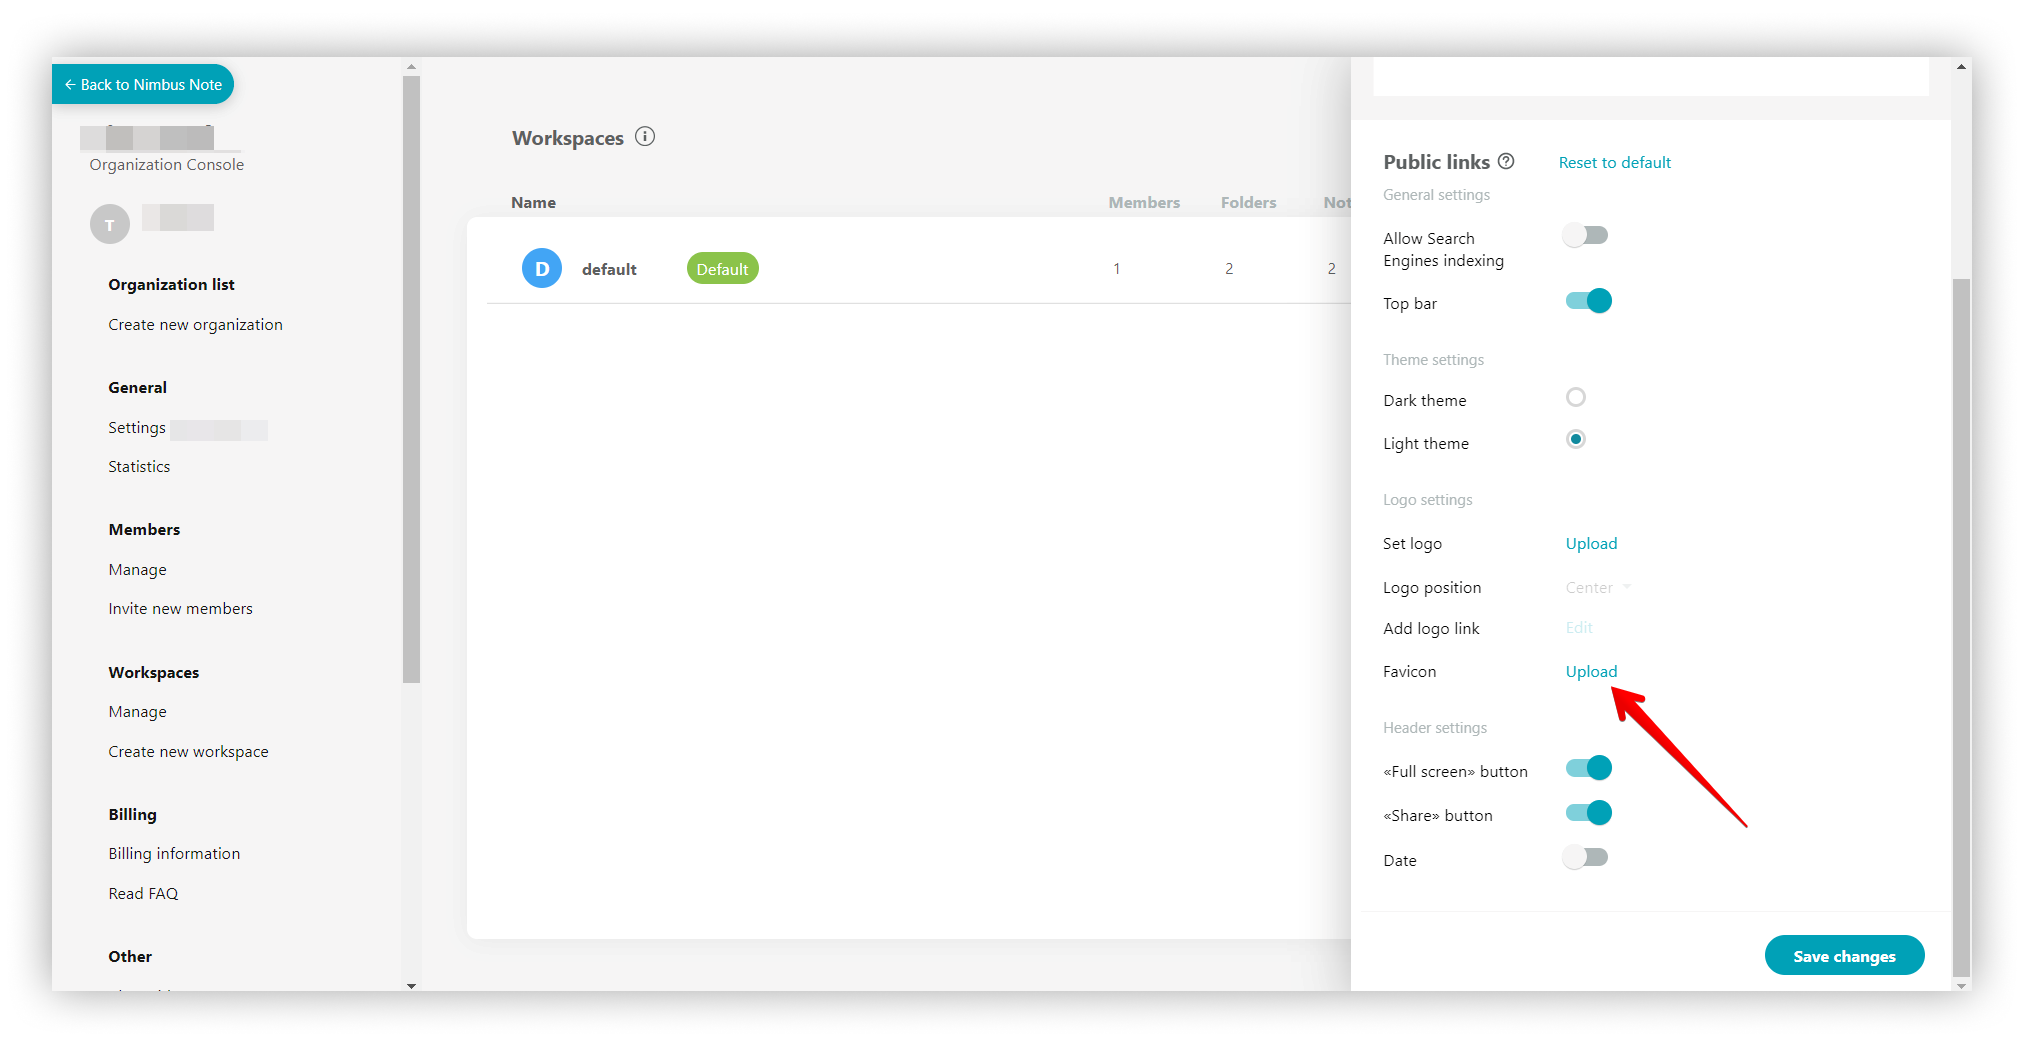.png)
Header Settings #
Enable / disable the «Full-screen» button #
- Using the Full-screen button, you can expand the page to its full width.
- If you don’t need this, you can also turn it off in the branding settings.
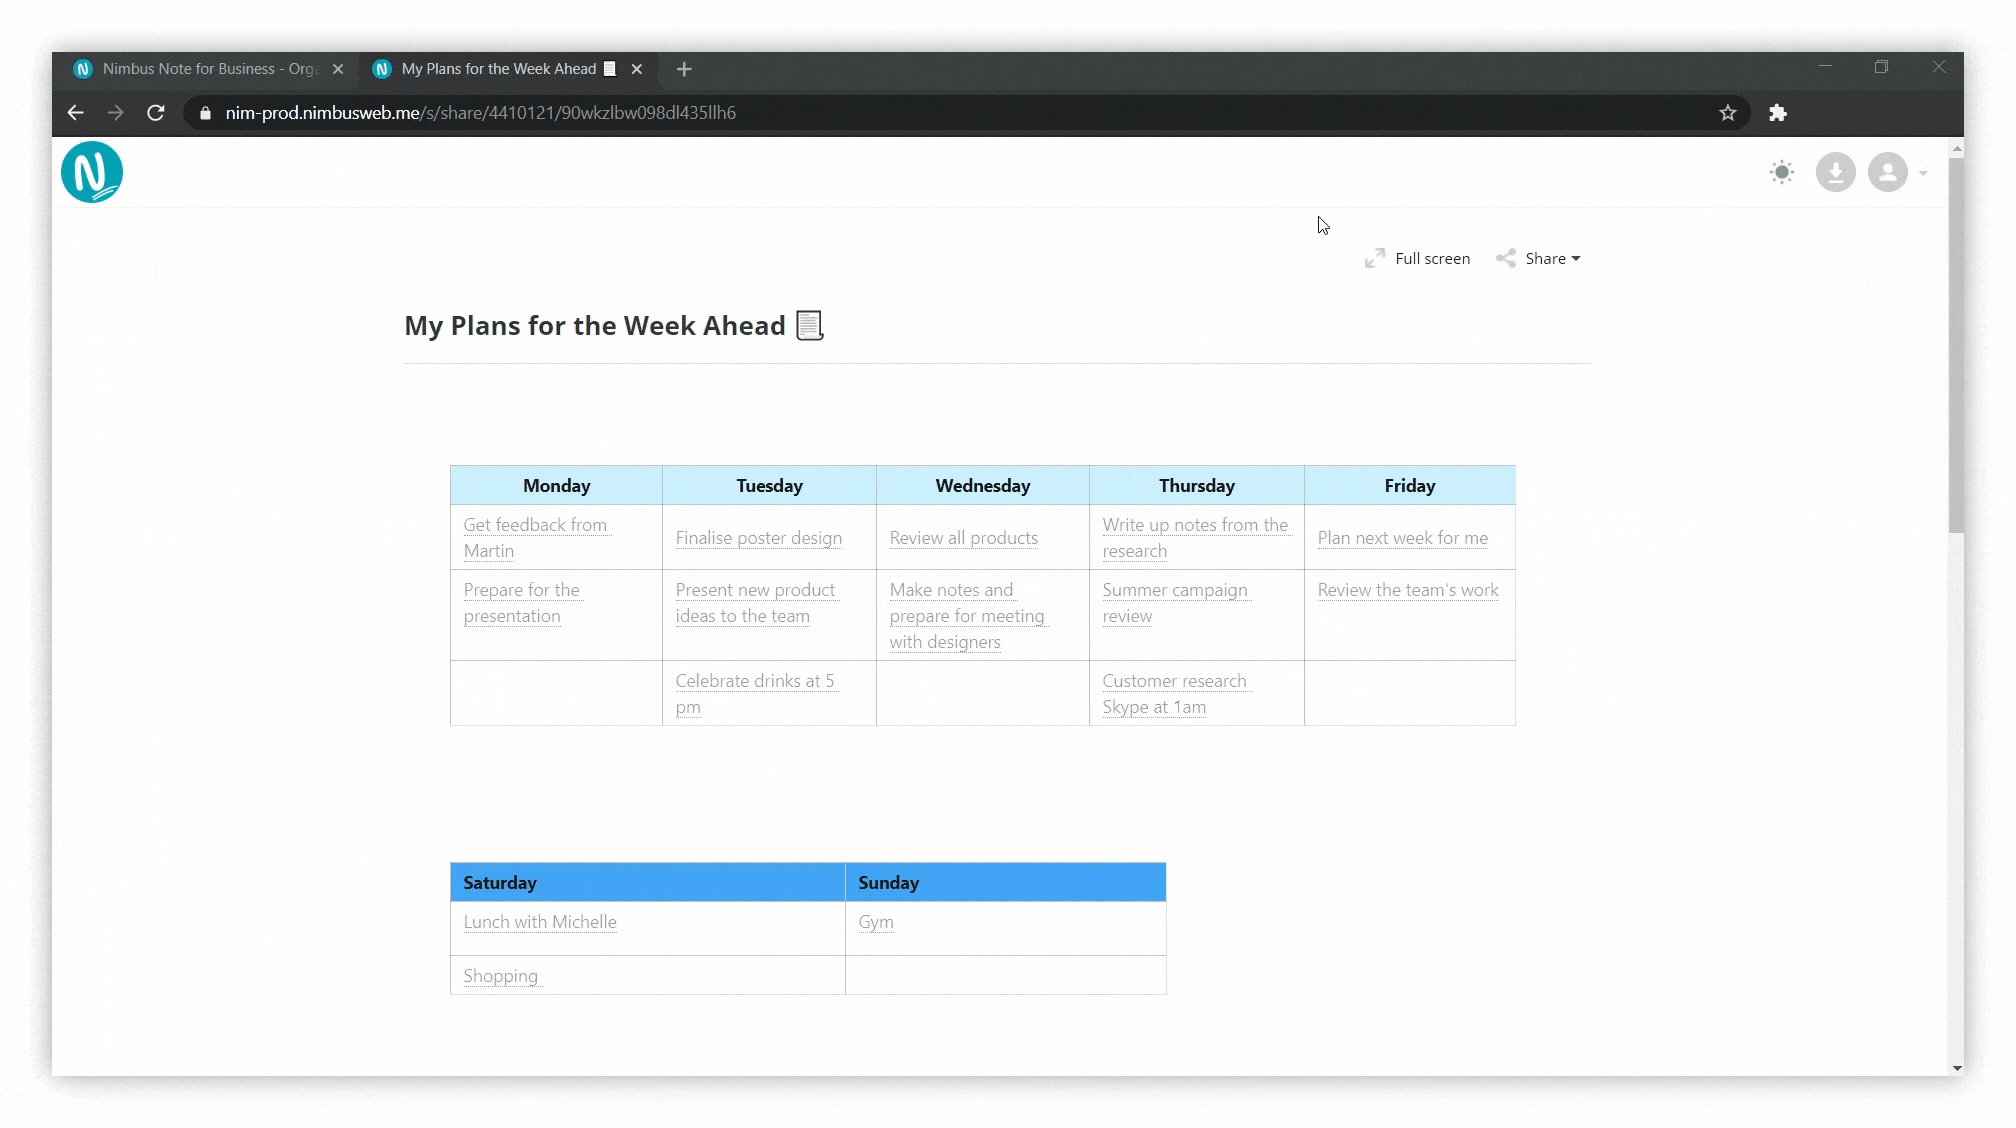
Share button #
- Using the sharing menu, you can get an embed on a page or folder or share links to social networks.
- If you do not need this, then the button (and the menu) can be disabled in the branding settings
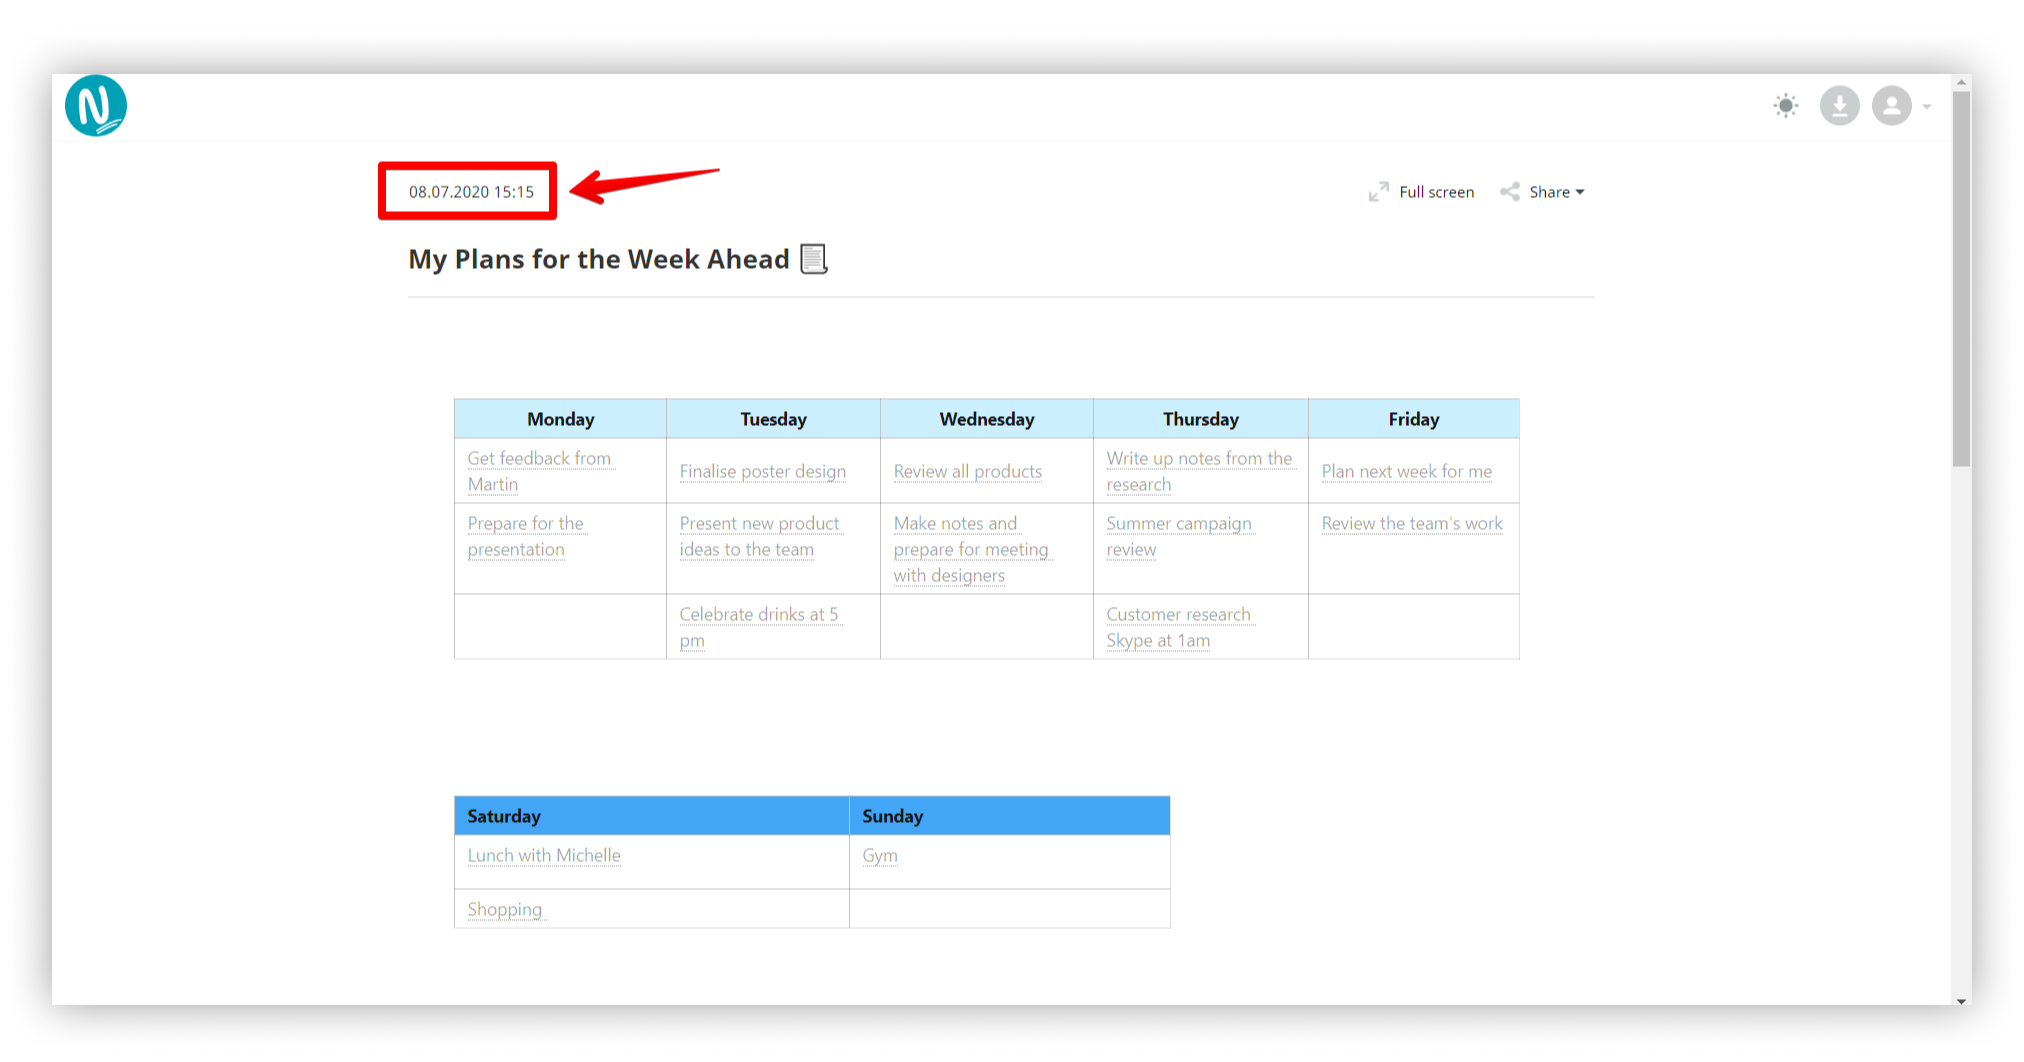
Page creation date #
- Each page has a creation date. By default, it is not shown, but you can enable it if needed.
.png)
The creation date is displayed above the page name.
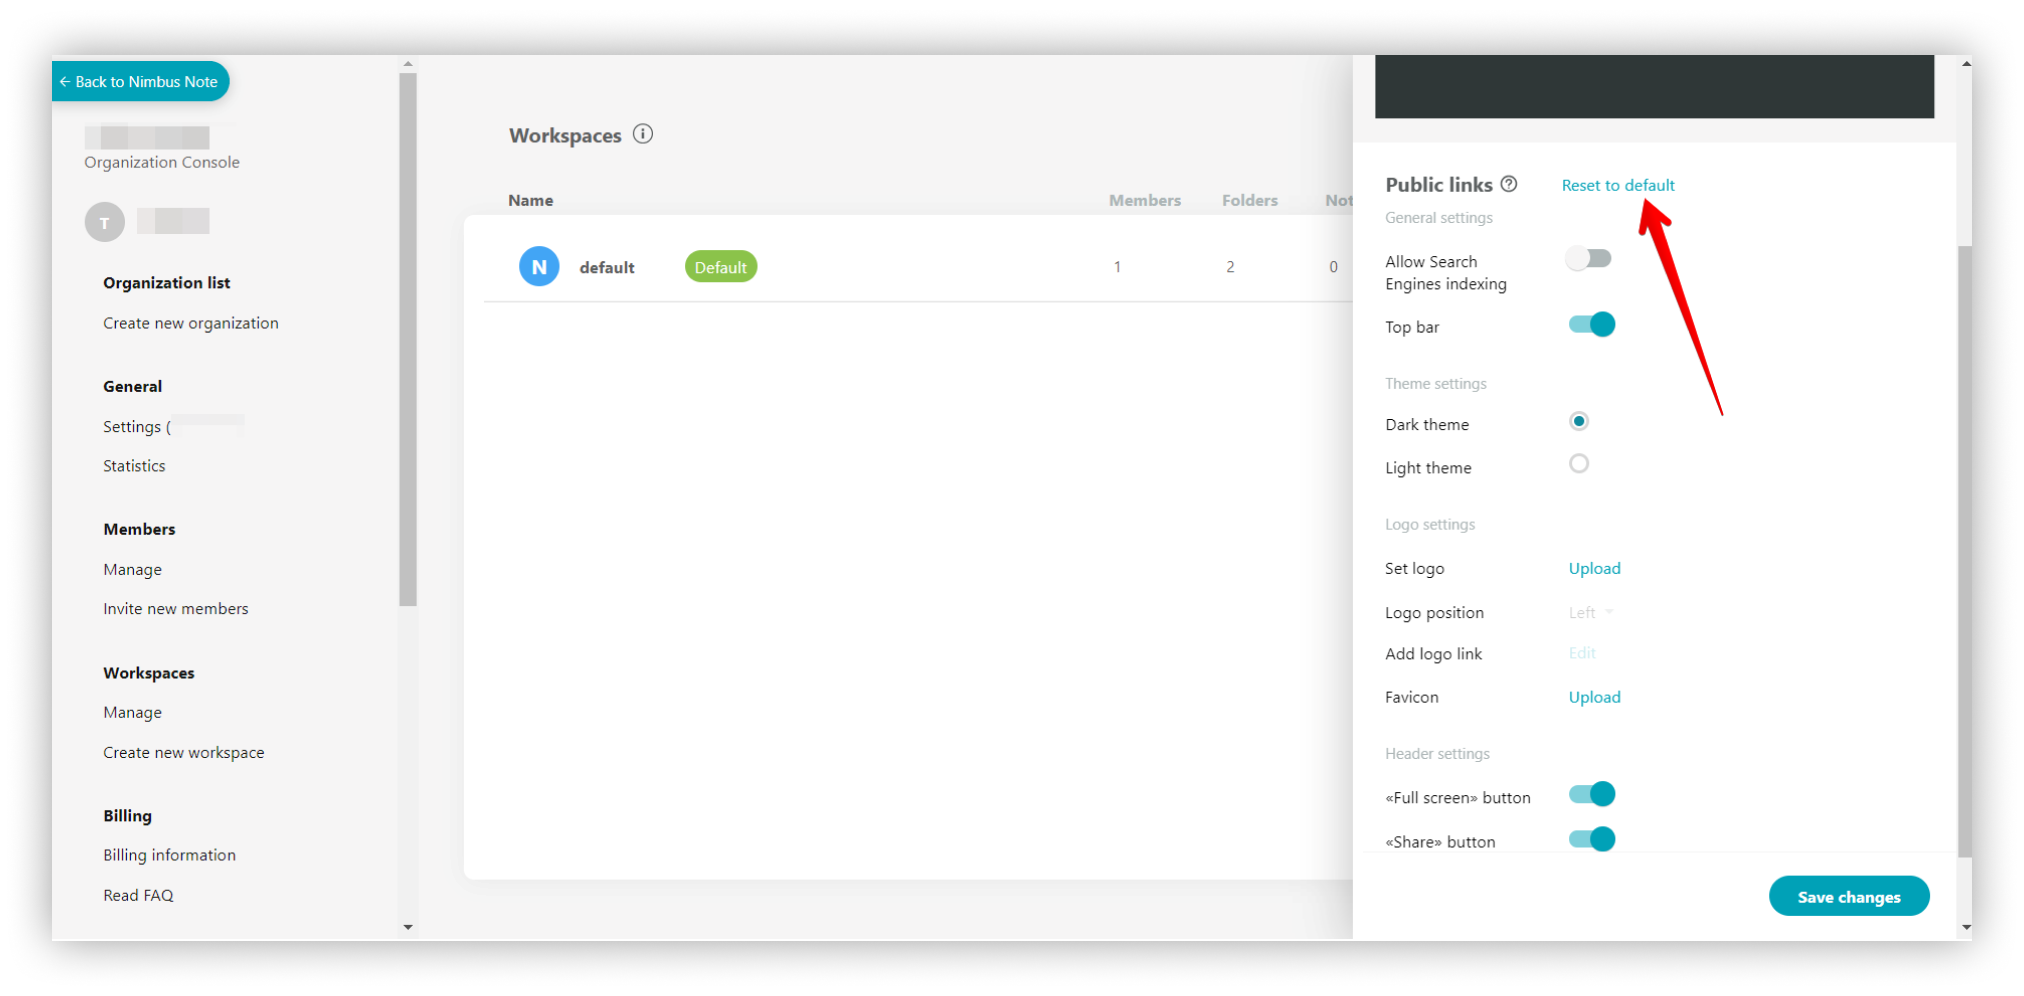
Reset settings #
If you do not like something in the new branding of your public pages, or if you made mistakes, then you can dispose of the modifications at any time and return to the original form. To do this, use the Reset to default button.
.png)