Skip to Content

How To Use a Portal Button To Set up a Page for Customer Interaction

There are cases where clients in the portal need to not only read information from the page, but also edit it or add comments. For such cases, you can add a special button to the portal pages, which will pull up the FuseBase page in edit mode.

Adding a Button #

1) Go to the Customiser (Visual Editor) of the required portal.

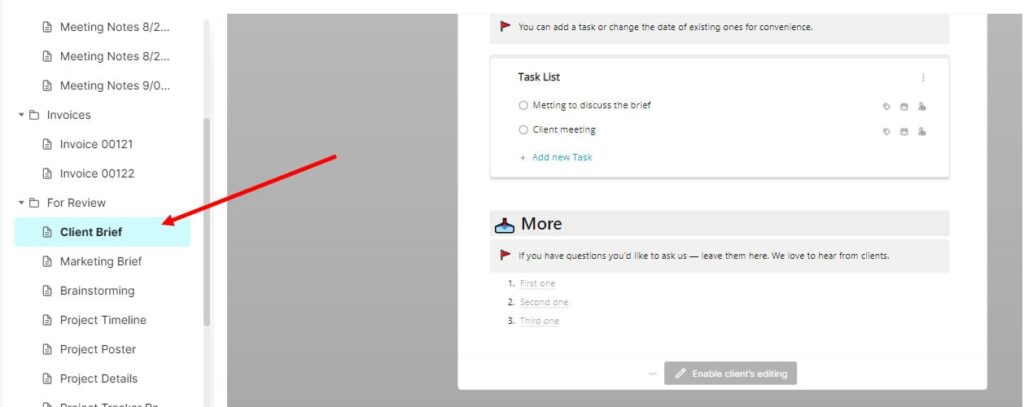
2) Click on the required page.

How To Use a Portal Button To Set up a Page for Customer Interaction - FuseBase Guide

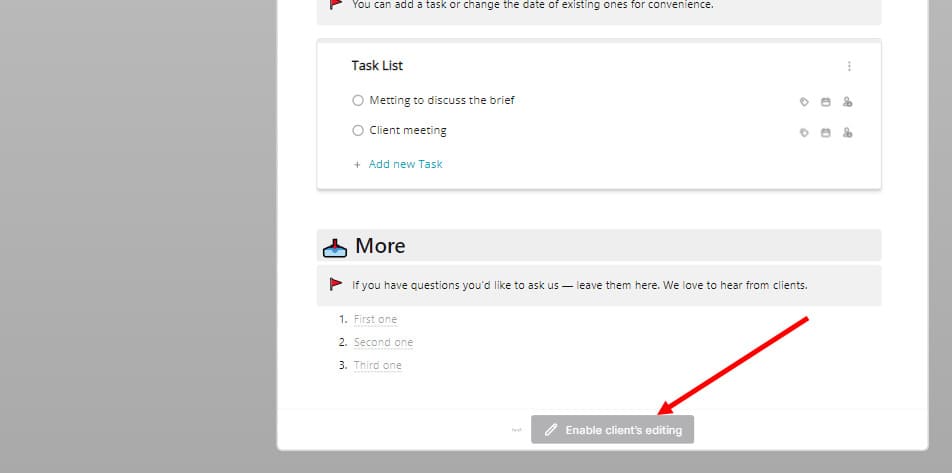
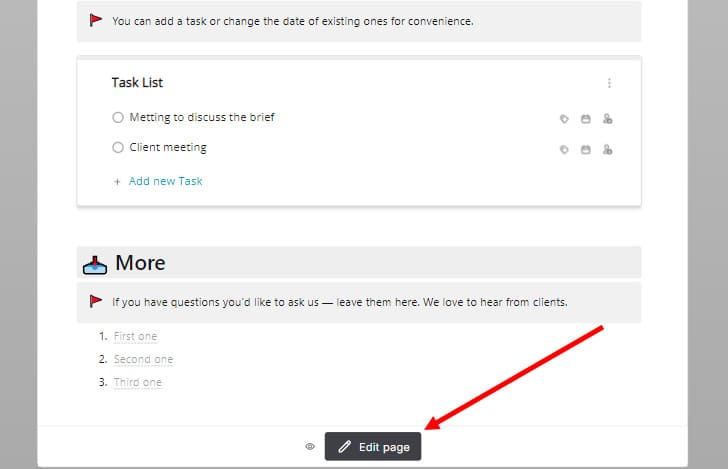
3) Click the Enable Client Editing option at the bottom of the page.

How To Use a Portal Button To Set up a Page for Customer Interaction - FuseBase Guide

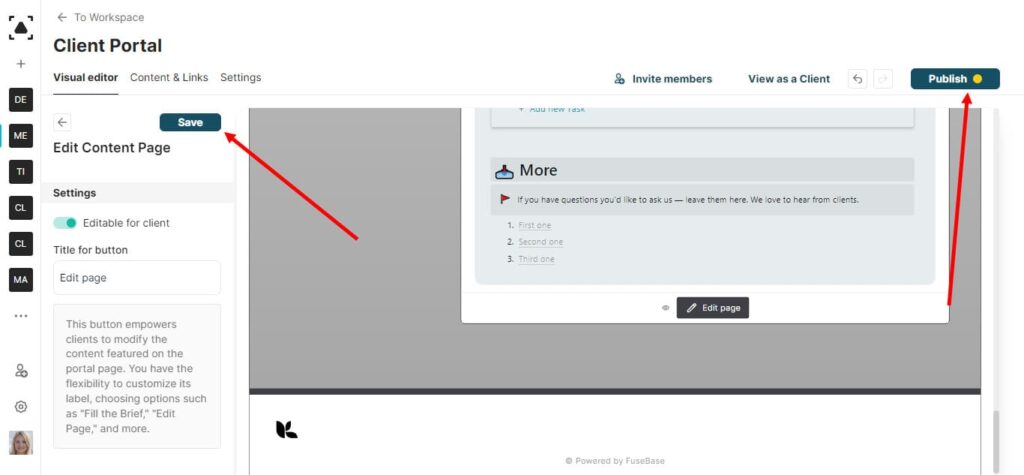
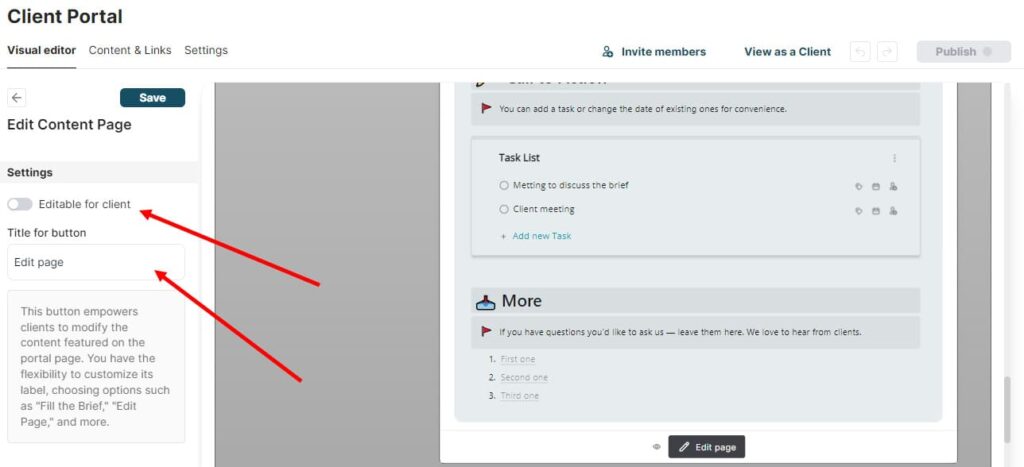
4) Activate the Editable for Client option and specify the desired button name, e.g. Edit Page.

How To Use a Portal Button To Set up a Page for Customer Interaction - FuseBase Guide

5) Click Save and then Publish to release the changes.

How To Use a Portal Button To Set up a Page for Customer Interaction - FuseBase Guide

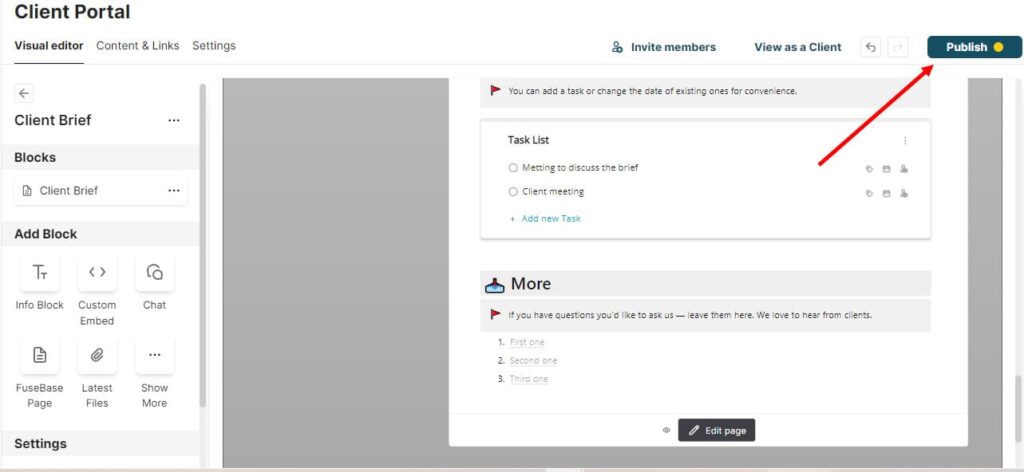
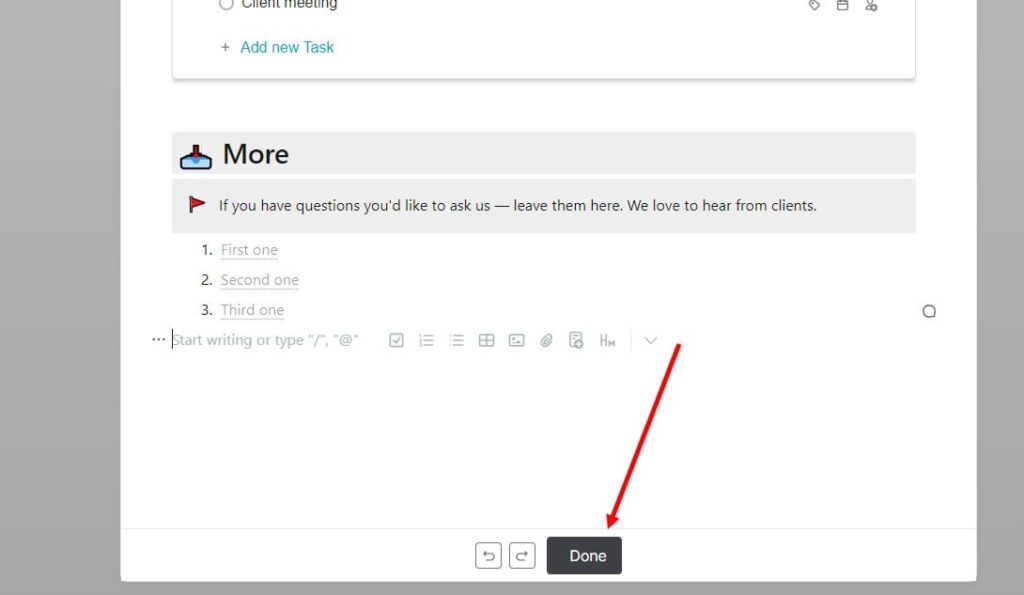
6) Now your portal clients can go to the edit page directly from the portal.

How To Use a Portal Button To Set up a Page for Customer Interaction - FuseBase Guide

7) Clients can make changes and save them by clicking Done.

How To Use a Portal Button To Set up a Page for Customer Interaction - FuseBase Guide

Editing or Disabling a Button #

1) To edit or disable a button, Open the Customiser and go to the page you want to edit.

2) Click on the button.

How To Use a Portal Button To Set up a Page for Customer Interaction - FuseBase Guide

3) Next, you can change the name of the button or disable it.

How To Use a Portal Button To Set up a Page for Customer Interaction - FuseBase Guide

4) Click Save and then Publish to release the changes.

How To Use a Portal Button To Set up a Page for Customer Interaction - FuseBase Guide

Get a Sneak Peek on Managing Your Projects

Watch how you can boost your results by setting workflow with Nimbus Platform

Unlimited time on Free plan