As you know, FuseBase has its own AI Assistant that knows everything about your workspace and allows you to answer questions about its content. You can read more about the assistant here: https://nimbusweb.me/guides/fusebase-ai/ai-assistant-quick-guide/.
This is a very powerful tool, and now its capabilities can also be automated using our automation module. With the ASK AI Assistant action, you can: create summaries and reports based on workspace data, generate documents and training courses using data from the workspace, and much more.
In this guide, we will show you how to generate a weekly report on tasks in the workspace with automatic email delivery. The case is very simple: I am a project manager, and I want to stay informed about all tasks. Therefore, I want to receive a weekly summary of all tasks that are not yet completed and have deadlines within the current month.
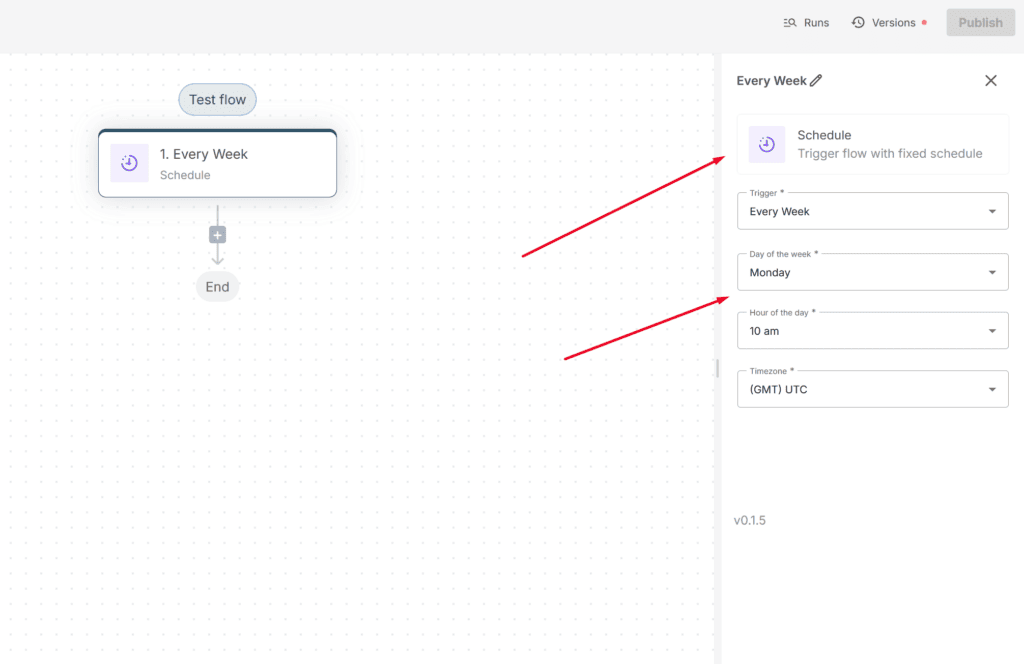
First, you need to create a new flow and select the Schedule trigger as the first action. Since we need to send the email once a week, set the corresponding value for the schedule.
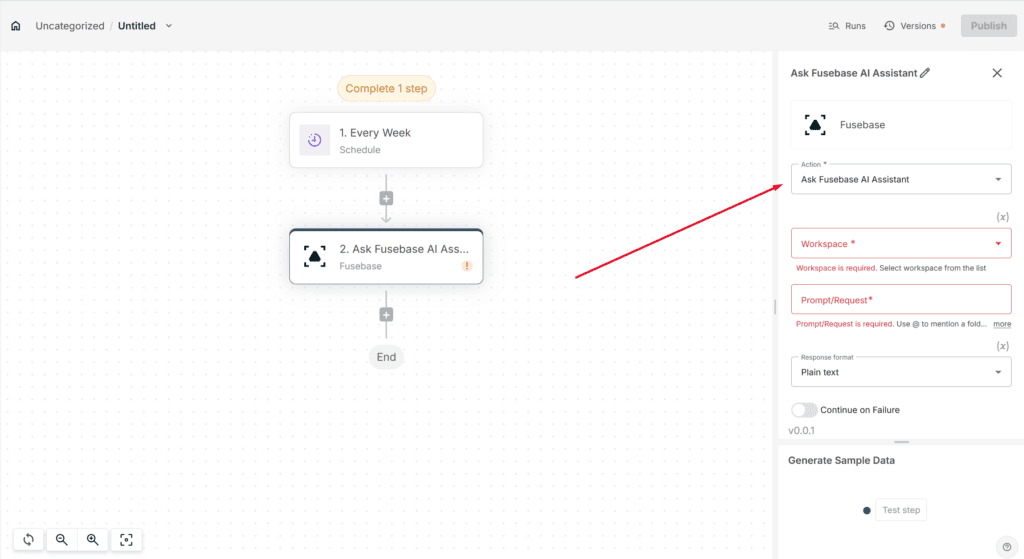
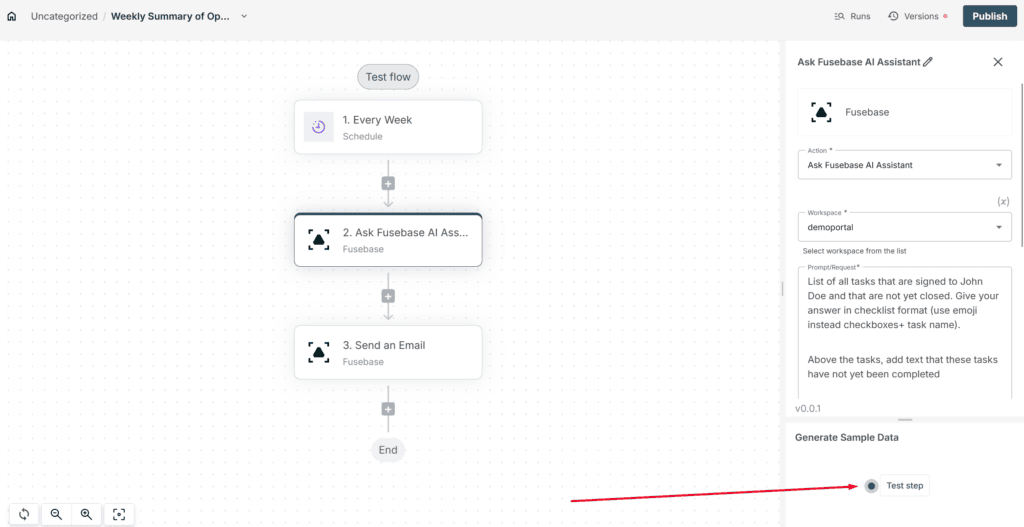
Next, in the list of actions, select ASK AI Assistant. It consists of several customizable parameters.
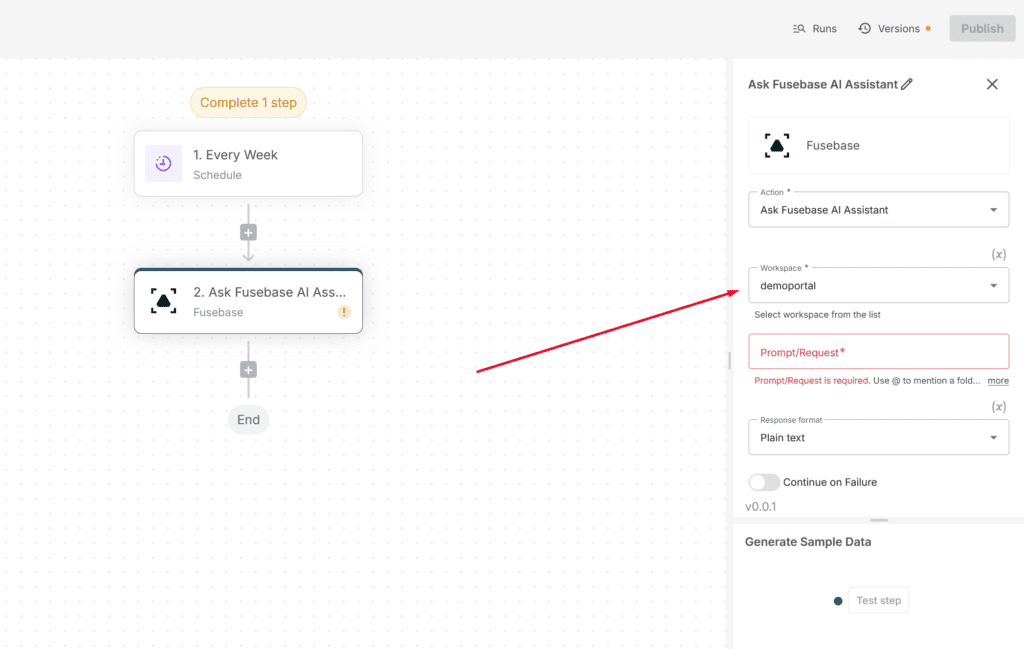
First, select the workspace you need.
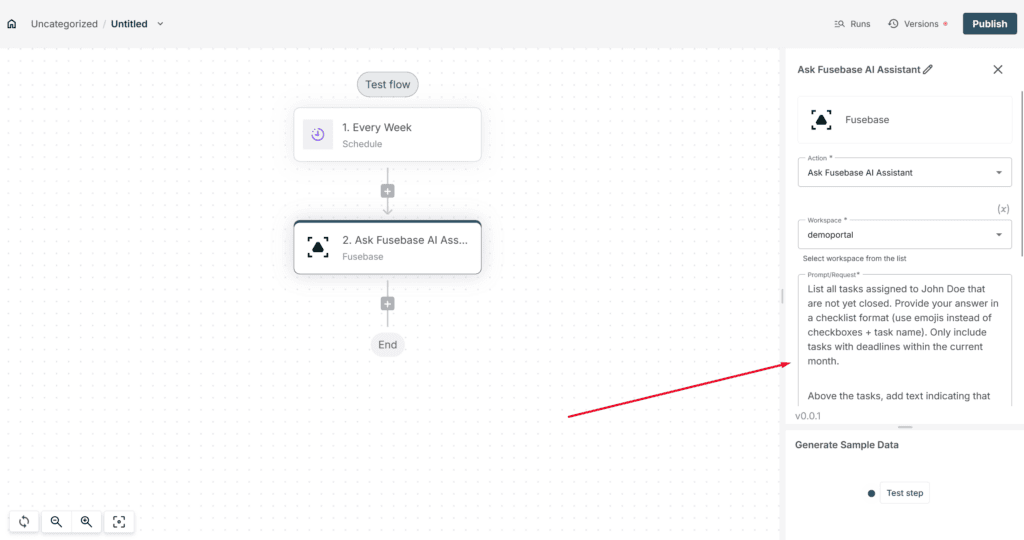
In the Prompt/Request, we need to specify the query to be executed. Write it in plain language, as if you were asking a colleague. For example:
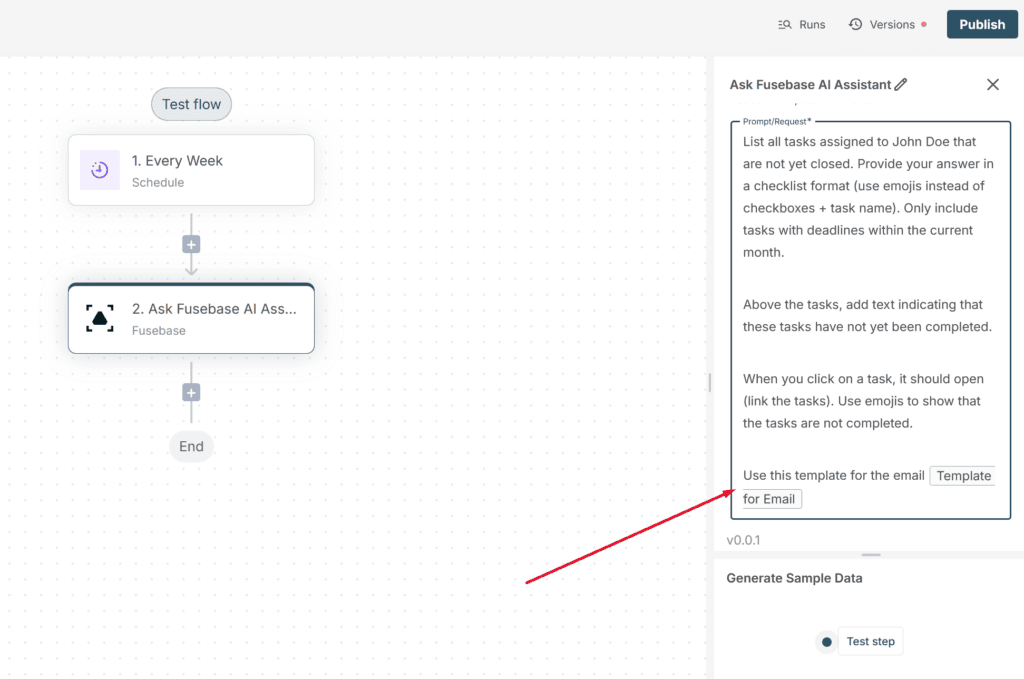
List all tasks assigned to John Doe that are not yet closed. Provide your answer in a checklist format (use emojis instead of checkboxes + task name). Only include tasks with deadlines within the current month.
Above the tasks, add text indicating that these tasks have not yet been completed.
When you click on a task, it should open (link the tasks). Use emojis to show that the tasks are not completed.
Instead of “John Doe,” specify the desired team member, or modify the request to generate a summary for all tasks in general.
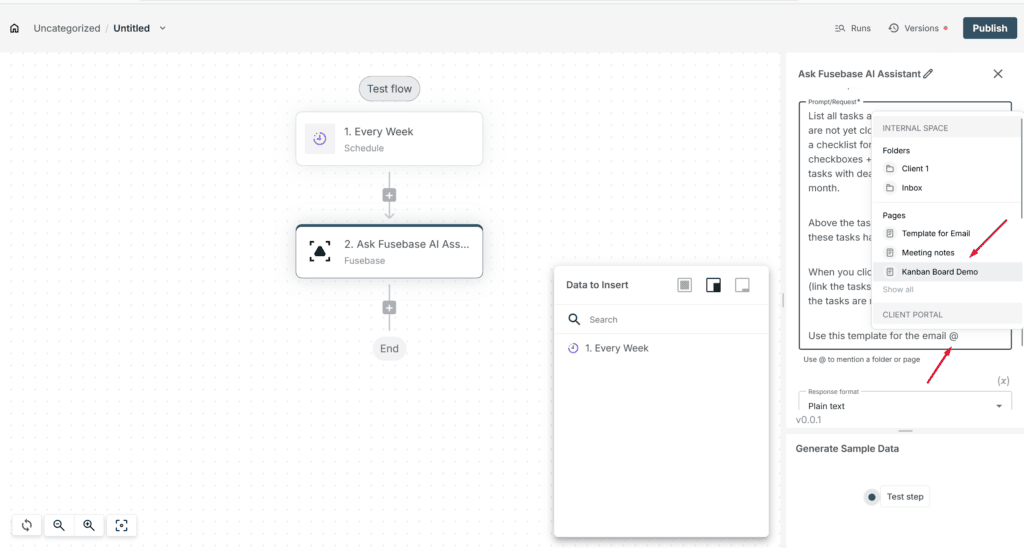
In the prompt, you can also use mentions, which allow you to narrow down the query. For example, if you want to include only tasks from specific folders or if you’ve already created a template for the email and want it to be used. Simply type @ and select the desired folders or page from the list.
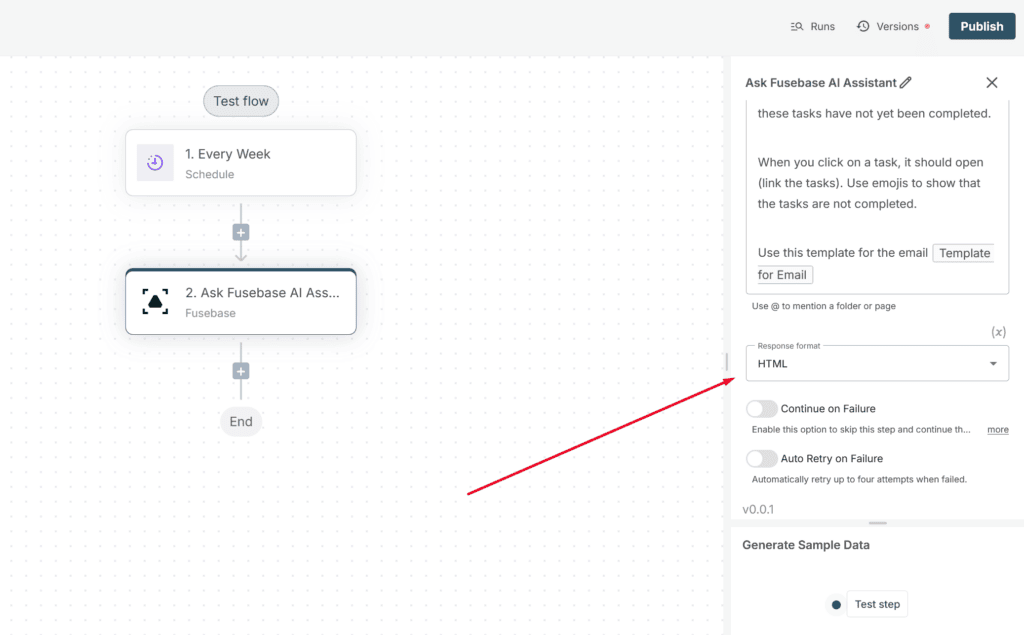
In the Response Format, select HTML so the assistant provides the response with the correct formatting.
Click Test Step to receive test data. This data will be needed for the next step.
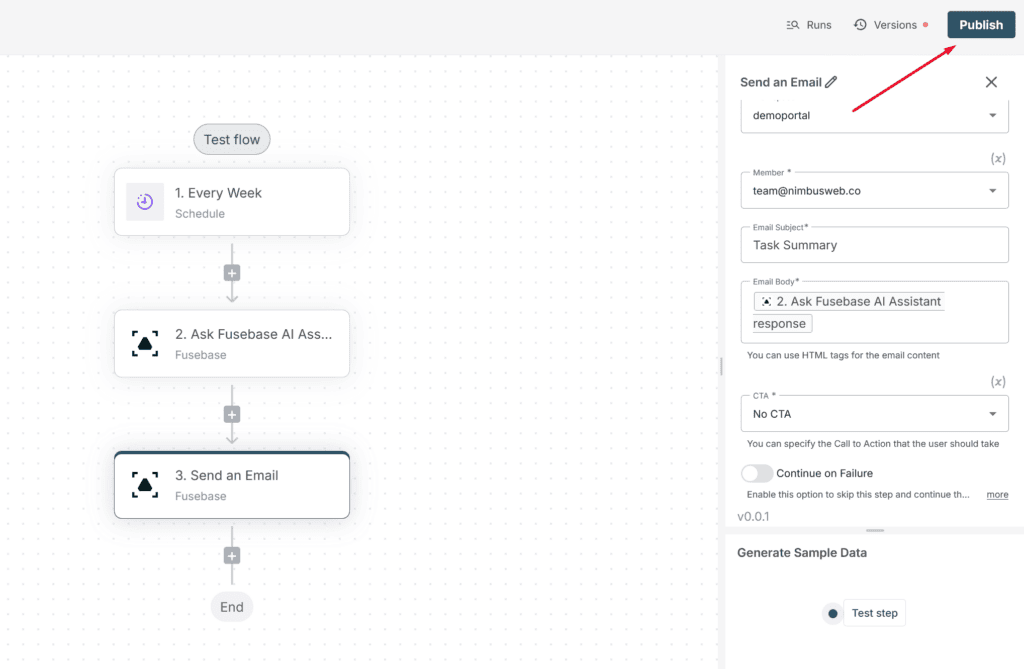
Next, we need to set up email sending. To do this, create the action Send Email.
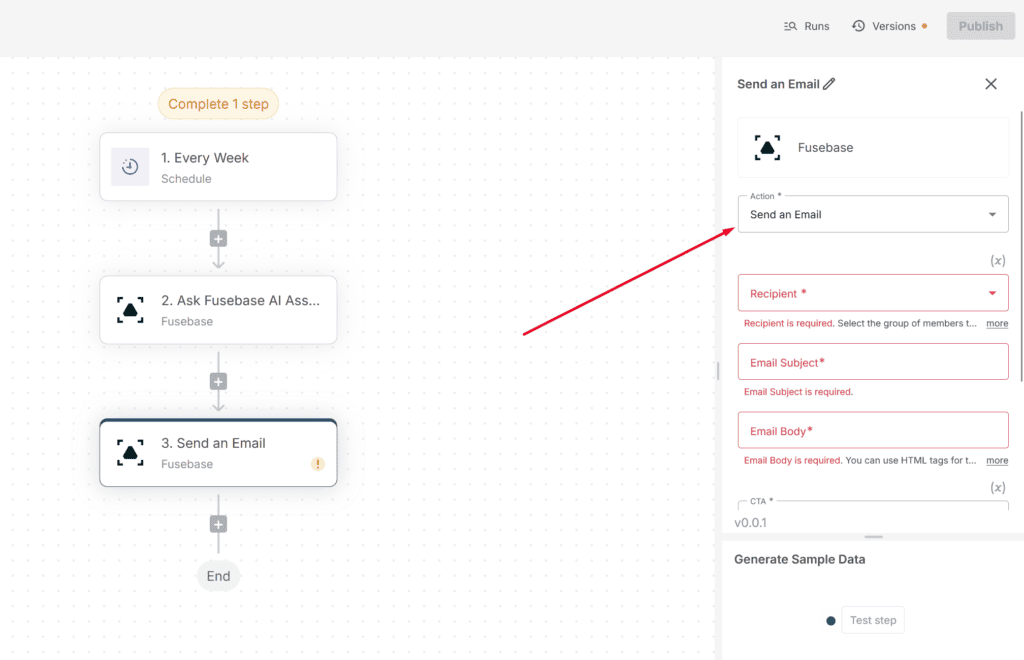
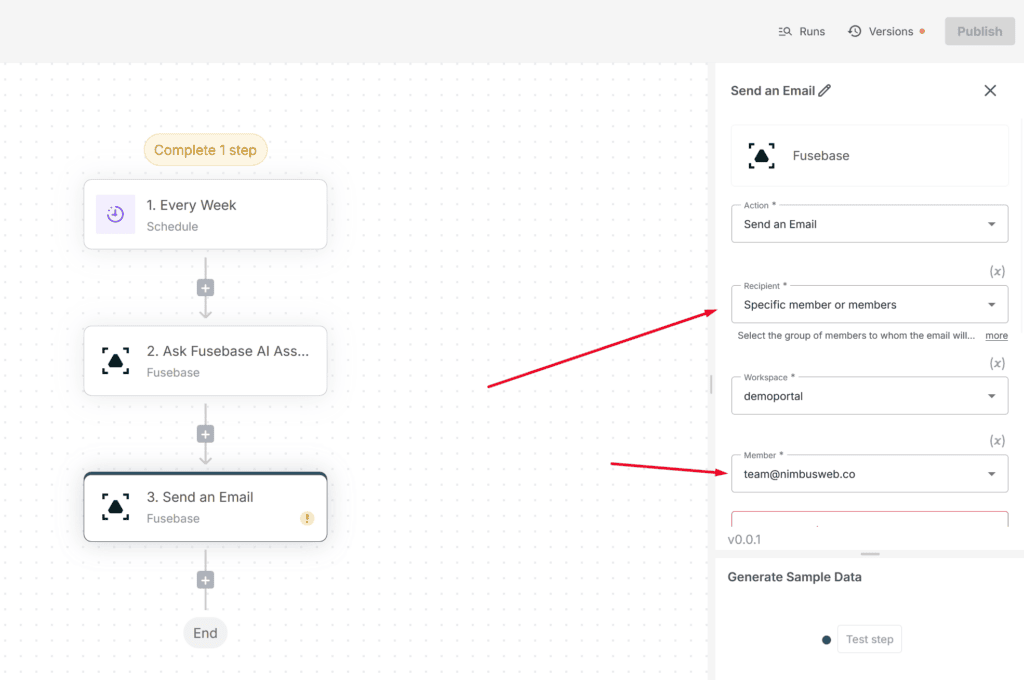
In the Recipient field, select the desired recipient. In our case, you can choose your email address.
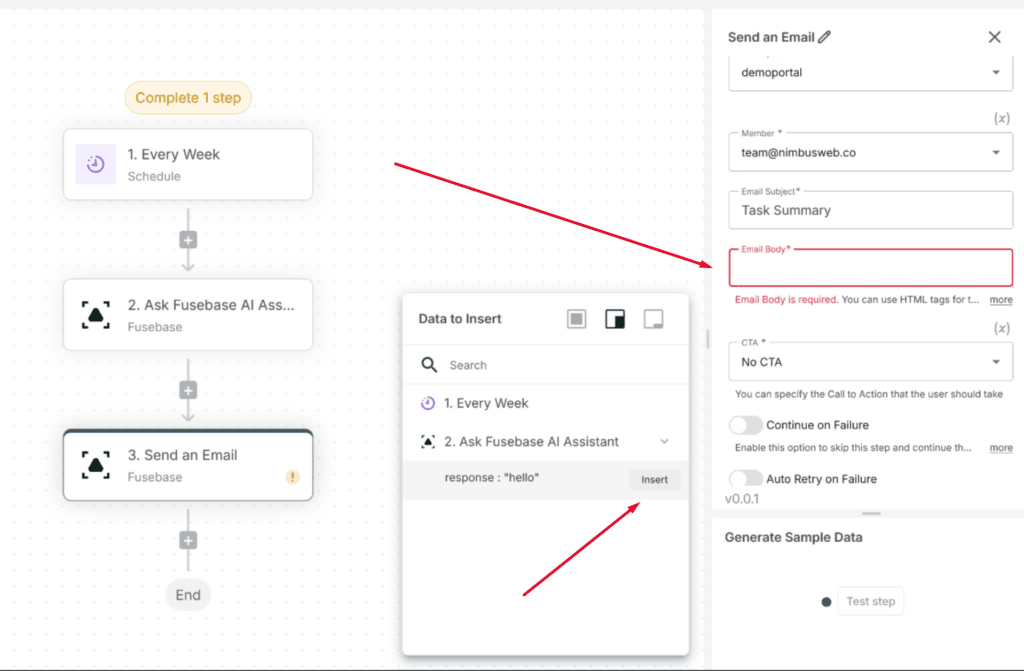
In the Email Subject, specify the desired email title. In the Body, you need to add the assistant’s response. To do this, select the Response from the assistant’s action.
Next, click Publish to publish the flow.
