Explaining FuseBase automation #
The FuseBase automation module allows you to automate internal processes within FuseBase and integrate them with other services. Here are a couple of automation and integration use cases as examples:
- You sent an invite to a client in the portal, and a folder with the template you need was automatically created for them in the portal.
- You added a client to the CRM (e.g., Monday or Leadconnector), and a portal was automatically created for them, and the client was invited to it.
How to Access the Automation Module
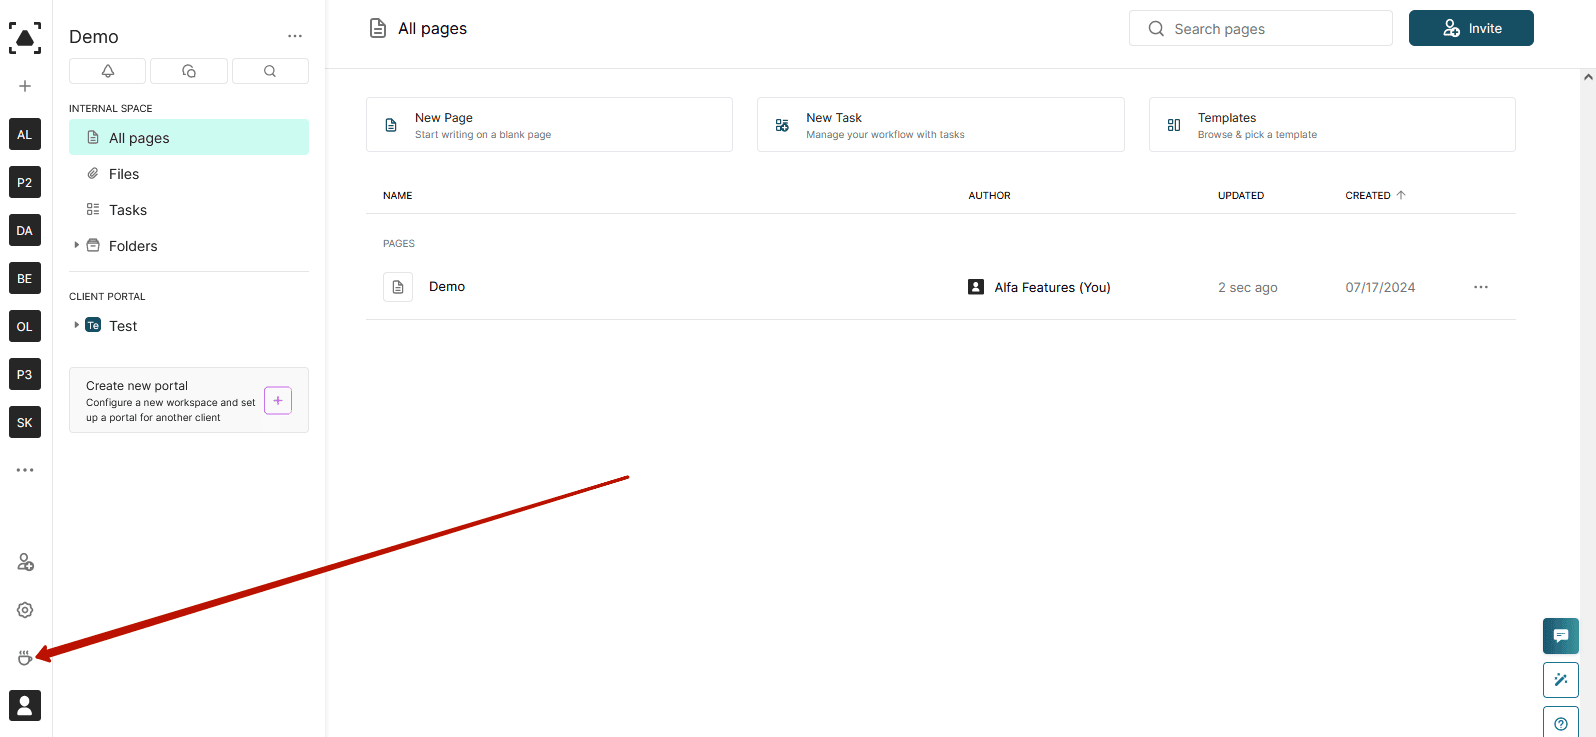
To access the automation module, click on the corresponding icon in the organization’s navbar:
Overview of the Automation Module
Upon first opening, you will land on the main page of the module:
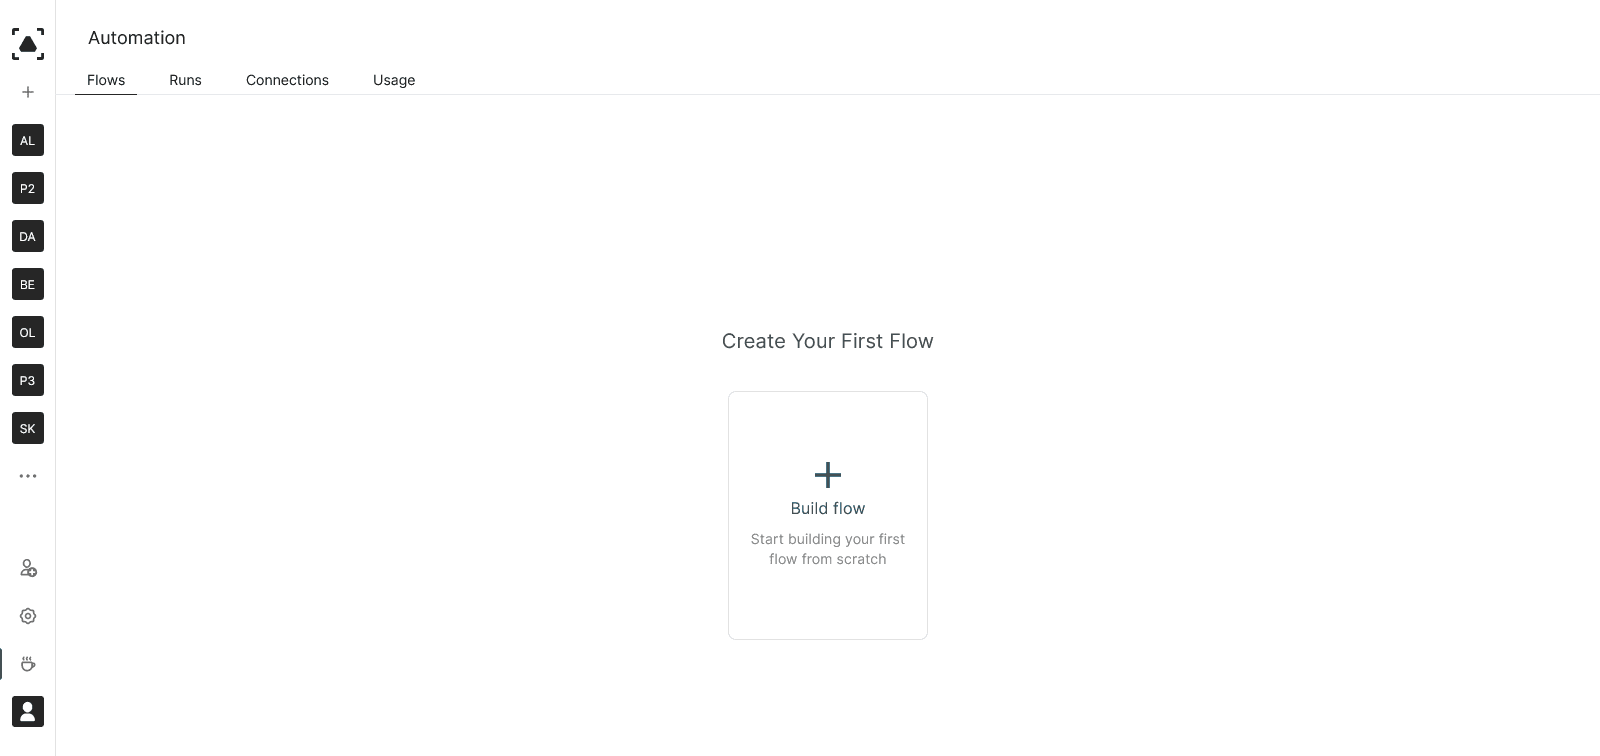
Let’s walk through the main elements of the automation module:
Flows
Here, you will find a list of all automation flows. A flow is the actual automation process. Each flow consists of a trigger that starts the flow and at least one action. For example, if you want to automatically create a record in your CRM when a client is added to the portal, the trigger is the client being added, and the action is creating the CRM record.
Runs
Here, you will find a list of all triggered runs and their statuses. Each trigger activation initiates a run. For instance, in the flow “Adding a client to the portal → automatically create a record in your CRM,” if 10 clients are added, the flow will run 10 times, resulting in 10 runs.
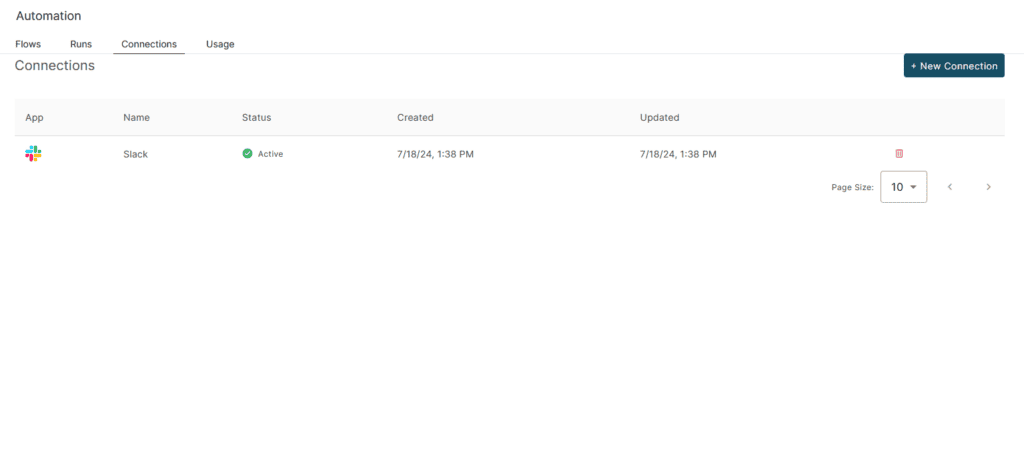
Connections
Here, you will find a list of services you want to integrate with FuseBase:
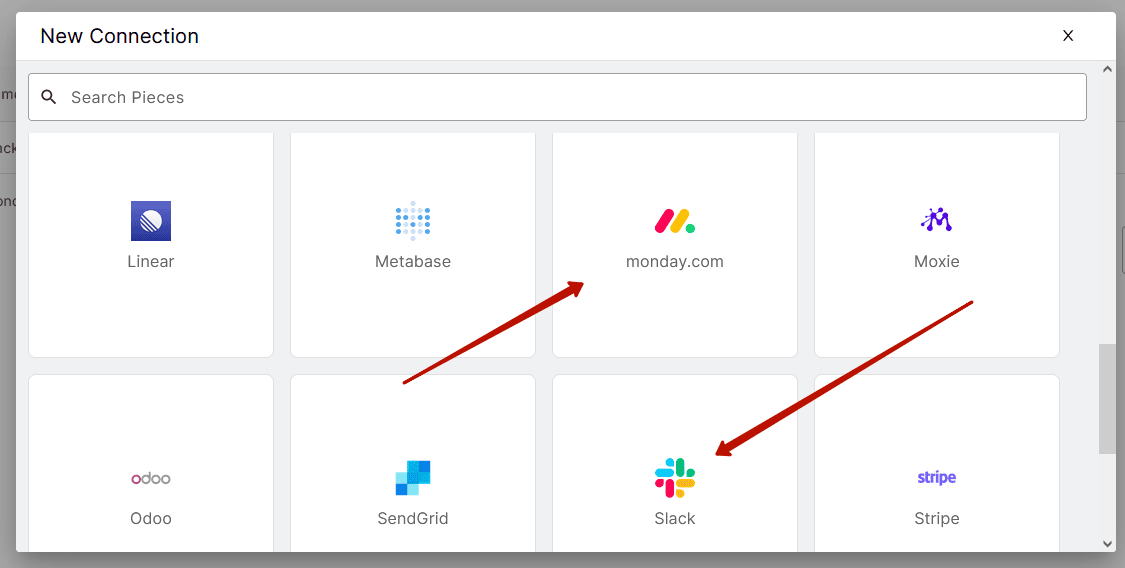
To add a new service, click on “New Connections” and select the desired service from the list:

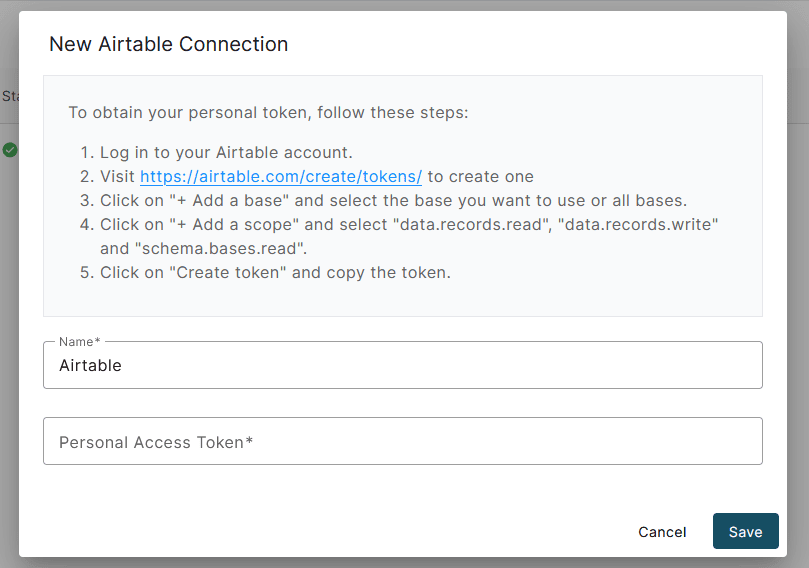
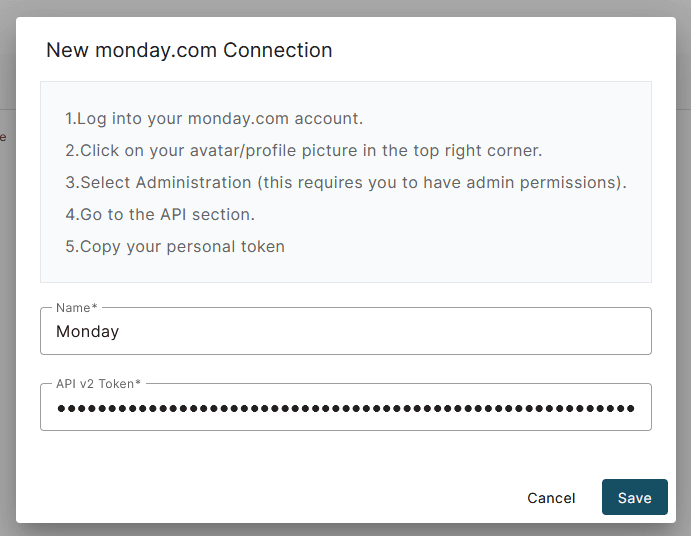
Next, you need to connect your account. Don’t worry—you won’t need to enter your email/password; usually, a special Client ID or API Token, which is easy to find in the account settings, will suffice:
Usage
Here, you will find statistics on automation usage, as well as the option to increase the limit on the number of runs you can initiate.
Creating the first flow #
Let’s create our first flow. Assume it will look like this:
- We add a new client to the Monday table (the table in Monday must already be created).
- The client is automatically added to the selected portal.
- After adding the client, we send a notification to a Slack channel.
1) Go to the automation module.
2) Add Monday and Slack to Connections:
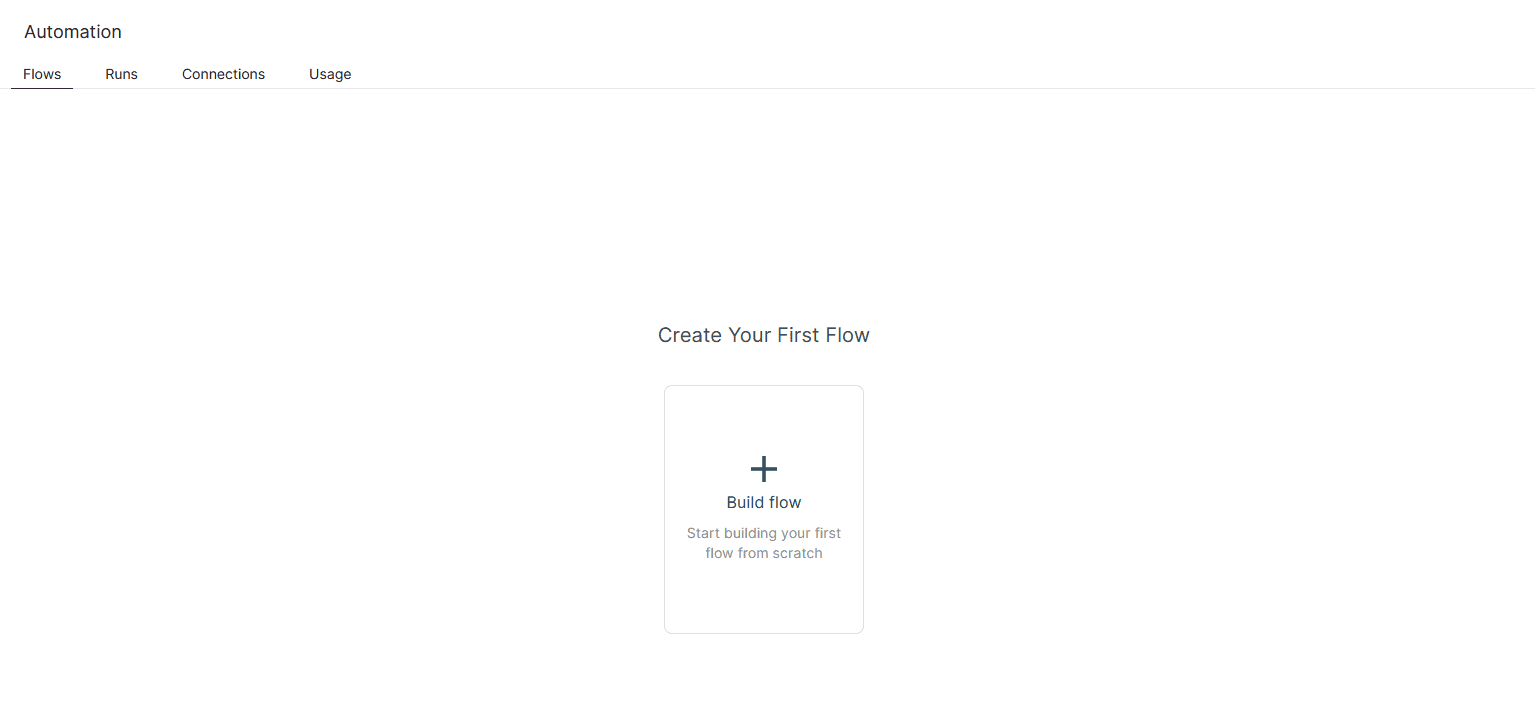
3) Go to Flows and select Build Flow:
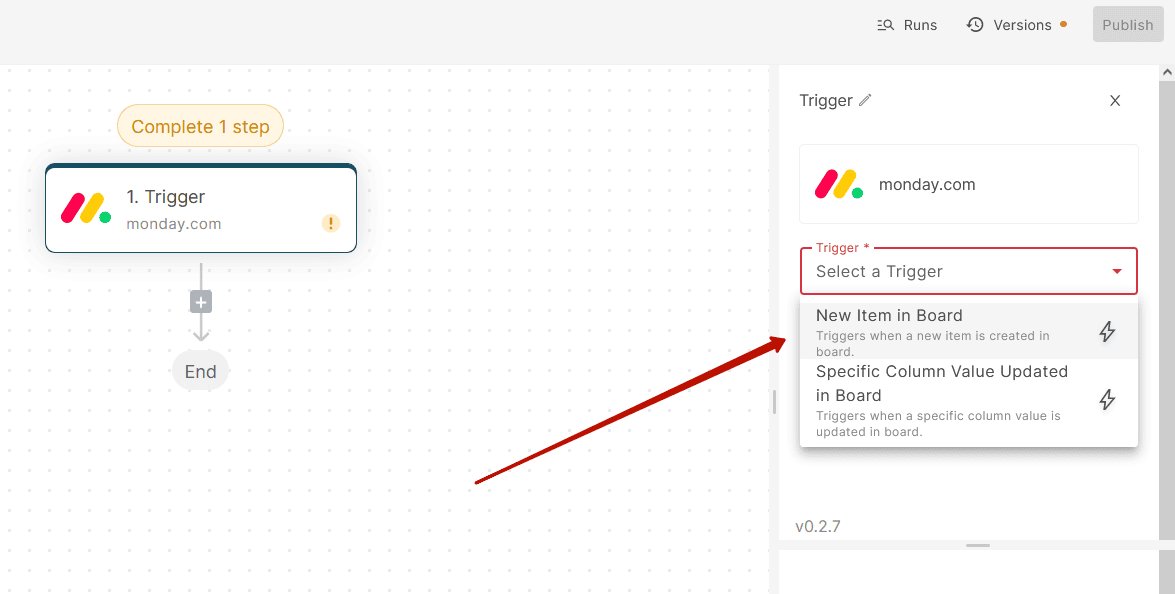
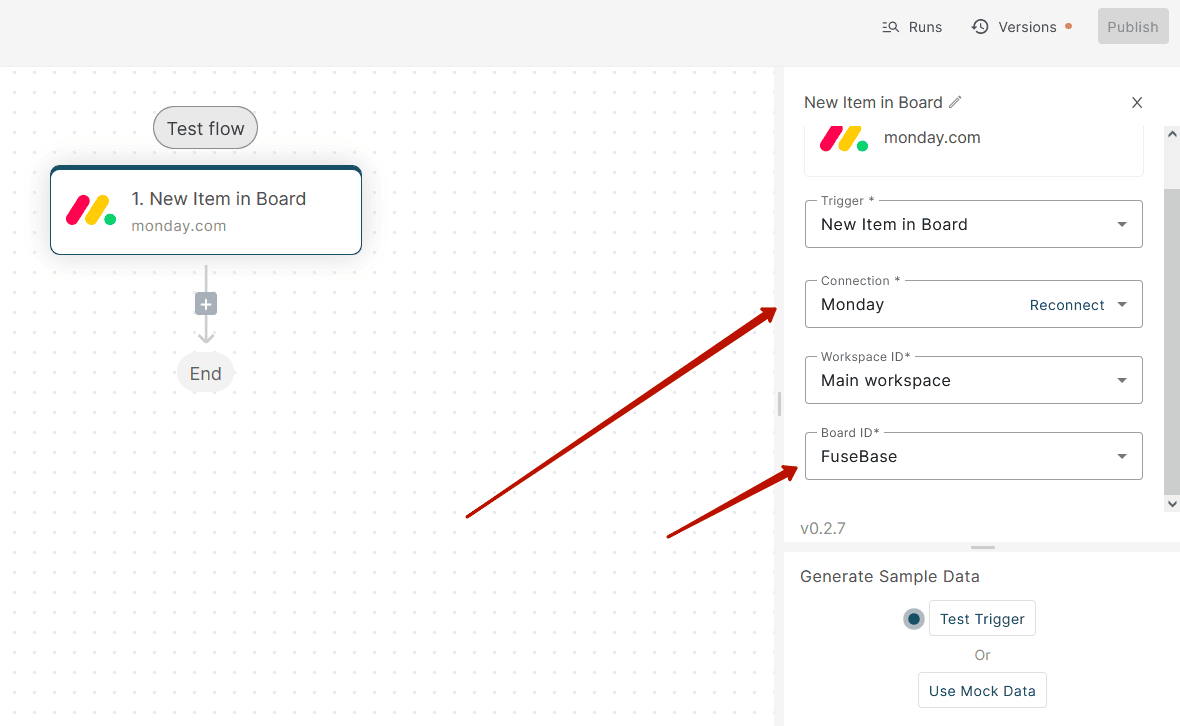
4) First, select the trigger that will initiate the entire flow. In our case, it’s adding a client in Monday. Select Monday as the trigger:
Next, specify your account and the necessary table:
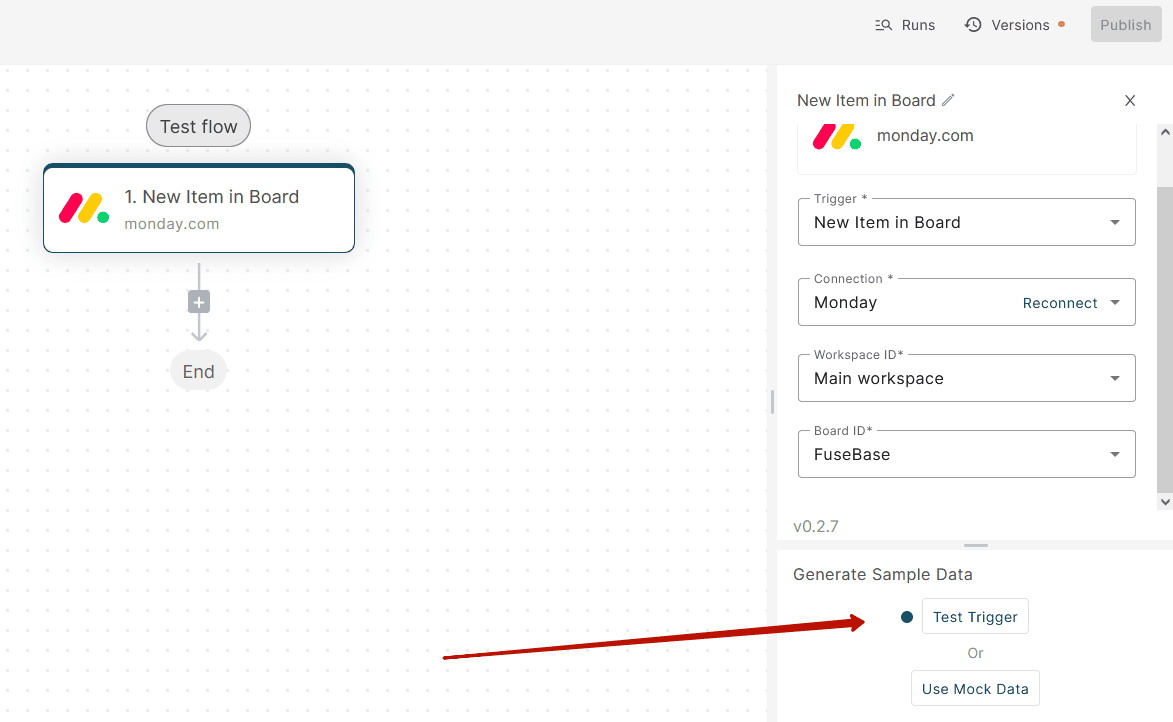
5) Then, click on Test Trigger. This is necessary to obtain data for actions:
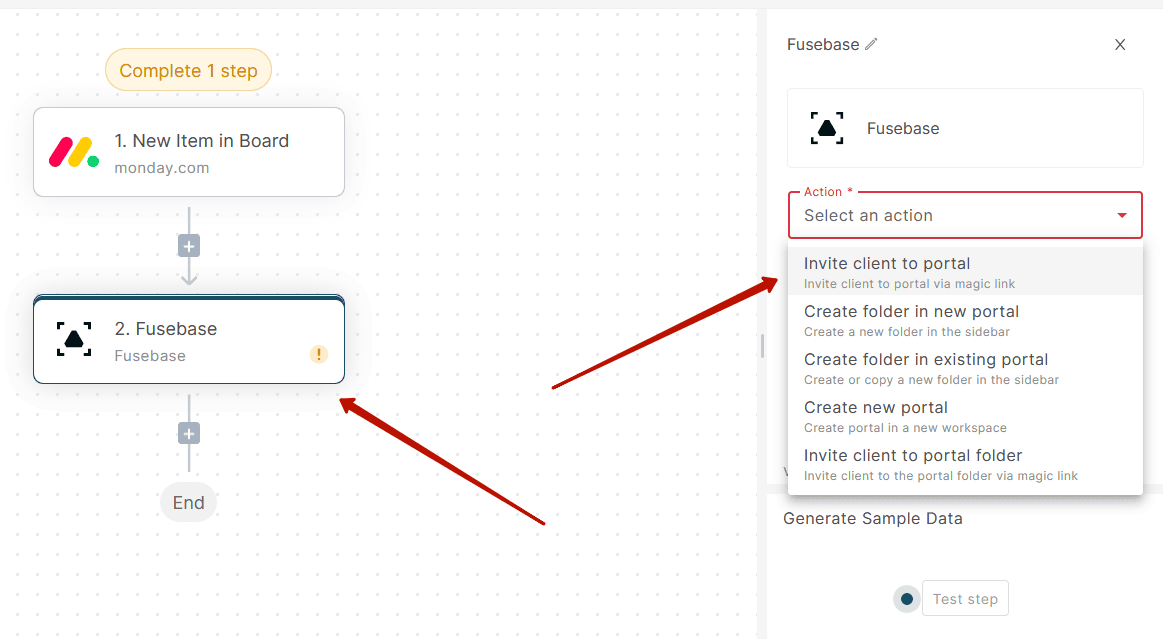
6) Next, create an action. In our case, this is inviting the client to the Fusebase portal. Click on + and select Fusebase:
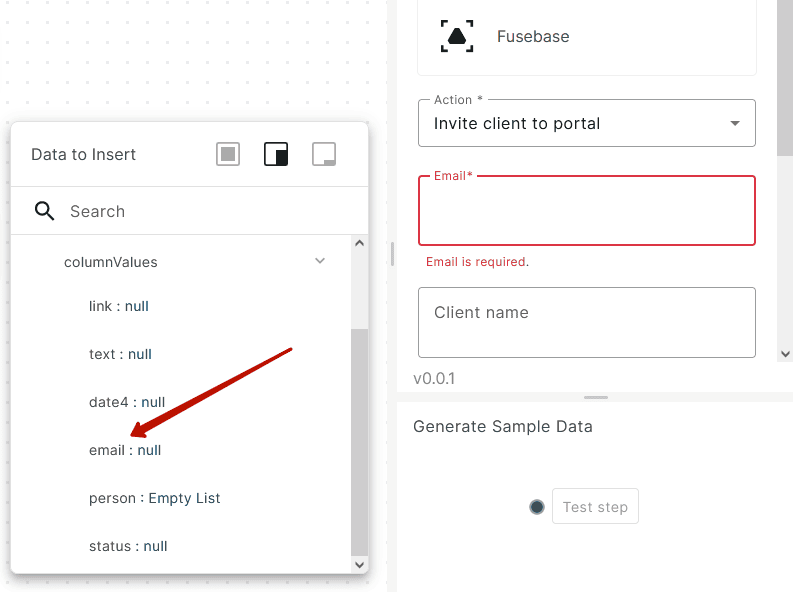
To invite the client, we need an email. We take it from the trigger (this is why we did the Test Trigger):
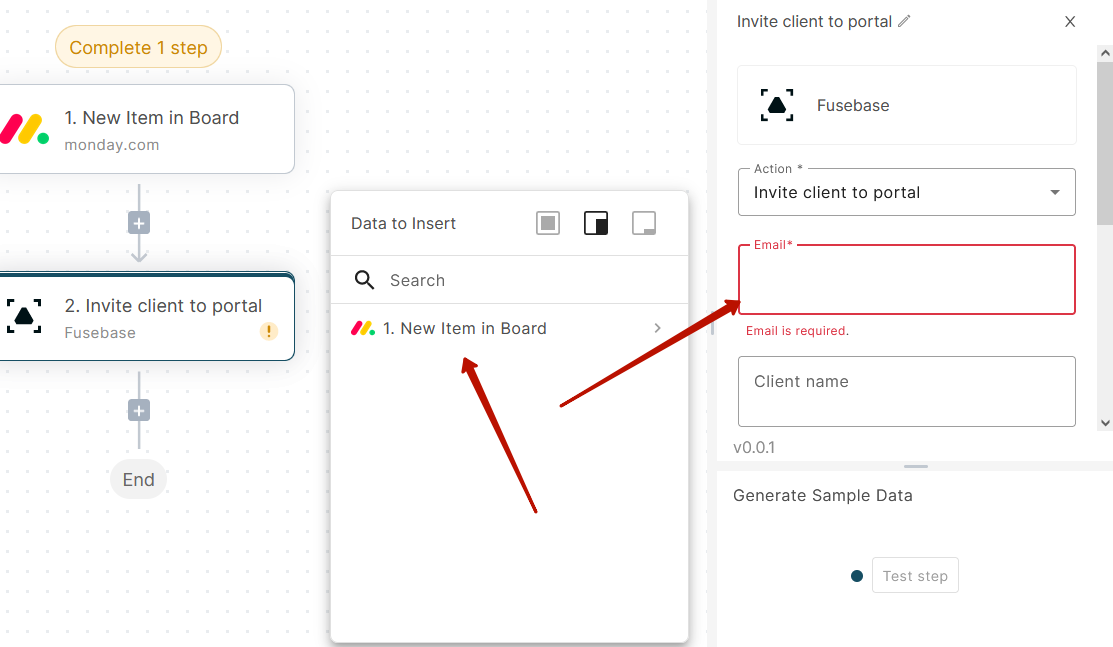
In the Monday table, we created a special column for the email. This is what we will specify:
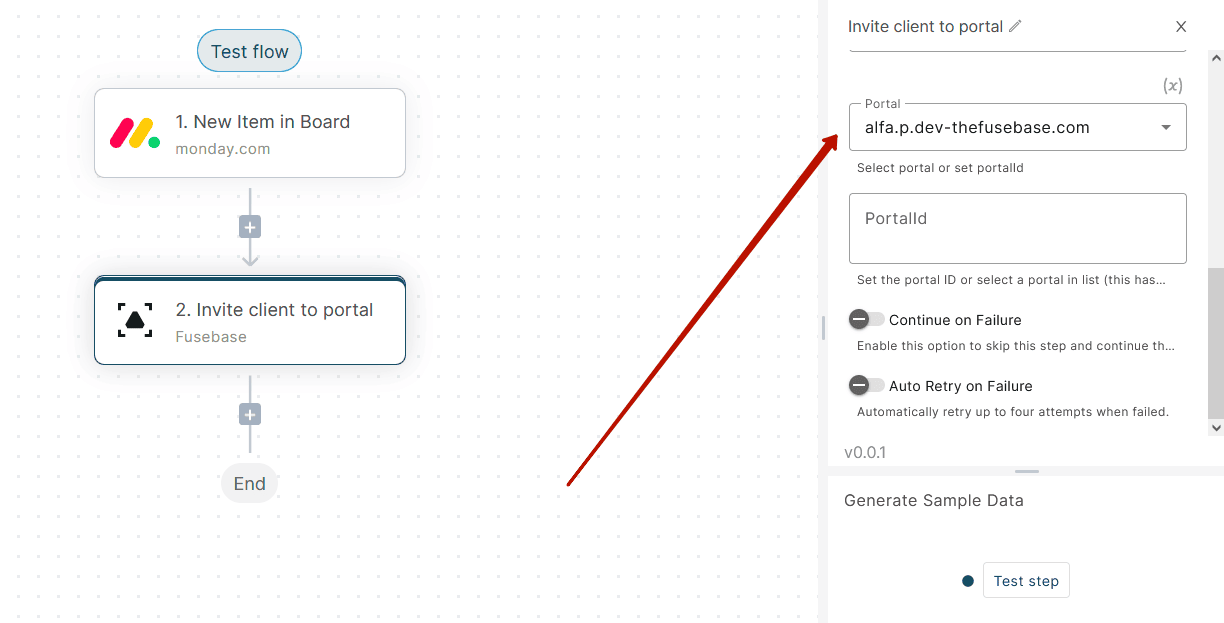
Next, specify the client’s name (also taken from Monday) and the portal to which the client will be invited:
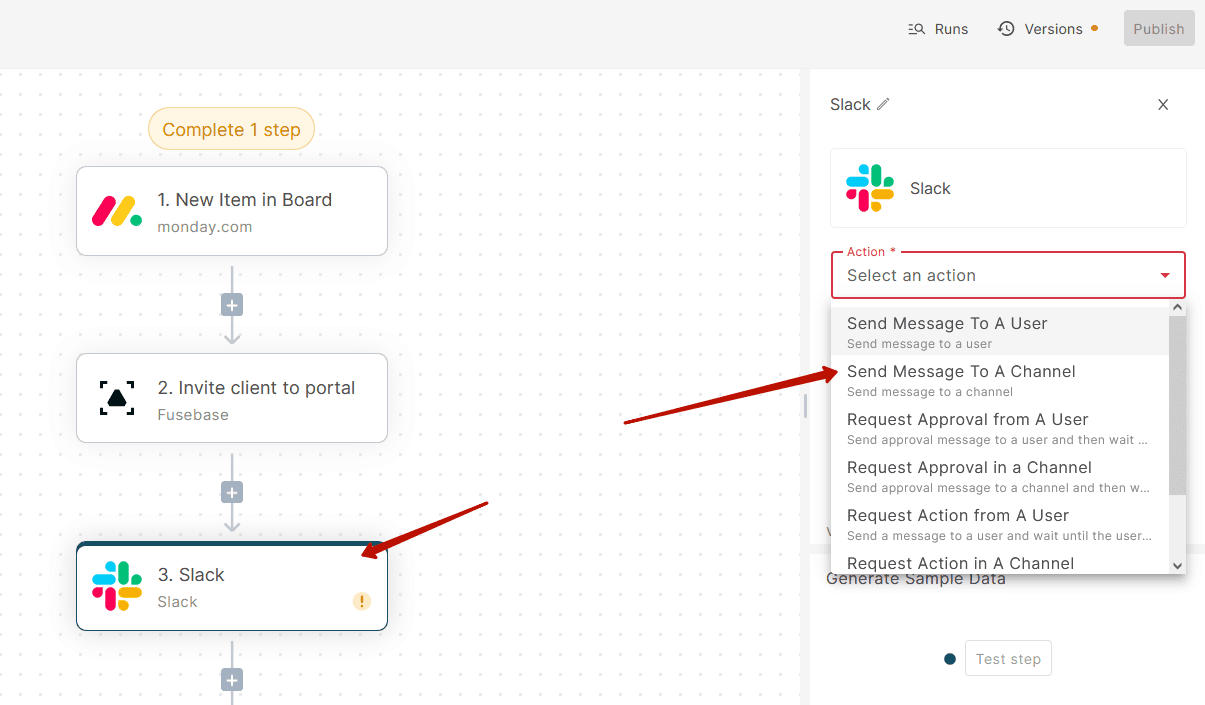
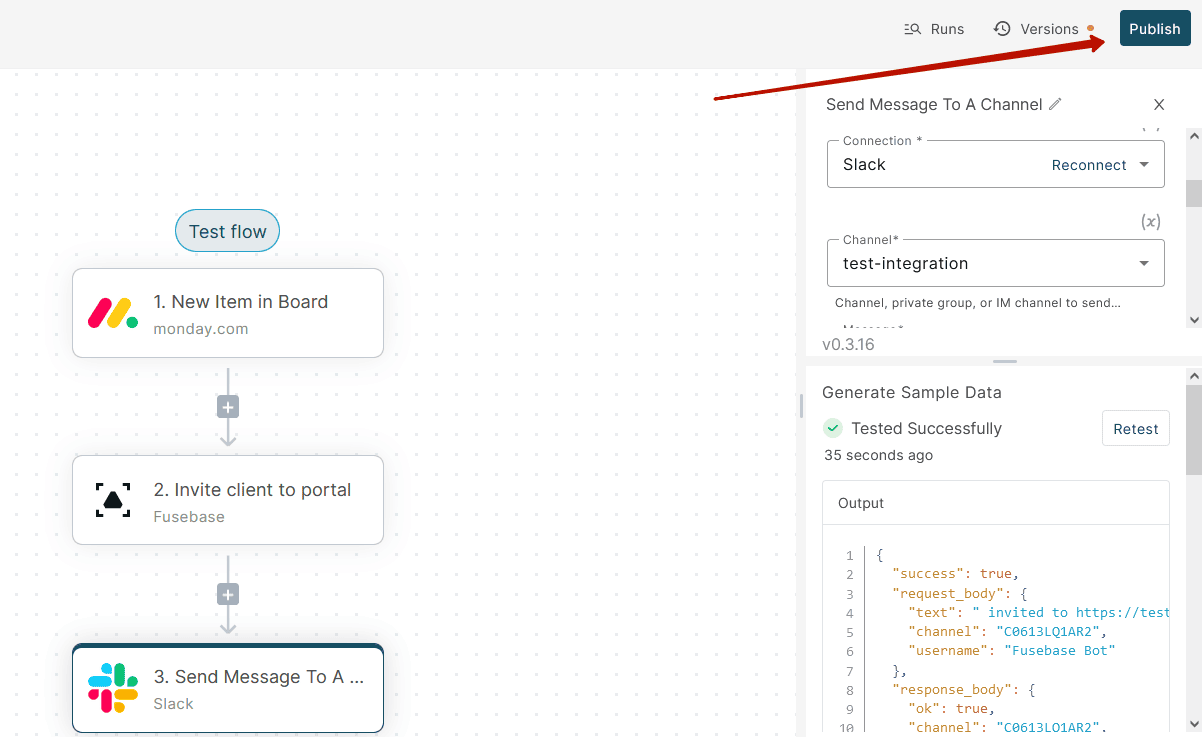
8) Next, we want to send a message in Slack. Click on + and select Slack:
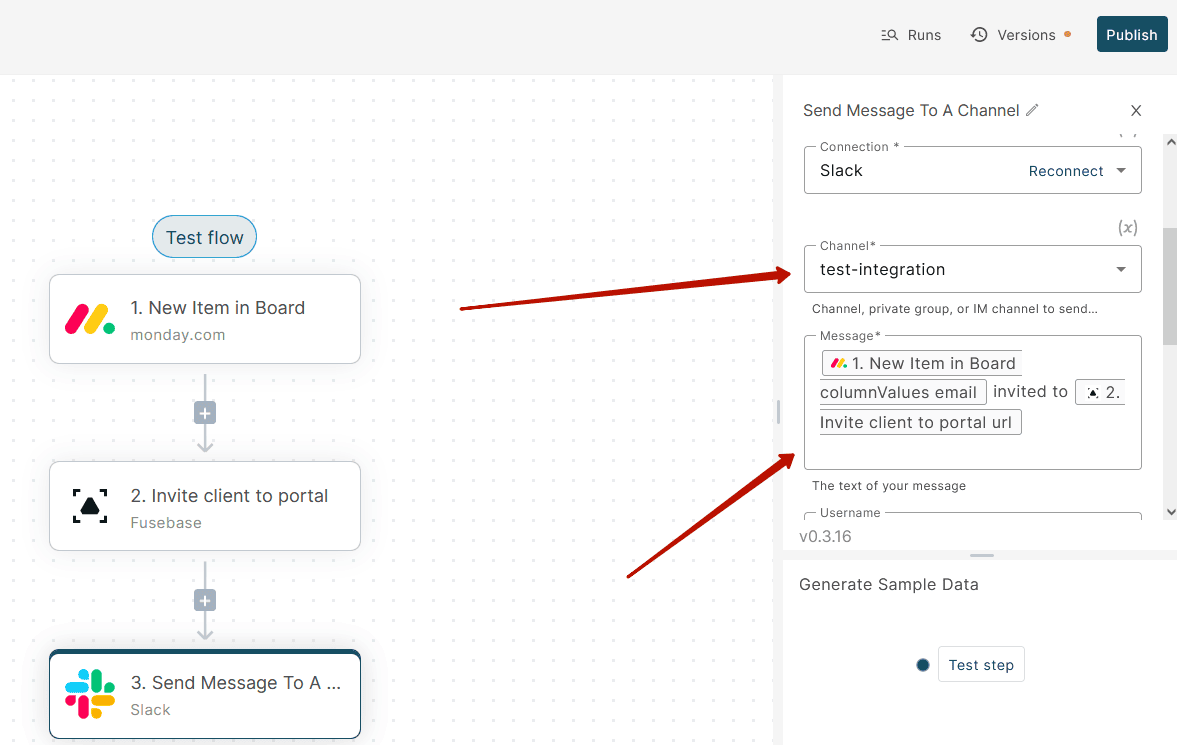
9) Then, choose the appropriate channel and message (we chose “Client (client’s email) invited to portal (portal URL)”):
10) Next, click on Publish to save our flow:

11) After publication, our flow is displayed in the list:
12) To run the flow, the trigger must be activated. In our case, this is adding a client to the Monday table. You can check the flow’s operation through Runs, where you will find a list of all triggered automation runs, both successful and unsuccessful.
Current list of triggers and actions for FuseBase automation #
Here you will find a complete list of all automations supported by the service – https://roadmap-fusebase.nimbusweb.me/automation-service-list. The list is constantly being updated.


